
There’s something undeniably magical about the rich color and velvety texture of red velvet treats. I still remember the first time I encountered red velvet cookies at a cozy café tucked away in a little corner of my hometown. The moment I took a bite, it felt like a warm hug—you know the kind that makes you close your eyes and smile because it just feels right? Since that sweet day, I’ve been on a mission to recreate that experience in my kitchen. That’s how this recipe for red velvet cookies came to life!
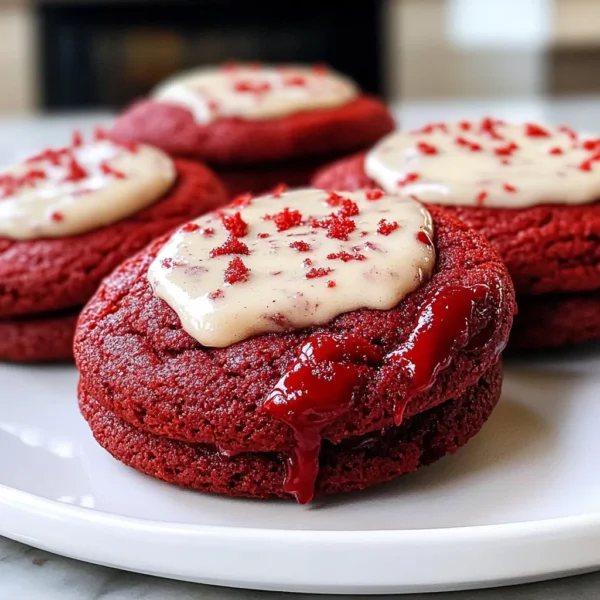
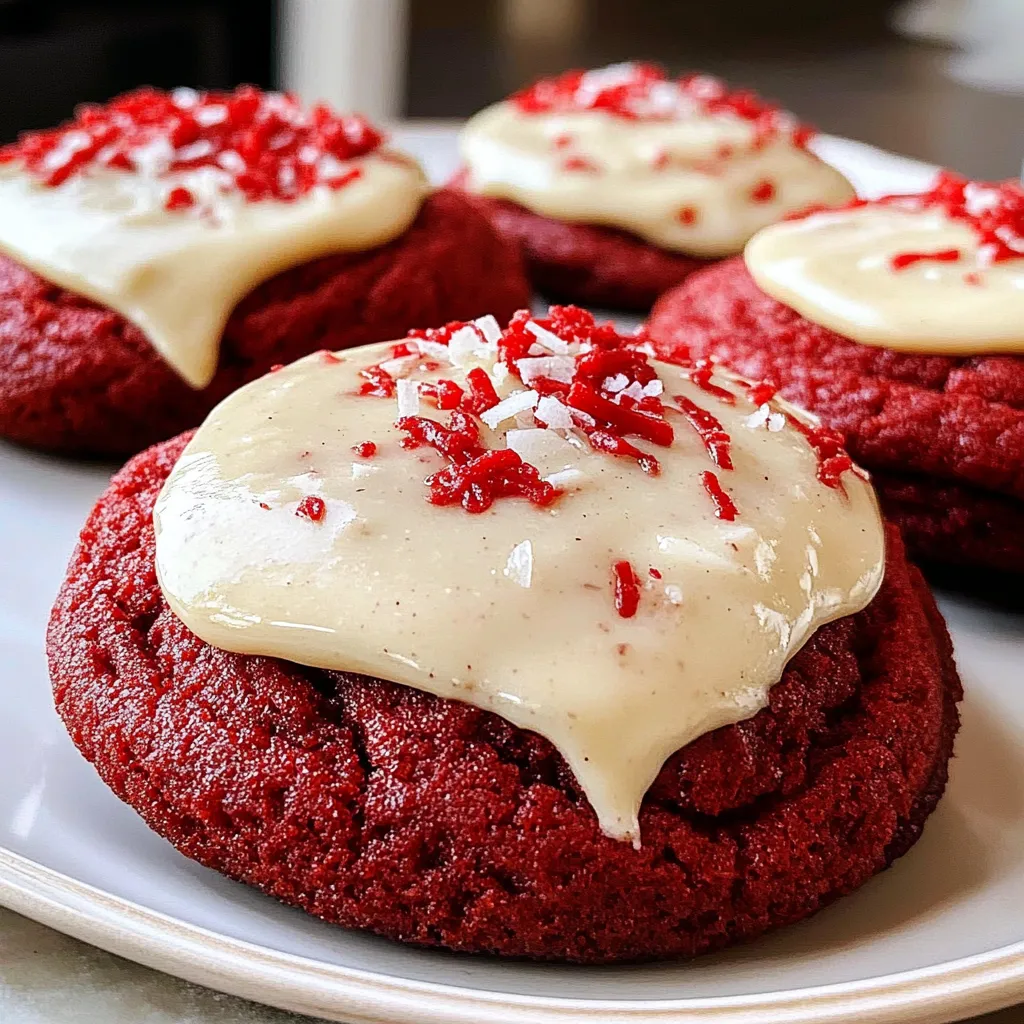
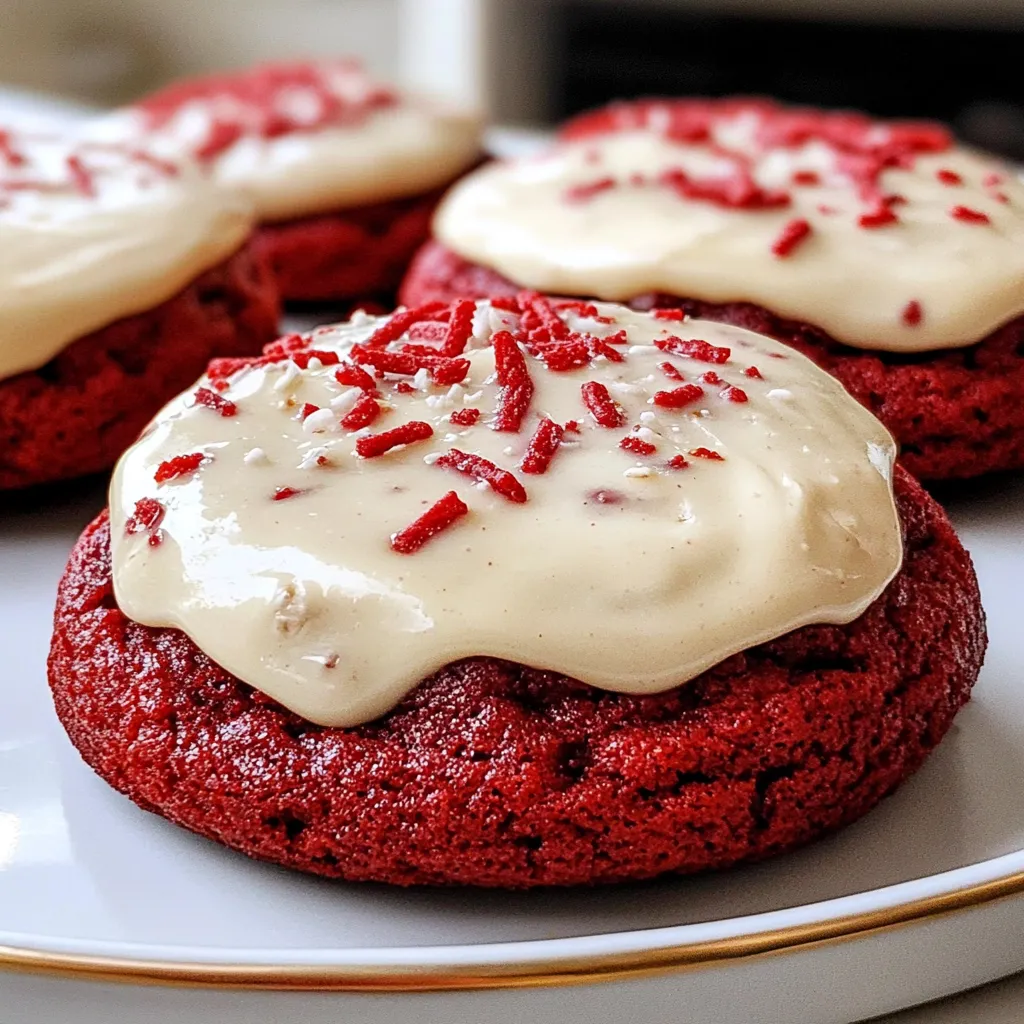
These cookies are not only vibrant and eye-catching, but they also bring a wonderful balance of flavors and textures. Imagine biting into a soft, chewy cookie with a slight hint of cocoa, and then the cream cheese frosting melting into a perfectly sweetened pool of deliciousness. Whether you’re baking for a special occasion or just want to treat yourself to something delightful, red velvet cookies will surely steal the show!
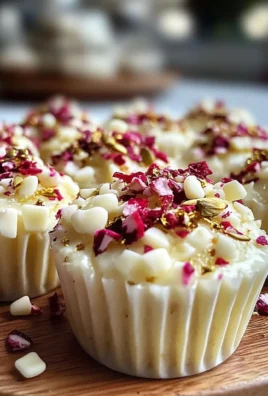
Why You’ll Love This Recipe
- They’re super easy to make, perfect for beginner bakers.
- Each bite is a heavenly mix of soft, chewy, and creamy textures.
- These cookies are visually stunning—great for parties or gifting!
- Customization options are endless; you can add nuts, white chocolate chips, or sprinkles!
- They fill your kitchen with a sweet, inviting aroma that makes your heart sing.
Ingredients
Gather these sweet little gems before we dive into baking! Nothing like having your ingredients prepared so you can focus on the fun part—cooking!
- 2 ½ cups all-purpose flour
- 1 cup granulated sugar
- ½ cup unsweetened cocoa powder (make sure it’s fresh for the best flavor!)
- 1 teaspoon baking soda
- ½ teaspoon salt
- 1 cup unsalted butter, softened to room temperature
- 1 large egg
- 2 tablespoons red food coloring (liquid for best results)
- 1 teaspoon vanilla extract
- ½ teaspoon vinegar (the secret ingredient for that classic tangy flavor!)
- 1 cup cream cheese, softened (for frosting)
- 4 cups powdered sugar (sifted, for a smooth frosting)
- 1 teaspoon vanilla extract (for frosting)
Helpful Note: Using room temperature ingredients, especially the butter and cream cheese, will help achieve that perfect creamy texture!
Step-by-Step Instructions
Are you ready to become a cookie superstar? Let’s do this!
- Preheat your oven. Get it nice and toasty at 350°F (175°C). This step is crucial for that perfect cookie bake!
- Mix the dry ingredients. In a large bowl, whisk together the flour, sugar, cocoa powder, baking soda, and salt. It’s like a little party just waiting to happen!
- Cream the butter. In another bowl, use a mixer to beat the softened butter until it’s fluffy and pale. Adding a sprinkle of love while you mix never hurts!
- Add the wet ingredients. Beat in the egg, food coloring, vanilla extract, and vinegar until everything is combined. You’ll see that lovely red color blooming!
- Combine the mixtures. Gradually add the dry mix into the wet mix, and fold it gently until just combined. Watch out—overmixing can lead to tough cookies!
- Scoop and bake. Using a cookie scoop or tablespoon, drop dollops of dough onto a lined baking sheet. Give them enough space because they love to spread out. Bake for 10-12 minutes, just until the edges are set but the centers seem a little underbaked.
- Cool it down. Let them cool for a few minutes on the baking sheet before transferring them to a wire rack. Your kitchen will smell like a dream right about now!
- Frosting time! In a bowl, blend the softened cream cheese, powdered sugar, and vanilla extract until smooth. Pipe or spread your frosting generously onto the cooled cookies. Be generous; everyone loves a good frosting swirl!
Pro Tips & Variations
Now that you’ve baked the stars of the show, let’s make them even more special! Here are some fun ideas to twist things up:
- Chocolate Lovers: Add some chocolate chips into the cookie dough for an extra choco-fix!
- Nuts for Nuts: Chopped walnuts or pecans can create a wonderful texture contrast if you crave a little crunch.
- Spicy Twist: A dash of cinnamon or cardamom can add a warm complexity that pairs beautifully with the sweetness.
- Mini Cookies: If you’re feeling playful, use a mini scoop and make bite-sized cookies for a sweet treat any time!
Serving Suggestions
These fabulous red velvet cookies are best served alongside a steaming cup of coffee or hot cocoa. Just imagine curling up with a warm drink and a plateful of these beauties, perhaps while watching a movie or diving into a good book. You might even drizzle a little extra cream cheese frosting on top for good measure—heavenly!
They also make for delightful gifts wrapped in a cute little box. Don’t forget a sprinkle of love (aka a little note) to share your baking joy with friends or family!
Storage Tips
Although I doubt these cookies will last long in your house, but just in case, here’s how to keep them fresh:
- Room Temperature: Store your cookies in an airtight container for up to a week. Just make sure they’re fully cooled before sealing them in!
- Refrigeration: If you prefer them chilled (I know some of you do!), keep them in the fridge for up to two weeks. Let them come back to room temperature before indulging!
- Freezing: You can freeze the cookie dough before baking! Just scoop them, place them on a baking sheet, freeze until firm, then transfer to a freezer-safe bag. When the craving hits, just bake them straight from the freezer for a couple of extra minutes.
FAQs
What can I use instead of red food coloring?
If you’d like to steer clear of artificial coloring, you can use beet juice or natural red food coloring made from plants, but do note that the color may vary slightly!
Can I make these cookies gluten-free?
Absolutely! Just substitute the all-purpose flour with a good gluten-free all-purpose flour blend. Make sure it contains xanthan gum for the best texture.
How do I know when my cookies are done?
The edges should be firm while the center may look slightly underbaked. They’ll continue to bake a bit as they cool, ensuring that soft, chewy center!
Can I freeze the frosting?
Definitely! You can freeze the cream cheese frosting in an airtight container for up to three months. Thaw it in the fridge when you’re ready to use it again!
Conclusion
And there you have it—your very own homemade red velvet cookies that are sure to impress! I hope you enjoy the process of baking them as much as I do. They’re perfect for every occasion and will surely bring a smile to anyone who gets to taste them. If you try this recipe, I’d love to hear how you made them your own or see a picture of your delicious creations. Happy baking, my friend!

Leave a Comment