
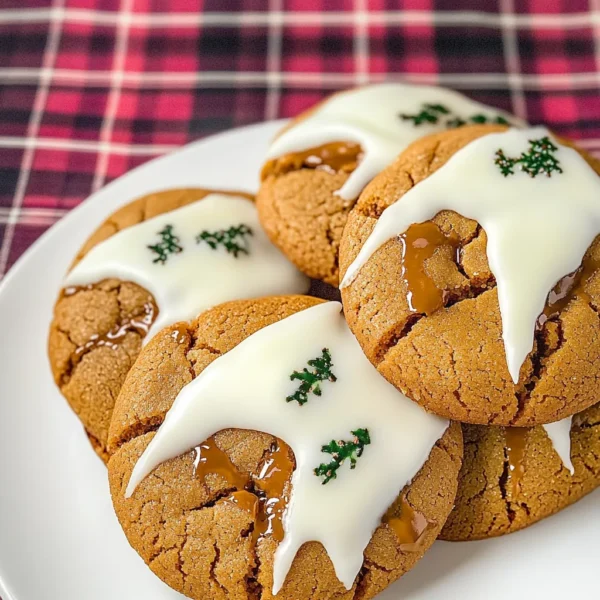
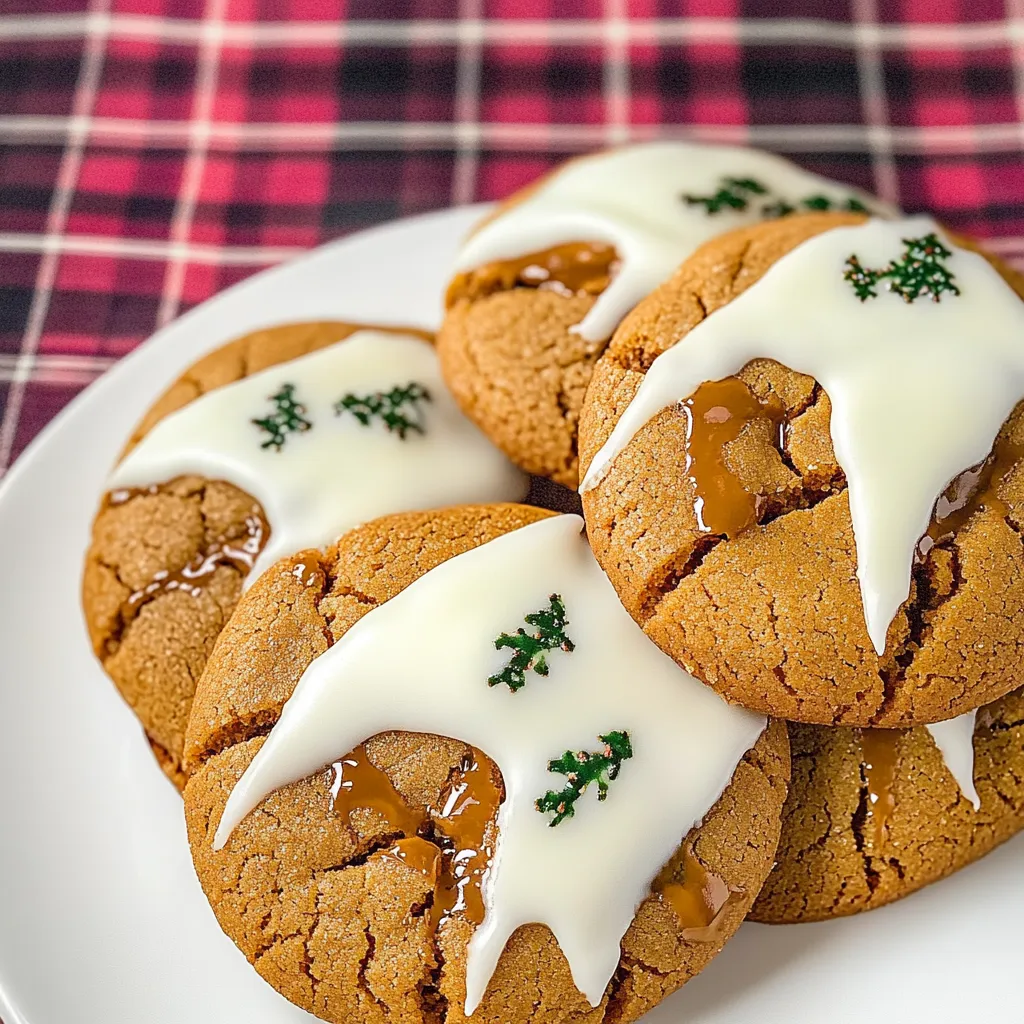
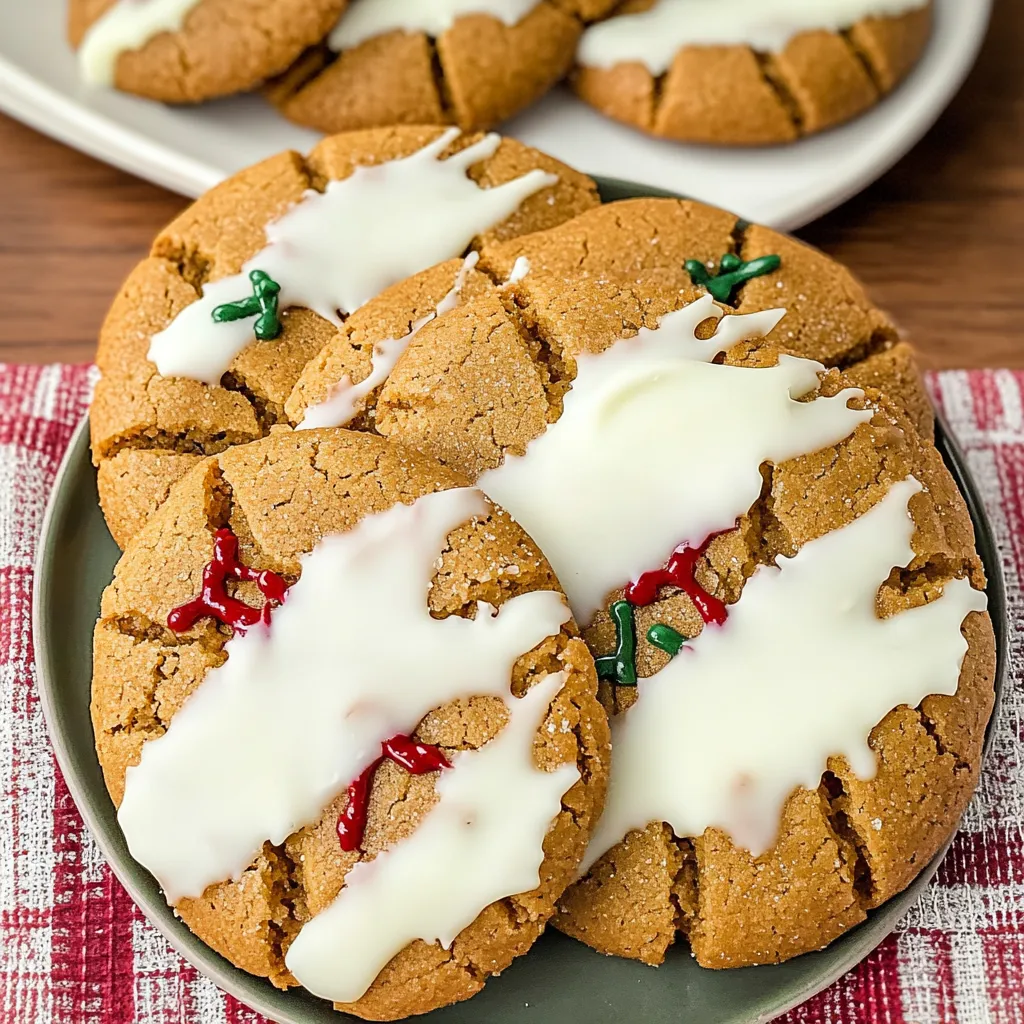
There’s something magical about the aroma of ginger cookies wafting through the house, isn’t there? It instantly takes me back to cozy winter afternoons spent baking with my grandmother. The sound of her mixing up the dough, the tantalizing smell of warm spices filling the air—those are sweet memories I cherish. Today, I want to share a little twist on a classic: White Chocolate Dipped Ginger Cookies. They are beautifully spiced, with a hint of warm molasses, and that luscious white chocolate dip pushes them over the top! Trust me, these cookies are going to make your kitchen feel just as warm and inviting.
Why You’ll Love This Recipe
- Easy to make, perfect for both baking novices and pros!
- A comforting blend of spice and sweetness that warms the heart.
- Unique and festive, great for holiday gatherings or just because.
- They freeze well, so you can enjoy them any time!
- White chocolate adds a creamy contrast that balances the spice beautifully.
Ingredients
Before we dive into the fun of mixing and baking, let’s gather what we need. Here’s your shopping list for White Chocolate Dipped Ginger Cookies:
- 2 1/4 cups all-purpose flour
- 1 tablespoon ground ginger (fresh ginger is delightful if you can find it!)
- 1 teaspoon ground cinnamon
- 1/2 teaspoon ground cloves
- 1/2 teaspoon baking soda
- 1/2 teaspoon salt
- 3/4 cup unsalted butter, softened
- 1 cup brown sugar, packed
- 1/2 cup granulated sugar
- 1 large egg
- 1/4 cup molasses (the dark kind for a richer flavor)
- 1 cup white chocolate chips (or chopped white chocolate)
- Optional: coarse sugar for sprinkling on top
Note: If you’re feeling adventurous, try adding a pinch of cayenne pepper to the dry ingredients for an unexpected kick!
Step-by-Step Instructions
Okay, let’s get our hands a little messy and make these delicious cookies!
- Preheat your oven to 350°F (175°C). Nothing says “baking” like a warm oven ready to work its magic!
- In a medium bowl, whisk together the flour, ground ginger, cinnamon, cloves, baking soda, and salt. This is where the spices mingle, and the smell is heavenly!
- In a larger bowl, cream the softened butter with both sugars until light and fluffy—about 2-3 minutes. You want it to feel light as air.
- Add the egg and molasses to the butter-sugar mixture and mix until combined. Take a moment to enjoy that rich, sweet aroma!
- Gradually add the dry ingredients to the wet mixture, mixing just until combined. Don’t overmix or the cookies could turn out tough!
- Using a cookie scoop or tablespoon, drop dough onto lined baking sheets. Make sure to leave some space between each one as they will spread a bit!
- If you’d like, sprinkle a little coarse sugar on top for some extra sparkle and crunch.
- Bake for 10-12 minutes, or until the edges are golden and the centers look set—but still soft. The smell will have your mouth watering!
- Remove from the oven and let them cool on the baking sheet for about 5 minutes before transferring them to a wire rack to cool completely.
- Once cooled, melt the white chocolate in a microwave-safe bowl in 30-second increments, stirring after each interval until smooth.
- Dunk half of each cookie into the melted white chocolate and place back on the wire rack. Allow it to set before devouring. You can even sprinkle a little grated ginger or sea salt on top for an extra touch!
Pro Tips & Variations
Here are some fun ways to get creative with your cookies:
- Spice it up: Add a sprinkle of allspice or nutmeg to the dry ingredients for more warmth.
- Citrus zest: A bit of orange or lemon zest mixed in can brighten up the flavors beautifully.
- Nutty goodness: Fold in some chopped nuts like pecans or walnuts for added crunch!
- Gluten-free: Swap the all-purpose flour for a 1:1 gluten-free mix. Just be sure to check that your other ingredients are gluten-free too!
Serving Suggestions
These cookies shine on their own, but if you want to get fancy, here are some delightful pairings:
- Serve them warm with a cup of hot cocoa or spiced chai for a cozy afternoon treat.
- They also make a delicious dessert alongside a scoop of vanilla ice cream—guilty pleasure at its best!
- Arrange them on a festive platter if you’re hosting friends or family—they’ll look absolutely stunning!
Storage Tips
Now, if you manage to have any of these cookies left (which is a big “if”), here’s how to keep them fresh:
- Room Temperature: Store in an airtight container at room temperature for up to a week. Trust me—they’ll be gone before you know it!
- Refrigerator: For slightly longer storage, you can pop them in the fridge, but I recommend you let them come to room temperature before enjoying, as they can get a bit hard.
- Freezing: These cookies freeze remarkably well! Just stack them in a container with parchment paper between layers and freeze for up to 3 months. To enjoy, let them thaw at room temperature or pop them in the microwave for a few seconds to warm.
FAQs
Can I use dark chocolate instead of white chocolate?
Absolutely! Dark chocolate would add a delicious depth of flavor and a bit more contrast to the ginger. Just be sure to adjust the sweetness according to your preference.
What should I do if my dough is too sticky?
If your cookie dough feels excessively sticky, don’t panic! Just add a tablespoon of flour at a time until it reaches a workable consistency. It’s all about finding that perfect balance!
How can I make these cookies softer or chewier?
For a softer cookie, try slightly underbaking them—take them out of the oven when they look just set. A little more brown sugar can also help make them chewy!
Can I skip the white chocolate dip?
Of course! These ginger cookies taste fantastic all on their own—sometimes simplicity is key. But I highly recommend giving it a go at least once; it’s such a delightful twist!
Conclusion
I hope you give these White Chocolate Dipped Ginger Cookies a try! They’re not just a treat; they carry with them the warmth of cherished memories and the love of homemade goodness. Whether you’re baking for friends, family, or just to enjoy a quiet evening at home, these cookies are sure to brighten your day. I would absolutely love to hear how yours turn out! Feel free to share your thoughts or any adaptations you made in the comments below. Happy baking!


Leave a Comment