
Red White & Blue Marble Cake
Introduction
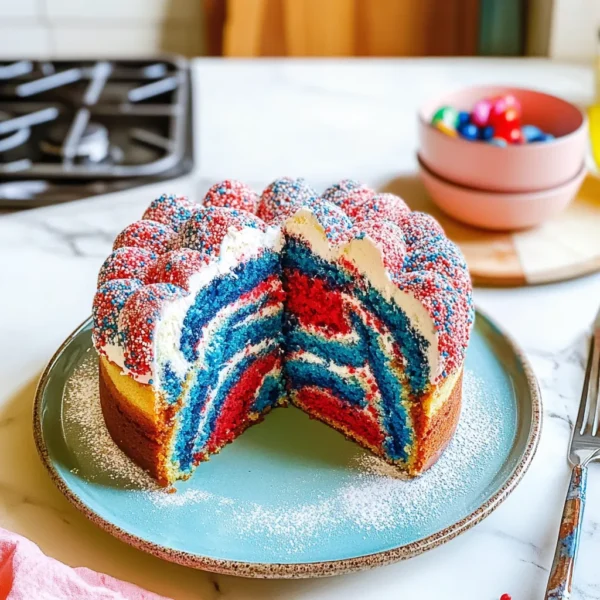
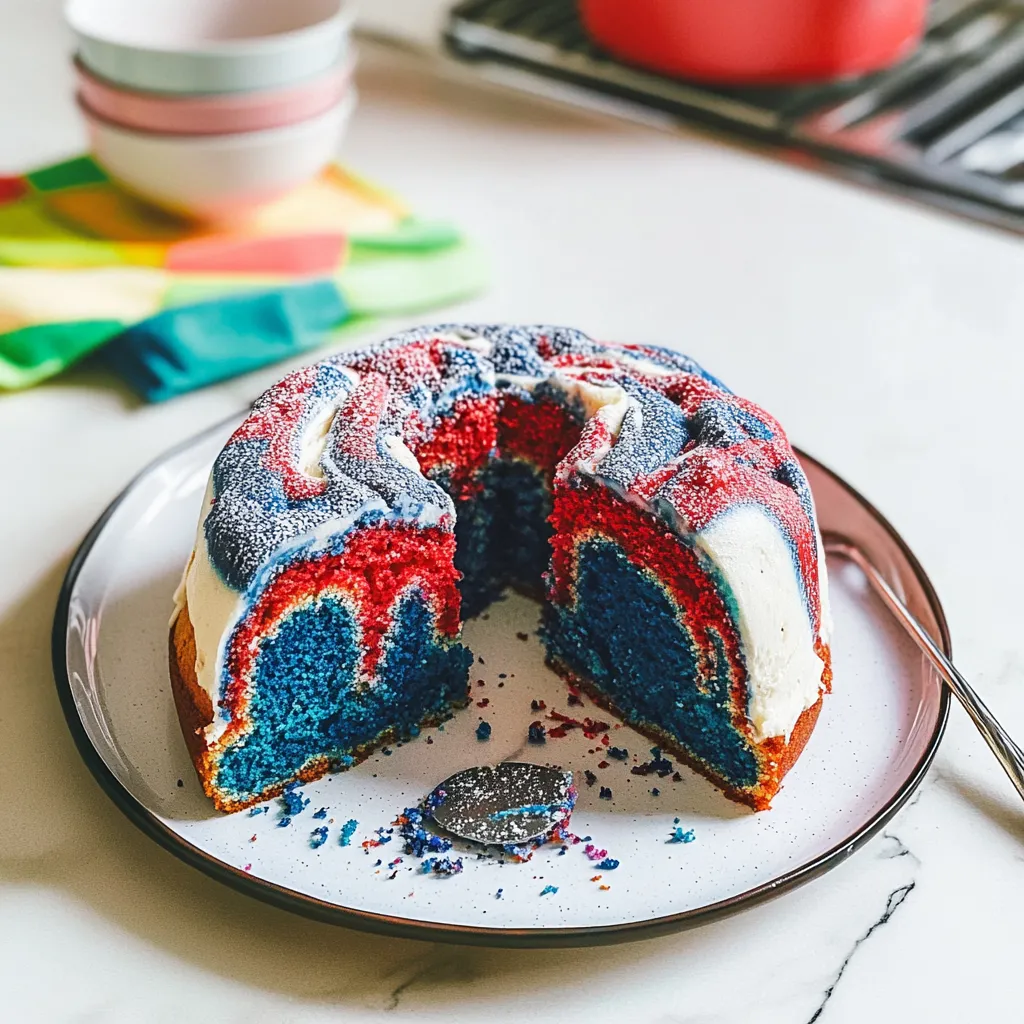
Ah, summer—the season of sunshine, laughter, and delightful gatherings! I can’t help but think of backyard barbecues, fireworks, and, of course, the tempting array of desserts that come with Independence Day festivities. One dessert that always brings a smile to my face is the gorgeous Red White & Blue Marble Cake. With its vibrant colors and playful swirls, it not only looks amazing but tastes light, fluffy, and downright delicious. It reminds me of warm days spent baking with my grandmother, who insisted that desserts should always be a little whimsical. Each slice is like a little slice of summer, bursting with memories and good times. It’s a perfect treat for Fourth of July celebrations or any summer get-together!
Why You’ll Love This Recipe
- Visually Stunning: The red, white, and blue swirls make it a showstopper at any gathering.
- Easy to Make: With simple ingredients and steps, it’s perfect for bakers of all levels.
- Versatile: You can customize it for any occasion or season by changing up the colors or flavors.
- Deliciously Soft: Every bite is airy and moist—the perfect combination!
- Fun for Kids: Baking this cake can be a fun activity to do with little ones, letting them help with the mixing and pouring!
Ingredients
Gathering your ingredients is the first and most exciting step. Here’s what you’ll need, along with some helpful notes:
- 2 ½ cups all-purpose flour (sifted for a lighter texture)
- 1 ½ cups granulated sugar
- 1 cup unsalted butter (softened to room temperature)
- 1 cup whole milk (for richness)
- 4 large eggs
- 2 ½ teaspoons baking powder
- 1 teaspoon vanilla extract (freshly opened for best flavor)
- ½ teaspoon almond extract (for a unique twist)
- Red and blue gel food coloring (or liquid, but gel gives a bolder color)
- 1 teaspoon salt
Step-by-Step Instructions
Ready to dive into the baking adventure? Let’s create this beautiful masterpiece together!
- Preheat Your Oven: Preheat your oven to 350°F (175°C). This ensures an even bake that helps our cake rise perfectly.
- Prepare Your Pans: Grease and flour two 9-inch round cake pans. This is crucial to help them release easily once baked. You could also line the bottoms with parchment paper for even more assurance!
- Mix the Dry Ingredients: In a medium bowl, whisk together the flour, baking powder, and salt until well combined. This helps ensure that the baking powder is evenly distributed throughout.
- Cream the Butter and Sugar: In a large mixing bowl, beat the softened butter and sugar together until light and fluffy, about 3-5 minutes. You want it to look pale and like a cloud of happiness!
- Add Eggs One at a Time: Crack in one egg at a time, mixing well after each addition. This allows the eggs to incorporate more thoroughly and gives your cake that dreamy texture.
- Incorporate the Milk and Extracts: Gradually add in the milk, vanilla extract, and almond extract. Mix until just combined.
- Combine Wet and Dry: Slowly add the flour mixture to the wet ingredients, mixing gently until no flour streaks remain. (Don’t overmix—this can make the cake dense!)
- Divide the Batter: Divide the batter evenly into three bowls. This is where the fun begins!
- Add Color: In one bowl, mix in red food coloring until you reach your desired shade. Do the same for the blue in the second bowl. Leave the third bowl white.
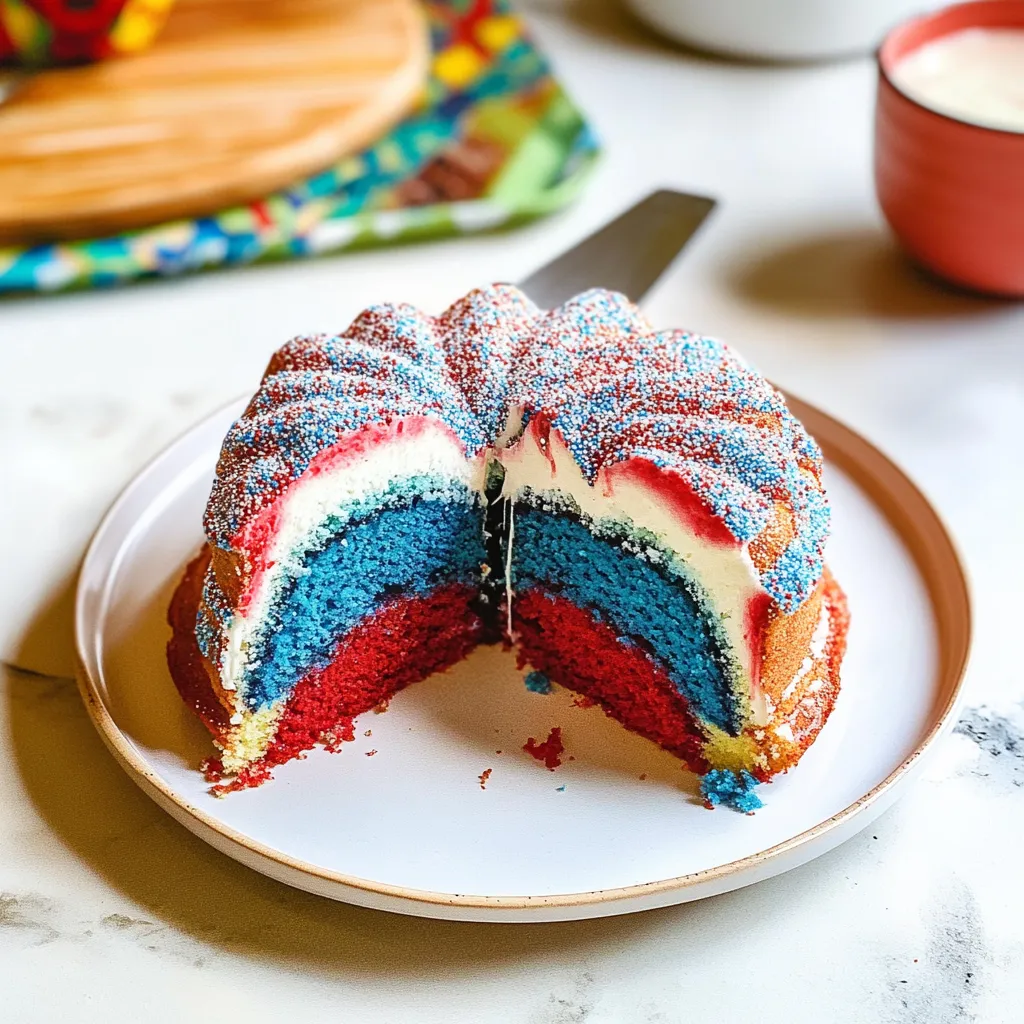
- Swirl It Up! Now the magic happens! In each prepared cake pan, spoon alternating dollops of red, white, and blue batter. Use a skewer or the handle of a spoon to gently swirl the batter together to create a marbled effect. Don’t overdo it; we want to see those lovely colors!
- Bake: Place your cake pans in the preheated oven and bake for 25-30 minutes, or until a toothpick inserted in the center comes out clean. Oh, that smell of baking cake! I can already feel the excitement building.
- Cool: Once baked, remove from the oven and allow the cakes to cool in the pans for about 10 minutes. Then, turn them out onto a wire rack to cool completely.
- Frost and Assemble: Once cooled, you can frost it with your favorite buttercream or cream cheese frosting. To achieve that festive look, go wild with some red, white, and blue sprinkles or fresh berries on top!
Pro Tips & Variations
Feeling playful? Here are some ideas to jazz up your cake:
- Flavor Twists: Swap out half a cup of flour for cocoa powder for a chocolate marble! Yum!
- Different Colors: Use different shades or even pastels for special themes—think baby showers or birthdays!
- Frosting Fun: Experiment with different frostings. Coconut cream frosting or lemon buttercream would be heavenly!
- Decorative Toppings: Add fresh berries or edible flowers on top for a touch of elegance.
Serving Suggestions
The best part of any cake is serving it up to friends and family. I love pairing slices of Red White & Blue Marble Cake with a cup of freshly brewed coffee or a scoop of vanilla ice cream on warm summer nights. A light summer salad on the side complements the sweetness of the cake beautifully, making it the perfect end to a gathering. Feel free to slice a piece as a dessert after a BBQ or enjoy it for a sweet breakfast treat the next morning with a cup of tea. No judgment here!
Storage Tips
There’s nothing worse than wanting cake and realizing it’s gone! Here’s how to keep your cake fresh:
- Refrigeration: Store any leftovers in an airtight container in the refrigerator for up to a week. The cake will retain its moisture and flavors beautifully.
- Freezing: If you have leftovers (which, let’s be honest, might not happen), you can freeze the cake for up to three months. Wrap it tightly in plastic wrap and then place it in a freezer bag. When you’re ready to enjoy it, simply thaw it in the refrigerator overnight.
- Reheating: If you’ve frozen the cake and want to enjoy it warm, pop it in the microwave for 10-15 seconds. It’ll taste like it just came out of the oven!
FAQs
Can I make this cake gluten-free?
Absolutely! You can use a 1:1 gluten-free flour blend instead of all-purpose flour. Just make sure to check the other ingredients, like baking powder, to ensure they are also gluten-free!
What frosting works best with this cake?
While classic buttercream is perfect, you can’t go wrong with cream cheese frosting for a tangy balance. A whipped cream frosting can also add a light touch, especially on hot summer days!
Can I prepare the batter in advance?
Yes! You can prepare the batter a few hours in advance. Store it in the refrigerator until you’re ready to bake. Just give it a gentle mix before pouring it into your pans.
How can I make the cake more moist?
Adding a bit of sour cream or yogurt to the batter can really elevate its moisture! Aim for around ½ cup to keep that soft, tender crumb.
Can I substitute the butter for something else?
Sure thing! If you’re looking for a lighter option, you could use unsweetened applesauce or even vegetable oil. Keep in mind that this might alter the taste and texture a tad, but it’s a great option if butter is out!
Conclusion
I hope you feel inspired to whip up this stunning Red White & Blue Marble Cake in your kitchen! If you try the recipe, I’d love to hear how it turns out for you. Feel free to drop a comment or share your own tips and variations. Happy baking, and may your summer be filled with sweet moments and scrumptious slices of cake!


Leave a Comment