
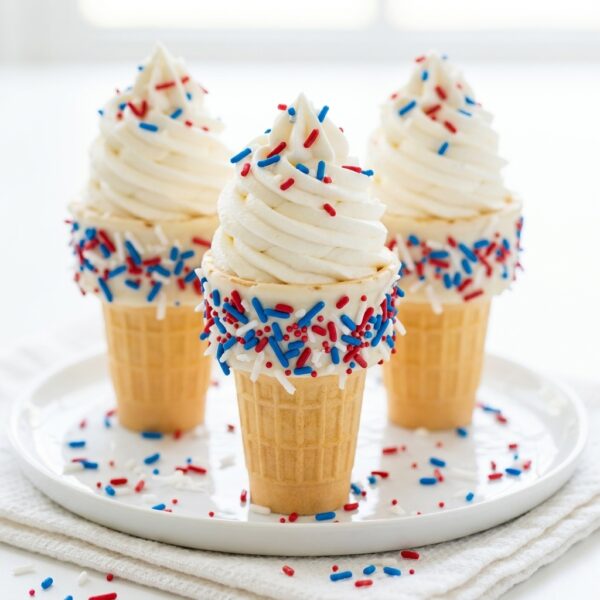
The Fourth of July was coming up, and I was scrolling through my phone trying to find something cute to bring to my sister’s backyard cookout. I didn’t want to deal with a hot oven on a 90-degree day, and I definitely didn’t want to spend hours decorating cookies. Then I came across the idea of stuffing waffle cones with no-bake cheesecake filling, and honestly, it sounded too easy to be true.
Turns out it really is that easy. You don’t bake anything. You don’t even need fancy equipment, just a hand mixer, a piping bag, and a few bowls. The filling is a mix of whipped cream, cream cheese, powdered sugar, and vanilla, which comes together into this fluffy, cloud-like mousse. You pipe it into the cones, dip the rims in white chocolate and red, white, and blue sprinkles, and you’re done.
My first batch, I tried to fill the cones too far in advance, and the bottoms got a little soggy by the time we sat down to eat. So here’s my tip: dip the cones and pipe the filling right before you serve. The crunch of the waffle cone against the cool, smooth cheesecake mousse is what makes these so good, and you don’t want to lose that. The smell of melted white chocolate and vanilla while I was working in the kitchen was honestly one of the best parts.
You can switch things up too. Use red or blue candy melts instead of white chocolate, or add a splash of lemon or orange extract to the mousse for a little kick. They’re cute, they’re festive, and they take maybe 20 minutes of hands-on work. And they always disappear fast at parties, which is the best kind of dessert in my book.
Why You’ll Love This Recipe
Crunchy cone with creamy filling. The waffle cone gives you that satisfying crunch, while the cheesecake mousse inside stays light, fluffy, and smooth.
Sweet, tangy, and vanilla-rich. The cream cheese brings a little tang that cuts through the sweetness, and the vanilla pulls the whole filling together really nicely.
No oven needed. The whole thing comes together with just a mixer and a piping bag. No baking, no waiting around for things to cool down.
Filling stores really well. You can mix up the mousse a day ahead and keep it in the fridge. Just pipe and serve when you’re ready.
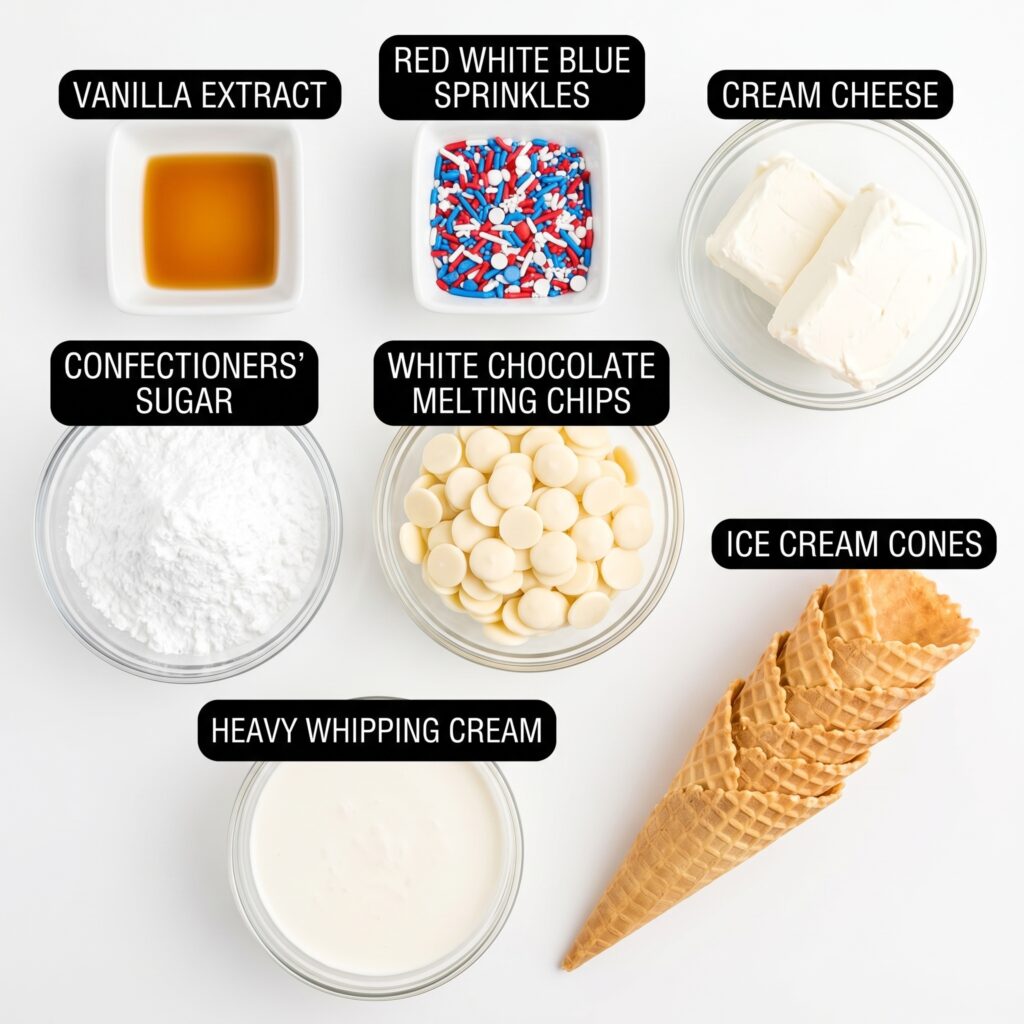
Ingredients You’ll Need
Heavy Whipping Cream. This is what gives your filling that light, fluffy texture. Make sure it’s cold straight from the fridge so it whips up faster and holds its shape better.
Cream Cheese. Use the full-fat brick kind, not the spreadable tub. Let it sit on the counter for about 30 minutes so it softens up. Cold cream cheese leaves you with lumps in your filling.
Confectioners’ Sugar. Also called powdered sugar. It sweetens the filling without leaving any gritty texture behind, which regular granulated sugar would do.
Pure Vanilla Extract. The real stuff tastes way better than imitation. A splash gives the mousse that warm, classic cheesecake taste.
Waffle Ice Cream Cones. Pick sturdy ones from the cone section at the grocery store. Sugar cones work too if that’s what you have, but waffle cones hold the filling better.
White Chocolate Melting Chips. These melt smooth and dry firm, which is exactly what you want for dipping. Almond bark or candy melts work as a swap.
Red, White, and Blue Sprinkles. Use jimmies or nonpareils. A mix of both gives you the prettiest look. Star-shaped sprinkles are fun too if you can find them.
STEP BY STEP
1. Whip the cream

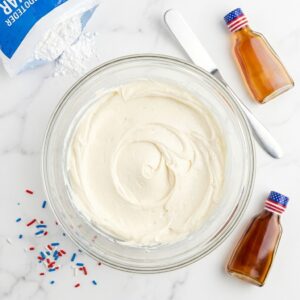
Pour your cold heavy whipping cream into a large mixing bowl. Grab your hand mixer and beat it on high for about three minutes. You’re looking for stiff peaks that hold their shape when you lift the beaters out. Don’t go past that point or it’ll turn into butter.
2. Mix the cream cheese
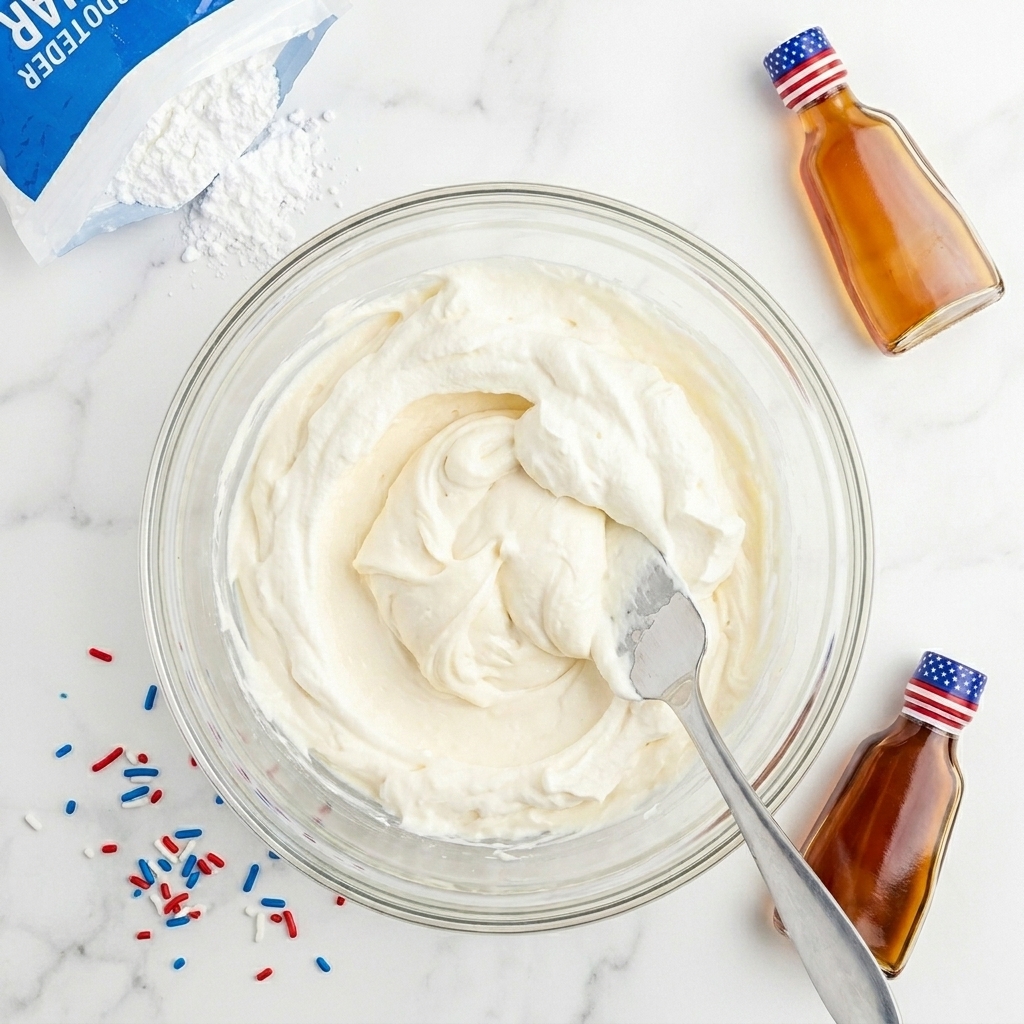
In a separate bowl, beat the softened cream cheese with the confectioners’ sugar and pure vanilla extract. Mix until everything’s smooth and creamy with no lumps left. Scrape down the sides of the bowl with a spatula so you don’t miss any cream cheese stuck to the edges.
3. Fold them together
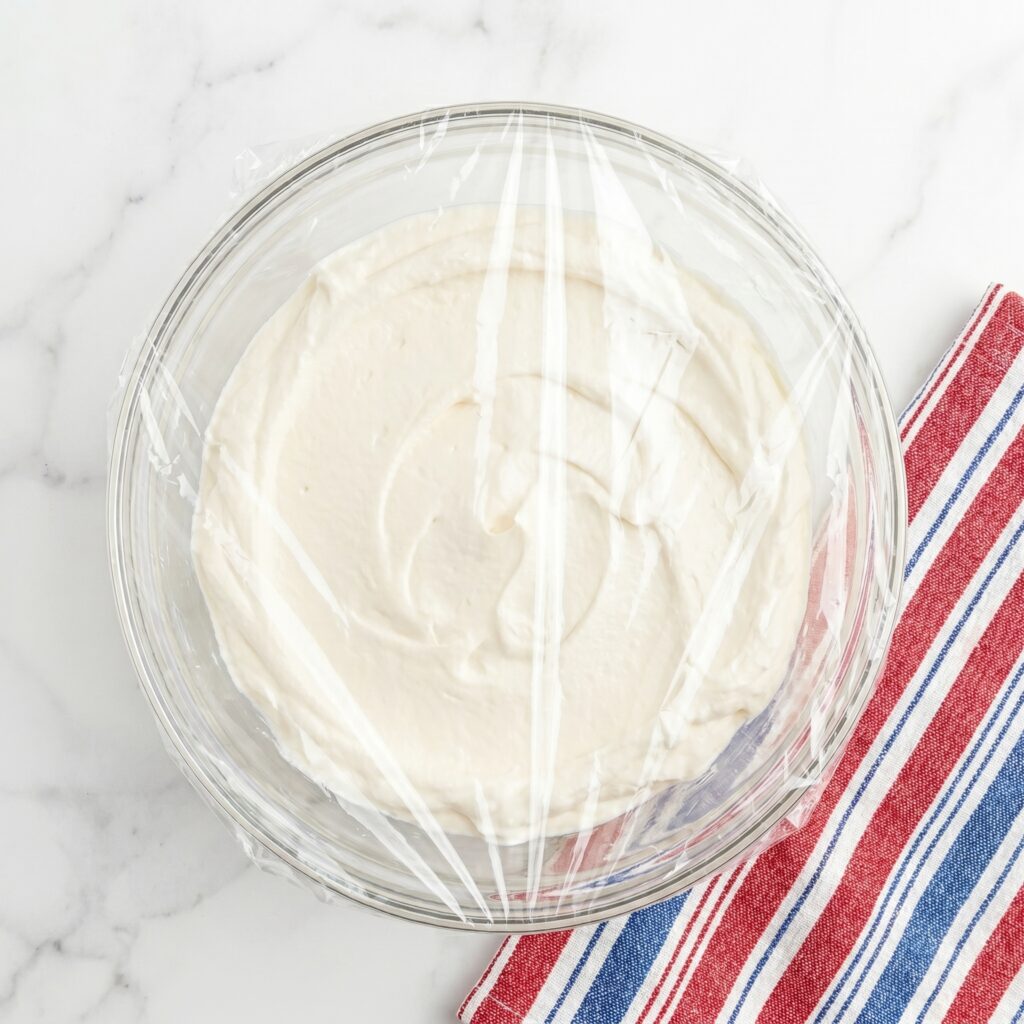
Take half of your cream cheese mixture and gently fold it into the whipped cream with a spatula. Use slow, sweeping motions from the bottom up. Once that’s mostly mixed in, fold in the rest. Don’t stir hard or you’ll deflate all that air you just whipped in.
4. Chill the filling
Cover the bowl with plastic wrap and pop it in the fridge for about an hour. This step lets the mousse firm up so it pipes nicely into the cones. Skipping this part means runny filling that won’t hold its shape when you pipe it.
5. Melt the chocolate
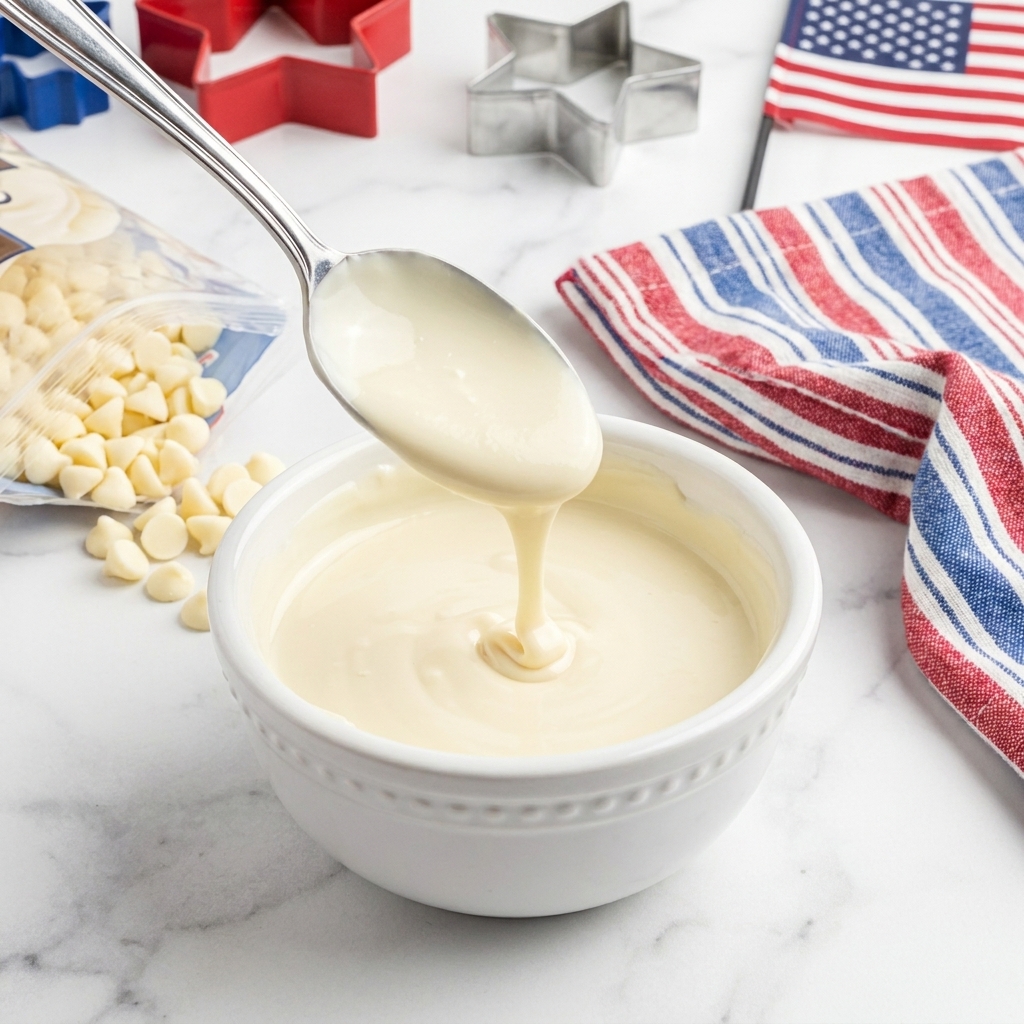
While the filling chills, put your white chocolate melting chips in a microwave-safe bowl. Heat it in 30-second bursts, stirring between each one, until it’s smooth and pourable. Dump your red, white, and blue sprinkles into a separate shallow bowl so they’re ready to go.
6. Dip the cones
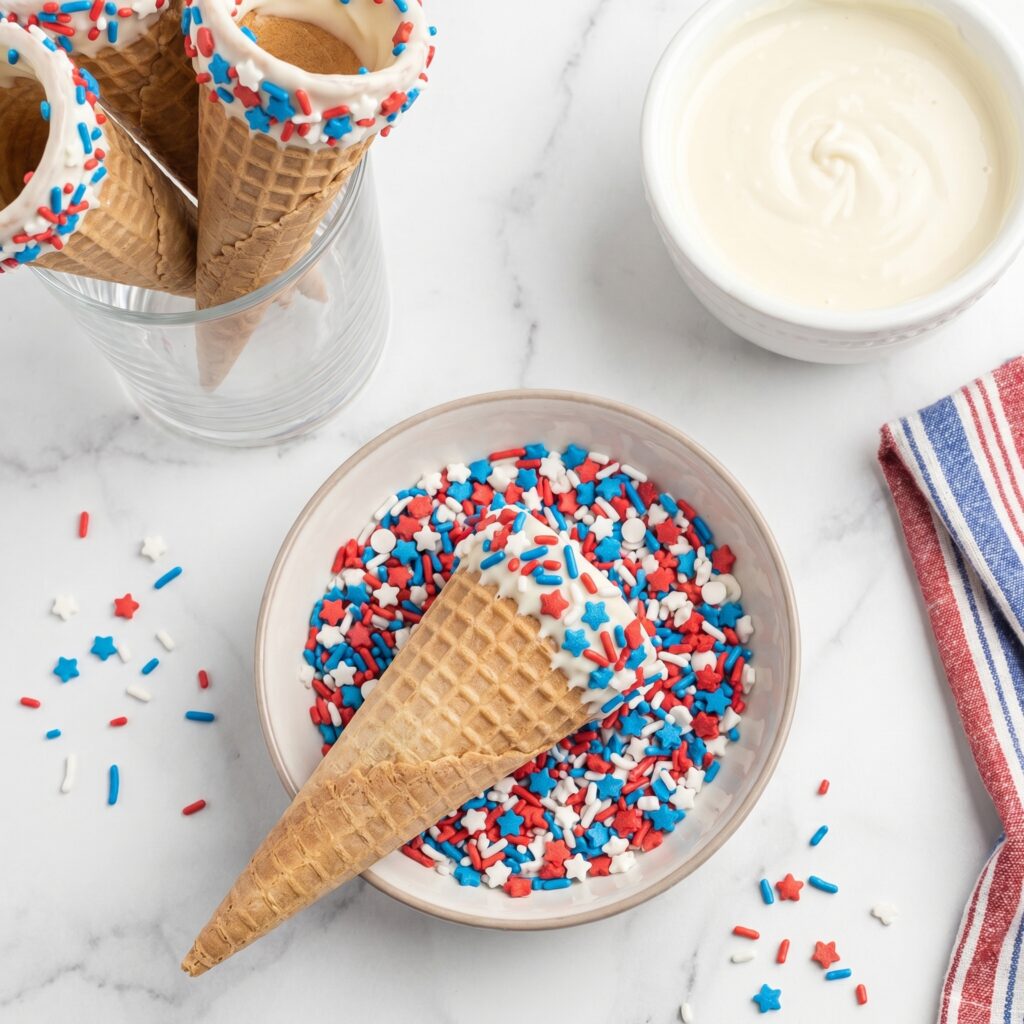
Take each waffle cone and dip the rim right into the melted white chocolate, letting any extra drip back into the bowl. Then immediately roll the wet chocolate edge into the bowl of sprinkles. Stand the cones upright in a glass or cup while the chocolate sets.
7. Pipe and garnish
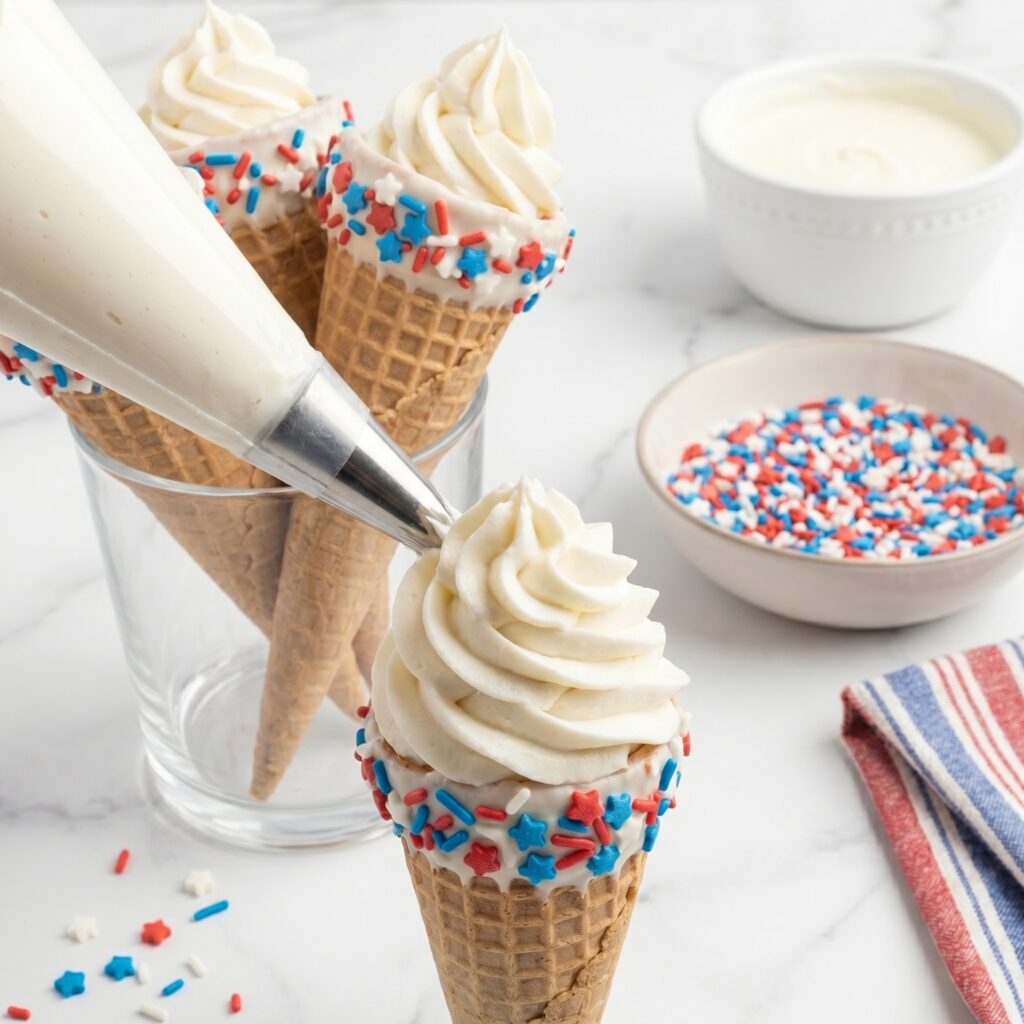
Scoop your chilled mousse into a piping bag with a metal star tip. Pipe the filling into each cone, swirling up high so it looks pretty above the rim. Sprinkle a little extra red, white, and blue on top of each one right before serving.
EXPERT TIPS:
Pop your mixing bowl and beaters in the freezer for 10 minutes before whipping the cream. Cold equipment helps the cream whip faster and fluffier.
Let your cream cheese sit on the counter for at least 30 minutes before mixing. Cold cream cheese gives you a lumpy filling no matter how long you beat it.
Microwave the white chocolate in short 30-second bursts, stirring between each one. It scorches really fast if you leave it in too long.
Stand the dipped cones upright in tall glasses or a wire rack while the chocolate sets. Laying them flat smudges the sprinkles and ruins the look.
Fill the cones no more than 30 minutes before serving. The waffle gets soft if the filling sits in it too long, and you lose that crunch.
WHAT TO SERVE WITH THIS RECIPE
Pair these cones with a tall glass of cold lemonade or iced tea. Sparkling water with strawberries works really well too.
Set out a platter of fresh berries, watermelon slices, and red grapes. Add chocolate-covered strawberries or mini fruit kabobs alongside.
Serve after burgers, hot dogs, grilled chicken, or BBQ ribs. Pair with potato salad, corn on the cob, or baked beans.
HOW TO STORE THIS RECIPE:
Keep the cheesecake filling and the cones in separate spots. Filled cones turn soggy fast.
Scoop the mousse into a piping bag and seal it tight, or stash it in an airtight container in the fridge. It holds up for about 24 hours.
Store the dipped cones in an airtight container in the refrigerator. They stay fresh for around three days this way. Just don’t fill them until you’re ready to serve.
Want to make these way ahead? Skip dipping the cones and just whip up the filling. Pop the mousse in the fridge for a day, then dip the cones and pipe everything fresh the day of your event.
Don’t freeze the filling or the cones. The mousse loses its fluffy texture once it thaws, and the cones turn soft and chewy instead of crisp.
VARIATIONS:
Lemon Twist. Add 1 teaspoon of lemon extract and the zest of 1 lemon to the filling. The citrus brightens up the mousse and cuts the sweetness.
Orange Creamsicle. Stir 1 teaspoon of orange extract into the mousse along with a few drops of orange food coloring. It tastes like a frozen creamsicle pop.
Strawberry Cheesecake. Fold ½ cup of finely chopped fresh strawberries into the chilled filling right before piping. You get bursts of fresh berry in every bite.
Chocolate Drizzle. Melt 3 tablespoons of semi-sweet chocolate chips and drizzle it across the piped mousse. Let it set before serving for a fancy finish.
Red Velvet Style. Add 2 tablespoons of cocoa powder and a few drops of red food coloring to the cream cheese mix. You get red velvet flavor in cone form.
Cookie Crumble. Crush 4 graham crackers or Oreos into fine crumbs and roll the chocolate-dipped rim in them instead of sprinkles. Tastes more like classic cheesecake.
Candy Melt Swap. Use red or blue candy melts instead of white chocolate for dipping the rims. You get a bolder patriotic look that stands out on the platter.
Berry Mix-In. Fold ⅓ cup of fresh blueberries and ⅓ cup of chopped strawberries into the filling. You get a fully patriotic flavor inside and out.
Mini Chocolate Chips. Stir ⅓ cup of mini chocolate chips into the chilled mousse before piping. The little chocolate bits add a fun crunch to every spoonful.
Caramel Swirl. Drizzle 2 tablespoons of caramel sauce into the piping bag before adding the mousse. You get caramel ribbons running through each cone.
Leave a Comment