
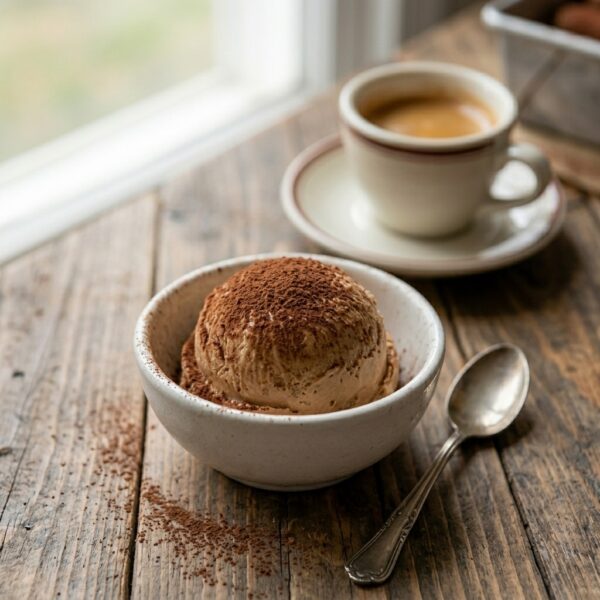
Tiramisu has always been one of my favorite desserts, but making the real thing is a lot of work. You’ve got to mess with a double boiler, whisk egg yolks just right, soak the lady fingers, and then wait for it all to chill. In the middle of summer? No thanks. My kitchen gets hot enough without standing over the stove for an hour.
So I started thinking about how to get those coffee and cocoa flavors into something cold and easy. That’s when I pulled out my Ninja Creami and grabbed a tub of cottage cheese from the fridge. Cottage cheese sounds weird in ice cream, I know. But once it’s blended up smooth, you can’t even tell it’s in there. It just gives the ice cream a thick, rich texture that reminds me of mascarpone.
This recipe only needs 6 ingredients and comes together in a few minutes of blending. The hardest part is waiting for the Creami to do its thing. One tip from me: make sure your coffee is fully chilled before you mix it in. I poured warm coffee in once and it made the whole mixture take way longer to freeze solid. Now I brew it the night before and stick it in the fridge.
The first spoonful tastes just like the tiramisu my aunt used to bring to family dinners. You get that strong coffee hit first, then the cocoa, with a little warmth from the rum extract at the end. And the texture? Soft, scoopable, no icy bits. If you’ve been missing tiramisu but don’t want to spend your afternoon baking, give this one a shot.
Why You’ll Love This Recipe
Smooth and creamy texture. The blended cottage cheese gives you that thick, rich feel without any graininess. It scoops just like the soft serve from the ice cream shop down the street.
Real tiramisu flavor. The espresso powder and cocoa hit you first, then the rum extract rounds it out. It actually tastes like the dessert, not just coffee ice cream pretending to be tiramisu.
Quick to throw together. No double boiler, no whisking egg yolks, no baking. You blend everything up, freeze it, and let the machine do the work while you go do something else.
Keeps well in the freezer. Store it in a sealed container and it’ll stay good for a couple weeks. Just let it sit on the counter for about 20 minutes before scooping so it softens back up.
Ingredients You’ll Need
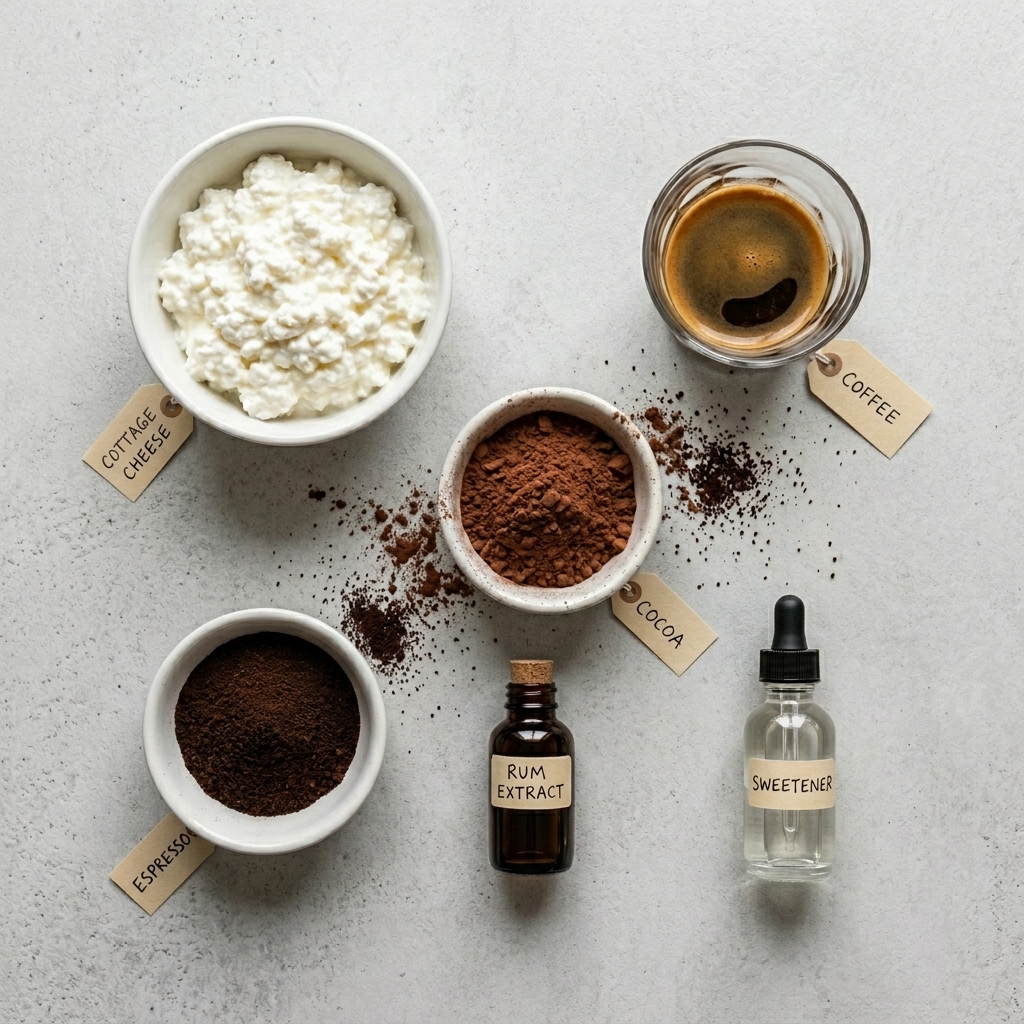
Full fat cottage cheese. Stick with the full fat kind. I tried it with low fat once and the ice cream came out thin and a little icy instead of thick and smooth.
Strong brewed coffee. Make sure it’s cold before you mix it in. You can swap it for unsweetened almond milk if you want a milder coffee taste.
Unsweetened cocoa powder. This gives you that classic tiramisu dusting flavor mixed right into the ice cream. Don’t swap it for protein powder because the texture comes out weird.
Instant espresso powder. This is what makes it taste like real tiramisu instead of just plain coffee ice cream. You can skip it, but the flavor won’t be as bold.
Rum extract. A little bit goes a long way. If you don’t like rum, use vanilla extract instead and it’ll still taste great.
Chocolate liquid monk fruit sweetener. The liquid kind keeps the ice cream soft and scoopable. Granulated sweeteners like erythritol can make it grainy or rock hard once it freezes.
How to Make Cottage Cheese Tiramisu Ice Cream
Step 1: Brew the coffee
Make your strong coffee first thing and stick it in the fridge to chill. Warm coffee will mess with the freezing process later. I usually brew mine the night before so it’s ready when I am.
Step 2: Blend everything together
Toss the cottage cheese, chilled coffee, cocoa powder, espresso powder, rum extract, and chocolate monk fruit sweetener into your blender. Run it until the mixture looks completely smooth with no lumps from the cottage cheese.
Step 3: Pour into pint
Pour the blended mixture into your Ninja Creami pint container. Don’t fill it past the max line or it’ll overflow when the machine spins it. Pop the lid on tight.
Step 4: Freeze it solid
Stick the pint in the freezer and let it sit for at least 24 hours. I know that’s a long wait, but if you skip this part the texture won’t come out right.
Step 5: Run the Creami
Take the pint out, lock it into your Ninja Creami, and hit the ice cream button. If it looks crumbly when it’s done, just run the re-spin cycle and it’ll smooth right out.
Step 6: Scoop and serve
Dust a little extra cocoa powder on top if you want to make it look fancy. Eat it right away for that soft serve feel, or pop it back in the freezer for later.
Expert Tips
Use full fat cottage cheese only. The low fat stuff makes the ice cream watery and you’ll end up with ice crystals throughout.
Chill your coffee completely before blending. Even slightly warm coffee will throw off the freezing time and mess with the texture.
Blend the mixture longer than you think you need to. Any leftover cottage cheese lumps will show up in your finished ice cream.
If the first spin comes out crumbly, run the re-spin cycle right away. This step fixes the texture almost every time.
Let it sit on the counter for about 20 minutes after freezing overnight. Trying to scoop it straight from the freezer is a workout.
What to Serve With This Recipe
Top each scoop with a dusting of cocoa powder and a few shaved dark chocolate curls. Add fresh berries on the side.
Pair the ice cream with a shot of espresso or a cup of black coffee. Serve almond biscotti alongside for crunch.
Drop a scoop into a glass of cold brew for an affogato. Spoon whipped cream on top before serving guests.
How to Store
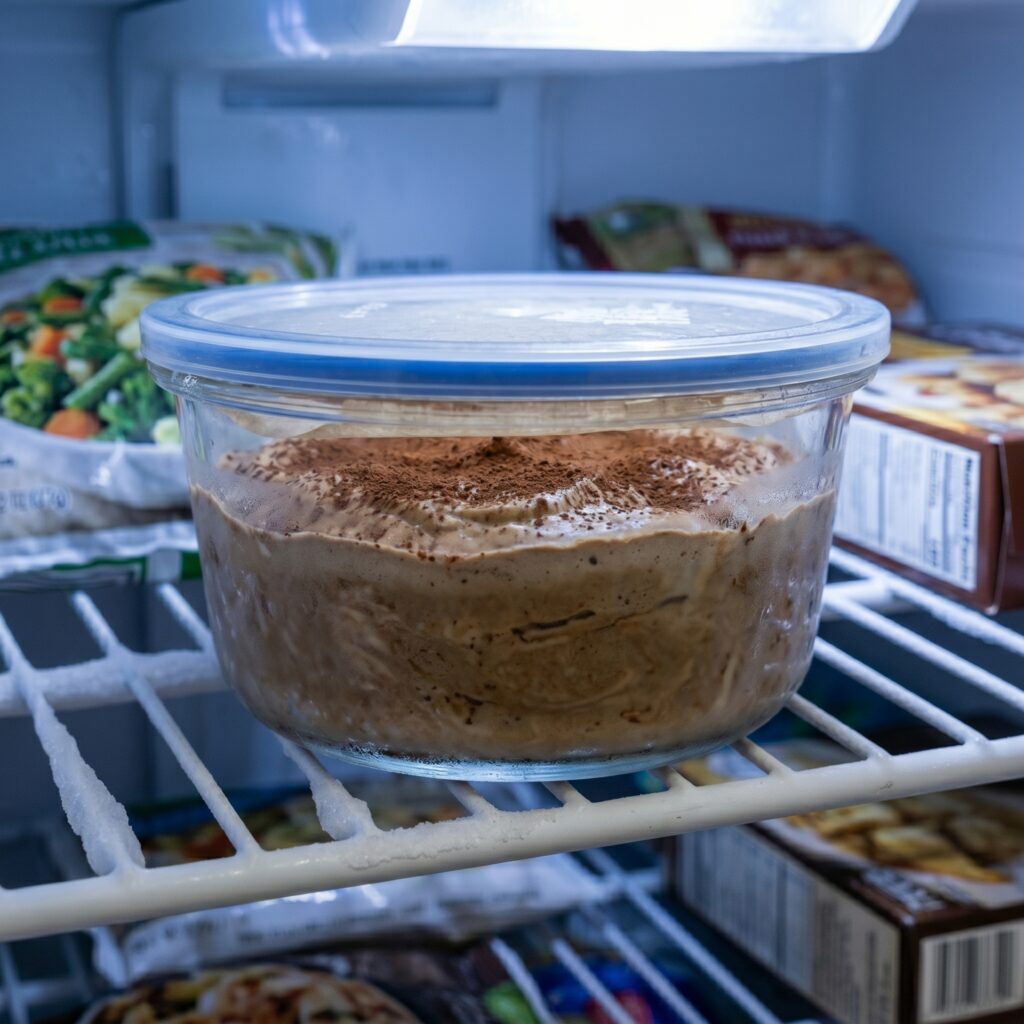
Scoop the ice cream into an airtight container with a tight lid. Press a piece of parchment paper directly onto the surface before sealing. This stops ice crystals from forming on top.
Store the container in the back of the freezer where the temperature stays steady. The ice cream keeps well for up to two weeks.
Pull the container out about 20 minutes before serving. Let it soften on the counter until a spoon glides through easily. Skip the microwave because it melts the edges while leaving the middle rock solid.
If the texture turns icy after a few days, scoop the ice cream back into your Ninja Creami pint. Run the re-spin cycle and it comes back to that smooth scoopable state.
Recipe Variations and Add-ins
Swap the cottage cheese for ricotta. Use the same amount of whole milk ricotta in place of the cottage cheese. The protein stays close but the carbs and fat go up a bit.
Add 2 tablespoons cream cheese. Mix in softened full fat cream cheese or mascarpone when you blend everything. This pushes the texture closer to traditional tiramisu filling.
Use rum liqueur instead of extract. Pour in 1 tablespoon of dark rum in place of the rum extract. The alcohol also helps keep the ice cream softer in the freezer.
Skip the coffee and use almond milk. Replace the brewed coffee with the same amount of unsweetened almond milk. You still get the cocoa and espresso flavor without as much caffeine.
Stir in chopped sugar free chocolate chips. Fold 3 tablespoons of mini chocolate chips into the ice cream after the Creami finishes spinning. This adds little pockets of chocolate in each scoop.
Top with toasted sliced almonds. Sprinkle 2 tablespoons of toasted sliced almonds over the top right before serving. The crunch plays off the smooth ice cream nicely.


Leave a Comment