
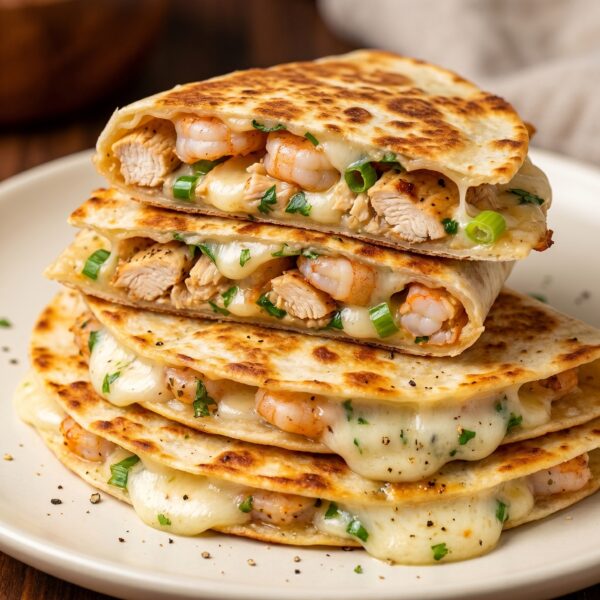
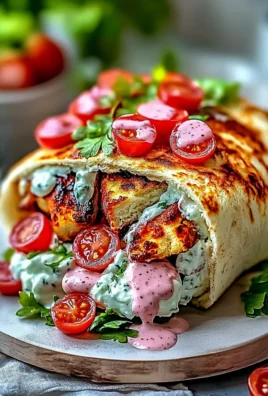
These cheesy garlic chicken wraps have saved me on so many busy weeknights. Twenty minutes, one pan, and you’ve got something that actually tastes like you put in real effort. The smell of garlic and butter hitting a hot pan is enough to get everyone wandering into the kitchen asking what’s cooking.
Honestly, the trickiest part for me was figuring out how to get the chicken cooked through without drying it out. It’s easy to leave it on too long. But once I learned to flip it just once and pull it off the heat while it still looks barely done, the texture got so much better. It carries over and finishes cooking on its own.
The garlic sauce is what really ties everything together. It’s just mayo, Greek yogurt, fresh garlic, and a little lemon juice stirred together in a bowl. Nothing fancy. But spread that on a warm tortilla before anything else goes in, and it changes the whole wrap. Here’s a tip worth knowing: warm your tortillas before you fill them. Cold tortillas crack when you roll them, and that’s how fillings end up all over the counter.
And the toasting step at the end is not one to skip. A little butter in the pan, seam side down first, and you get that lightly crisp outside with melted cheese pulling apart when you cut it in half. That’s the part that makes this worth making again.
Why You’ll Love This Recipe
The texture hits right. Crispy toasted outside, melty cheese inside, and juicy chicken throughout. It’s a solid combination in every bite.
The garlic flavor runs deep. Fresh garlic goes into both the chicken and the sauce, so it’s not just sitting on the surface.
It’s ready in 20 minutes. This is a real weeknight option, not a “quick” recipe that actually takes an hour.
Leftovers reheat well. Store the chicken filling and sauce separately in the fridge, and you’ve got another wrap ready in under 10 minutes.
Here are the ingredients exactly as listed in the article:
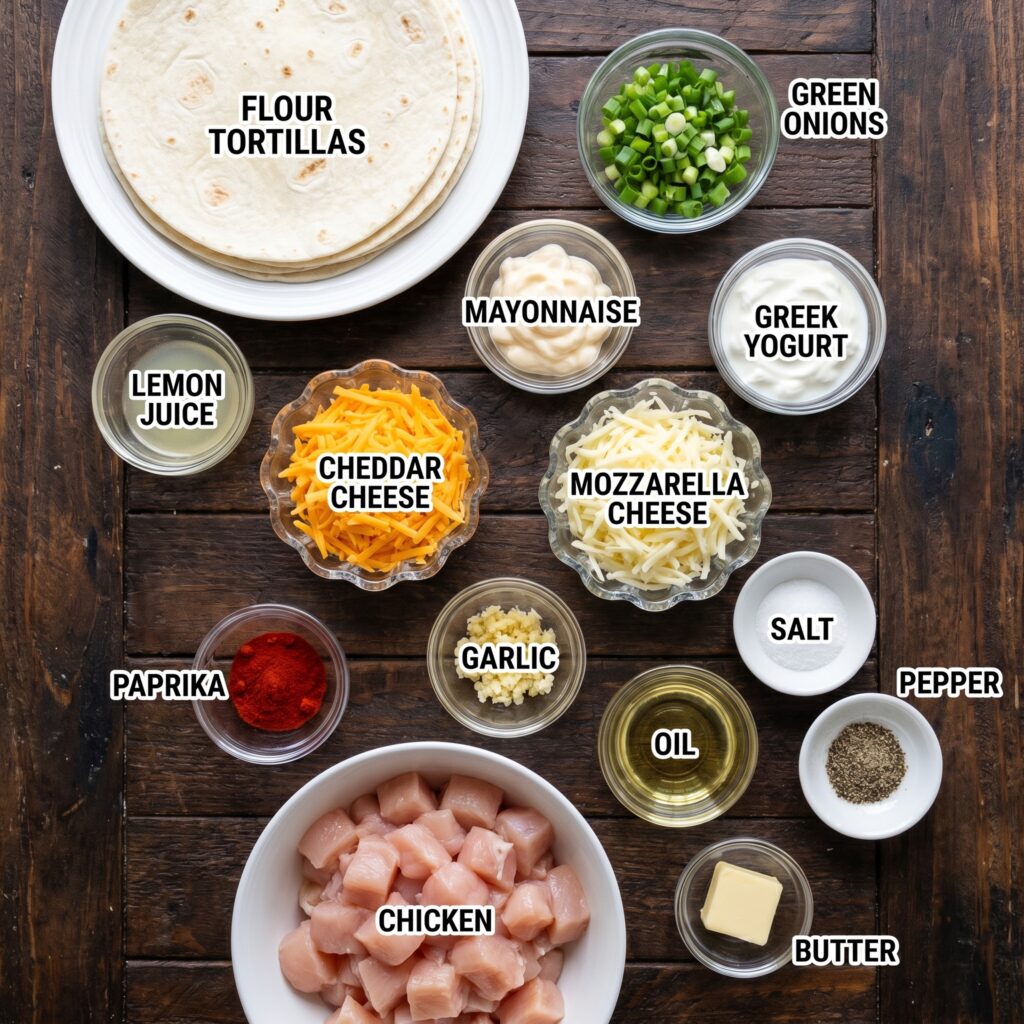
Chicken Filling
- Chicken breast (or thighs)
- Fresh garlic, minced
- Paprika (sweet or smoked)
- Salt
- Freshly ground black pepper
- Olive oil
- Butter
Wraps
- Large flour tortillas
- Mozzarella cheese
- Cheddar cheese
- Fresh parsley
- Green onions (green parts)
Garlic Sauce
- Mayonnaise
- Greek yogurt
- Fresh garlic, minced
- Fresh lemon juice
STEP BY STEP
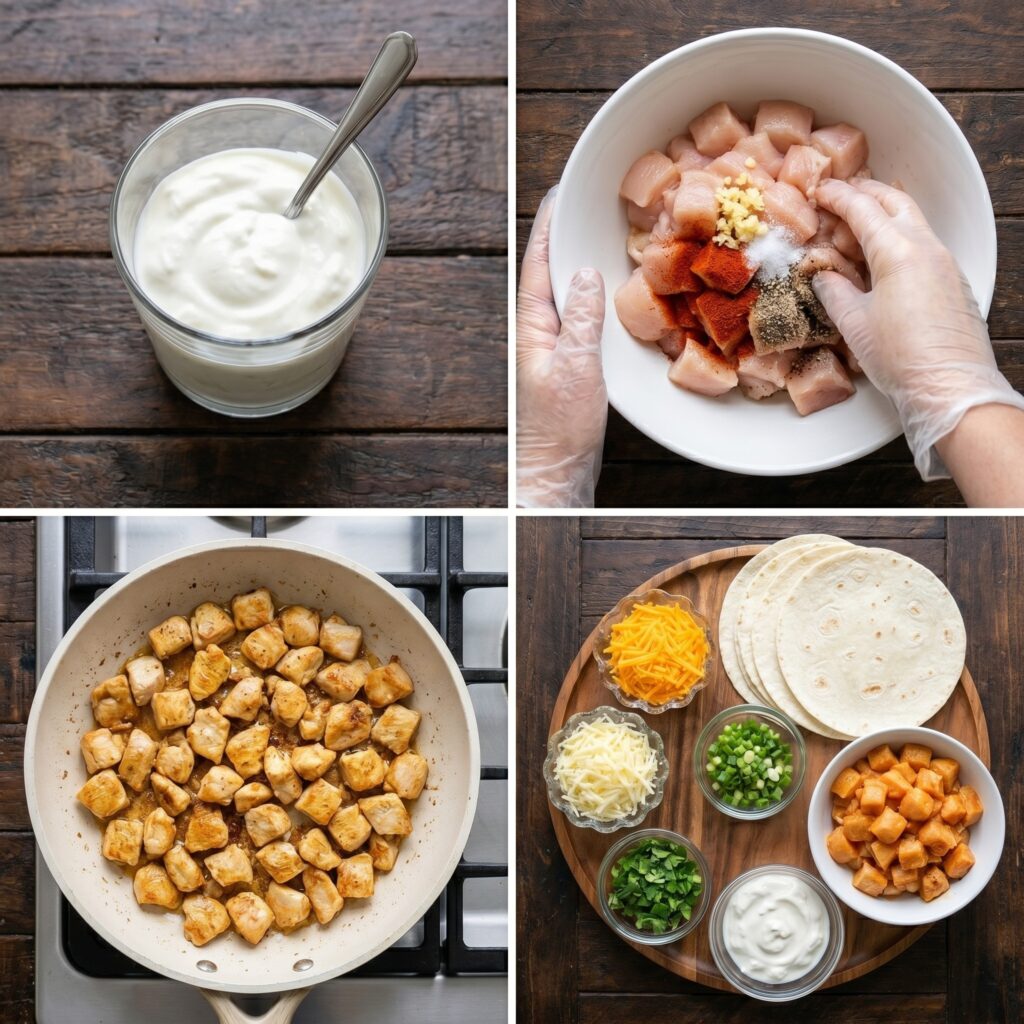
1. Mix the Sauce Stir the mayonnaise, Greek yogurt, minced garlic, and fresh lemon juice together in a small bowl until smooth. Set it aside for now. You’ll use this both inside the wrap and as a dipping sauce on the side.
2. Season the Chicken Toss the chicken pieces with minced garlic, paprika, salt, and black pepper until everything is well coated. Let it sit for a minute while your pan heats up.
3. Cook the Chicken Add olive oil and butter to a pan over medium heat. Once the butter melts, lay the chicken in a single layer. Let it sit untouched for about two minutes until the bottom turns golden, then flip once and cook just a little longer. Pull it off before it dries out.
4. Warm the Tortillas Run your flour tortillas through a dry pan or microwave for a few seconds. Warm tortillas roll without cracking, so don’t skip this step.
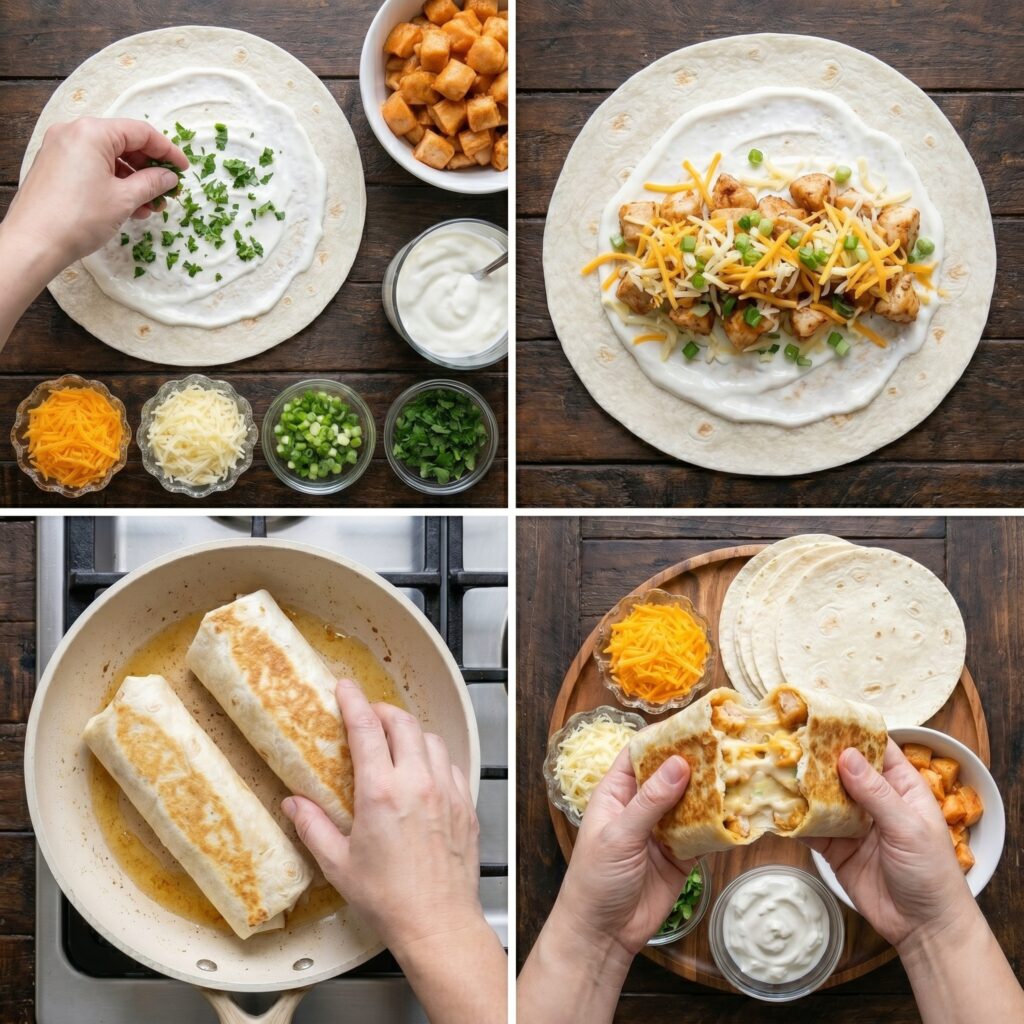
5. Build the Wraps Spread a good layer of garlic sauce across each tortilla. Add the cooked chicken, then scatter mozzarella, cheddar, fresh parsley, and green onions on top. Finish with a little extra sauce and a crack of black pepper.
6. Roll Them Up Fold both sides of the tortilla inward over the filling, then roll it forward tightly. Keep the pressure even so nothing spills out the ends.
7. Toast and Serve Brush a little butter in the pan and lay each wrap seam side down. Toast for a couple of minutes per side until the outside is lightly crisp and the cheese inside has fully melted. Slice in half and serve warm with extra sauce on the side.
EXPERT TIPS
Pull the chicken off the heat a little earlier than you think. It keeps cooking on its own and stays juicy instead of turning dry and tough.
Fresh garlic works better here than garlic powder. It goes into both the chicken and the sauce, so the flavor really comes through in the finished wrap.
Toasting the wrap seam side down first holds everything in place. It seals the fold and keeps the filling from spilling out when you flip it.
A sandwich press works just as well as a pan for toasting. It applies even pressure and gets the cheese melted faster without needing to flip.
Warming the tortillas before rolling prevents cracking. Cold tortillas are stiff and tend to split right where you fold them, which makes rolling much harder.
WHAT TO SERVE WITH THIS RECIPE
Extra garlic sauce on the side gives you something to dip each half into as you eat the wrap.
A simple green salad with lemon dressing sits well alongside the wrap and cuts through the richness.
Gochujang aioli or a ranch dressing works as an alternative dipping sauce if you want more heat.
HOW TO STORE THIS RECIPE
Store the chicken filling and garlic sauce separately in airtight containers in the fridge. Both keep well for up to 4 days.
Avoid storing assembled and toasted wraps. The tortilla softens and the texture suffers by the time you reheat it.
When you’re ready to eat, spread fresh sauce on a tortilla, add the cold chicken filling and cheese, then toast it in a pan until the cheese melts.
VARIATIONS:
Swap the peaches out for 2 cups of blueberries. They hold their shape well during baking and add a slightly tart contrast to the sweet batter.
Diced apples work in place of peaches too. Go with a firm variety like Honeycrisp or Granny Smith so they don’t turn mushy in the oven.
Apricots cut into small chunks are another solid swap. Use the same amount as the peaches and expect a slightly tangier result.
A teaspoon of vanilla extract stirred into the wet ingredients adds a noticeable layer of flavor without changing the texture of the cake.
Swap the walnuts in the streusel for pecans or sliced almonds. Both hold up well in the oven and bring a different kind of crunch to the topping.
Leave a Comment