
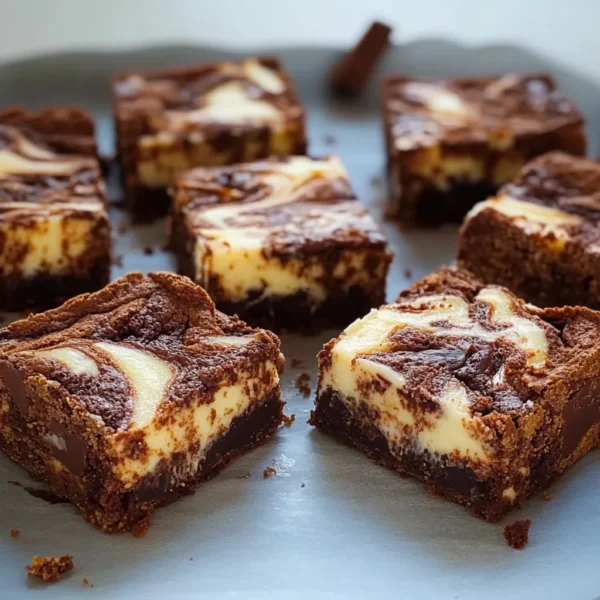
There’s something incredibly nostalgic about a good dessert that echoes the comforts of home. When I think of the days spent with my mom in the kitchen, laughter mingling with the rich aroma of baking chocolate and vanilla, my heart feels full. One of my all-time favorites from those sweet times was her cheesecake. But, oh—when she decided to mix it up by swirling it with brownies, my taste buds danced with joy! Today, I’m excited to share a delightful fusion of flavors in these Swirled Vanilla Cheesecake and Chocolate Brownie Bars. They’re perfect for sharing at gatherings or savoring solo while curled up on the couch with a good book. Trust me, you’ll want to dive into this heavenly treat!
Why You’ll Love This Recipe
- Easy to make and perfect for any occasion.
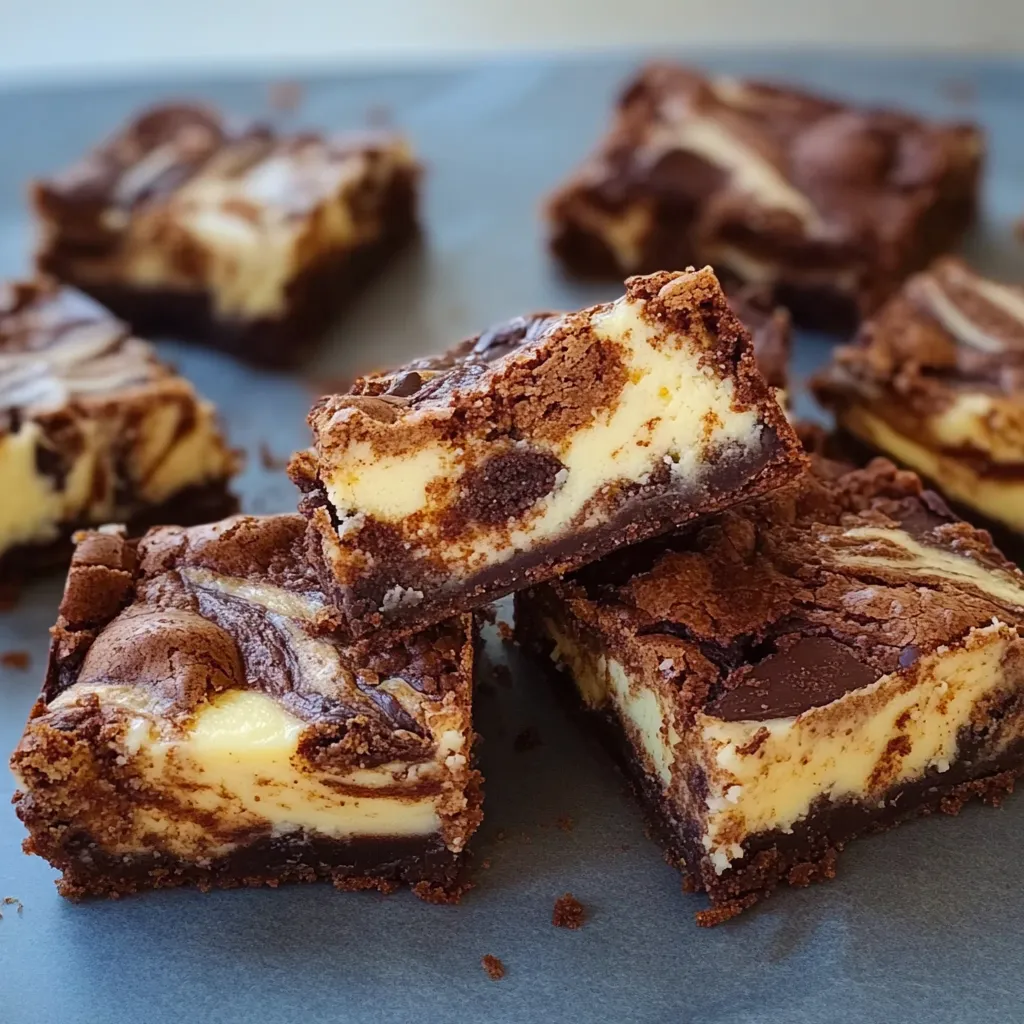
- Decadent layers of rich brownie and creamy cheesecake.
- Impressive enough for guests but simple for a cozy night in.
- Great for meal prep; they keep well and taste amazing even the next day!
Ingredients
Let’s gather our goodies! You won’t need anything too fancy, just some basic pantry staples and a few fridge staples.
For the Brownie Layer:
- 1/2 cup unsalted butter, melted (don’t skimp on this, it adds richness!)
- 1 cup granulated sugar
- 2 large eggs
- 1 tsp vanilla extract
- 1/3 cup unsweetened cocoa powder
- 1/2 cup all-purpose flour
- 1/4 tsp salt
- 1/4 tsp baking powder
For the Creamy Cheesecake Layer:
- 16 oz cream cheese, softened (let it sit out for a while to make it easier to mix)
- 1/2 cup granulated sugar
- 2 large eggs
- 1 tsp vanilla extract
- 1/4 cup sour cream (this adds a nice tang!)
Now that we have everything, let’s get our hands mixed into this deliciousness!
Step-by-Step Instructions
- Preheat Your Oven: First things first, preheat your oven to 350°F (175°C). This will ensure that we have a nice warm oven ready for our purty bars!
Prepare the Brownie Batter: In a medium mixing bowl, stir together the melted butter and sugar until fully combined. Add in the eggs one at a time, mixing well after each addition. Don’t rush this! Then, whisk in the vanilla, cocoa powder, flour, salt, and baking powder until just combined. The batter should be thick and glossy.
- Spread the Brownie Base: Grab a lightly greased 9×13 baking pan and spread your brownie batter evenly in the bottom. Use a spatula for this to get it nice and smooth.
- Make the Cheesecake Filling: In a separate bowl, combine the softened cream cheese and sugar. Beat with a hand mixer until smooth and creamy—no lumps allowed! Add in the eggs, vanilla, and sour cream, mixing until everything is well blended.
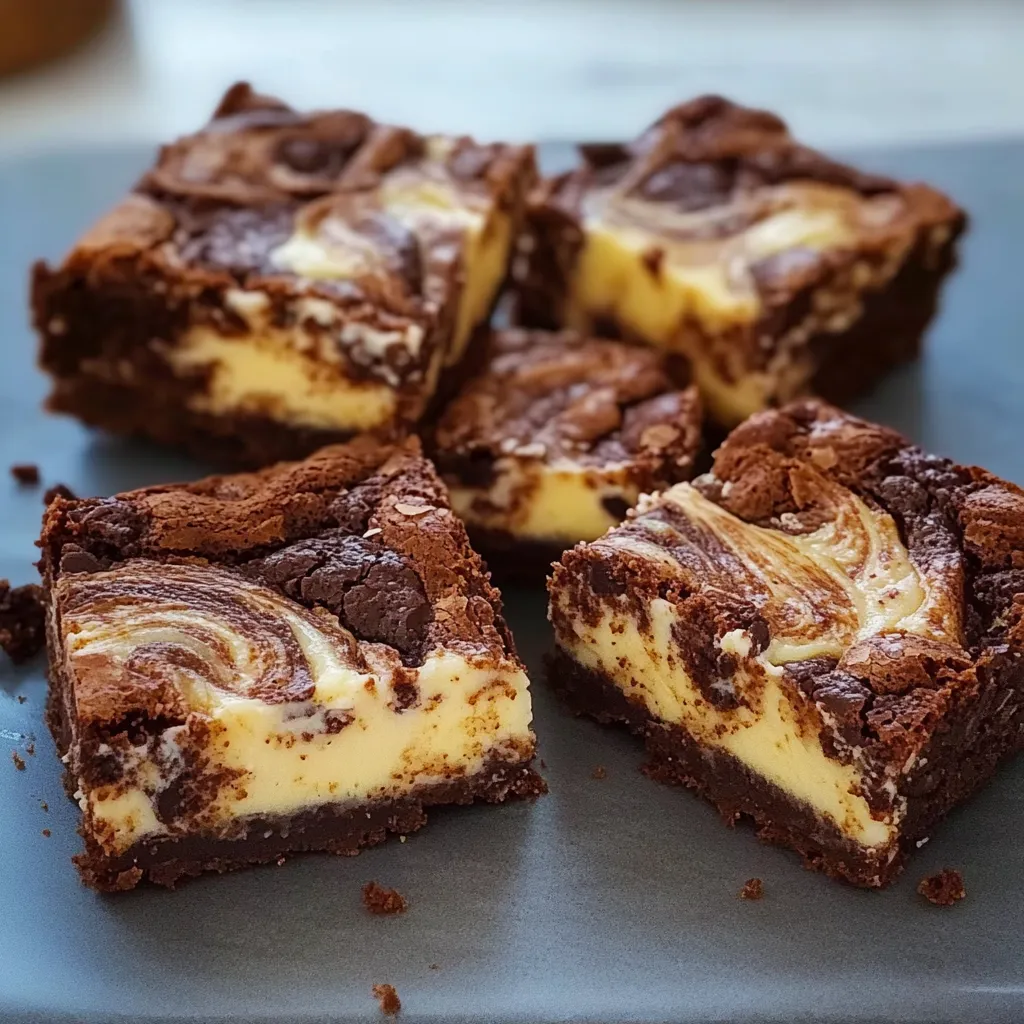
- Swirl it Up: Pour your cheesecake mixture over the brownie layer in the baking pan. Use a knife or a skewer to swirl the two batters together. Don’t go overboard; you want to see beautiful chocolate and creamy cheesecake swirls peeking through!
- Bake & Cool: Bake in your preheated oven for about 30-35 minutes. You’ll know it’s done when the edges are firm, but the center still has a slight jiggle. Remove from the oven and let it cool in the pan on a wire rack. Once cool, pop it in the fridge for at least 2 hours, or overnight if you can wait!
Pro Tips & Variations
Here are some fun ideas to take your Swirled Vanilla Cheesecake and Chocolate Brownie Bars to the next level:
- Nutty Delight: Add chopped walnuts or pecans to your brownie batter for an added crunch.
- Flavor Twists: Swap in flavored extracts like almond or coffee for a unique twist!
- Chocolate Lovers: Drizzle some melted chocolate on top after baking to make it even more appealing!
- Berry Bliss: Brighten things up with some fresh raspberries or strawberries on top; they pair beautifully with the rich flavors.
Don’t be afraid to play around—this recipe is super flexible!
Serving Suggestions
Once your bars are chilled and ready to delight, cut them into squares (or rectangles, if you’re feeling trendy) and plate them! I love serving these with a dollop of whipped cream on top for an extra touch of creaminess. They also go wonderfully with a side of fresh berries to balance the sweetness. And let’s be honest, every dessert deserves a good cup of coffee, right? Imagine sinking your fork into one of these bars while sipping a cappuccino on a lazy Sunday morning. Pure bliss!
Storage Tips
These bars are a treat you can enjoy for days! Here’s how to store them:
- Refrigerator: Keep them in an airtight container in the fridge for up to 5 days. The flavors continue to meld, making them even more delicious!
- Freezer: You can freeze these bars for up to 3 months. Just ensure they’re wrapped tightly in plastic wrap and then aluminum foil to prevent freezer burn.
- Reheating: If you’d like to enjoy them warm, microwave a square for about 15-20 seconds. It’s like bringing back the cozy comfort of fresh-baked goodness!
FAQs
Can I use low-fat cream cheese for this recipe?
Absolutely! Low-fat cream cheese will work just fine; it may not be as rich, but the flavors will still be delicious. Just make sure it’s softened for easy mixing!
What if I don’t have sour cream?
No problem! You can substitute with Greek yogurt, which will give you that nice tang and creamy texture. It works almost like a one-to-one swap!
Can I make these gluten-free?
Yes! Swap the all-purpose flour with a gluten-free flour blend. I always recommend checking that your baking powder is gluten-free as well.
How can I tell when these bars are done baking?
The edges will feel set, but the center should still jiggle slightly. Remember, it will firm up as it cools!
What’s the best way to cut these bars?
Using a sharp knife or a pizza cutter works like a charm. For clean edges, wipe the knife with a damp cloth between cuts to remove any sticky residue.
Conclusion
There you have it, my dear friend! These Swirled Vanilla Cheesecake and Chocolate Brownie Bars are sure to bring a little joy to your home, just as they did in mine. I’d love to hear your thoughts, tips, or stories around this recipe. Have you put your own spin on it? Drop a comment below! Sharing joy through food is one of life’s sweetest pleasures. So, go ahead, bake these up, and indulge yourself—you deserve it!

Leave a Comment