
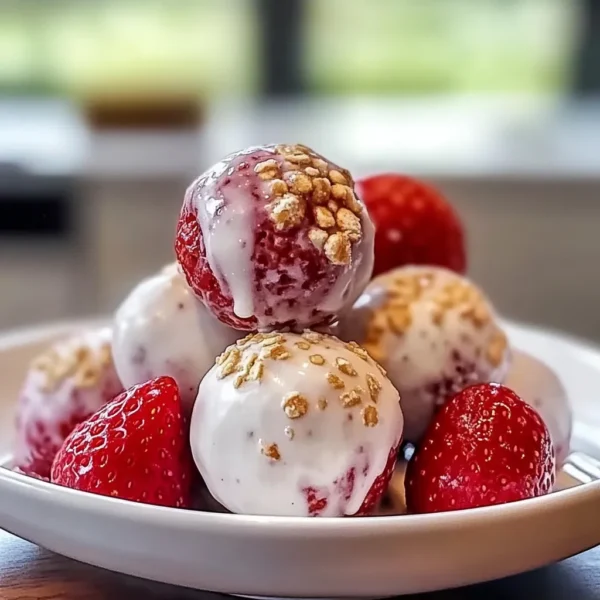
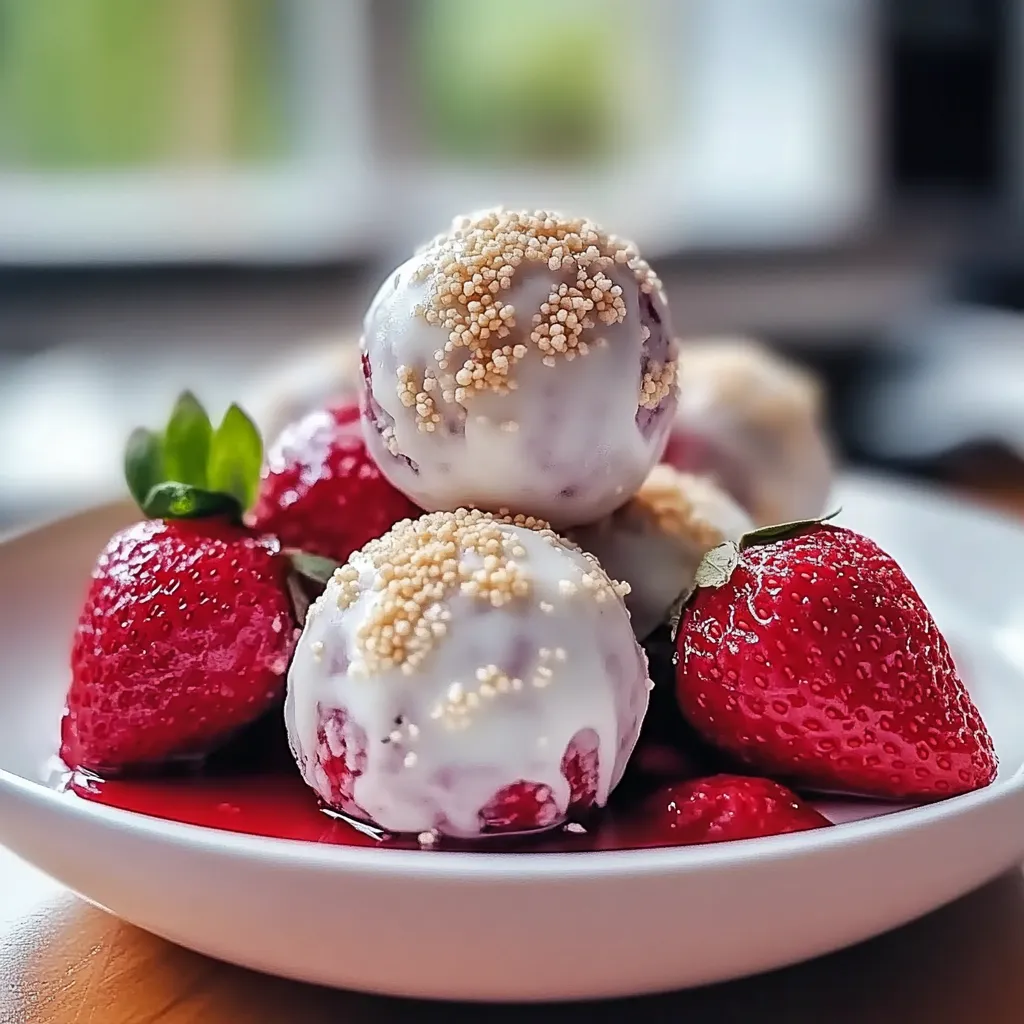
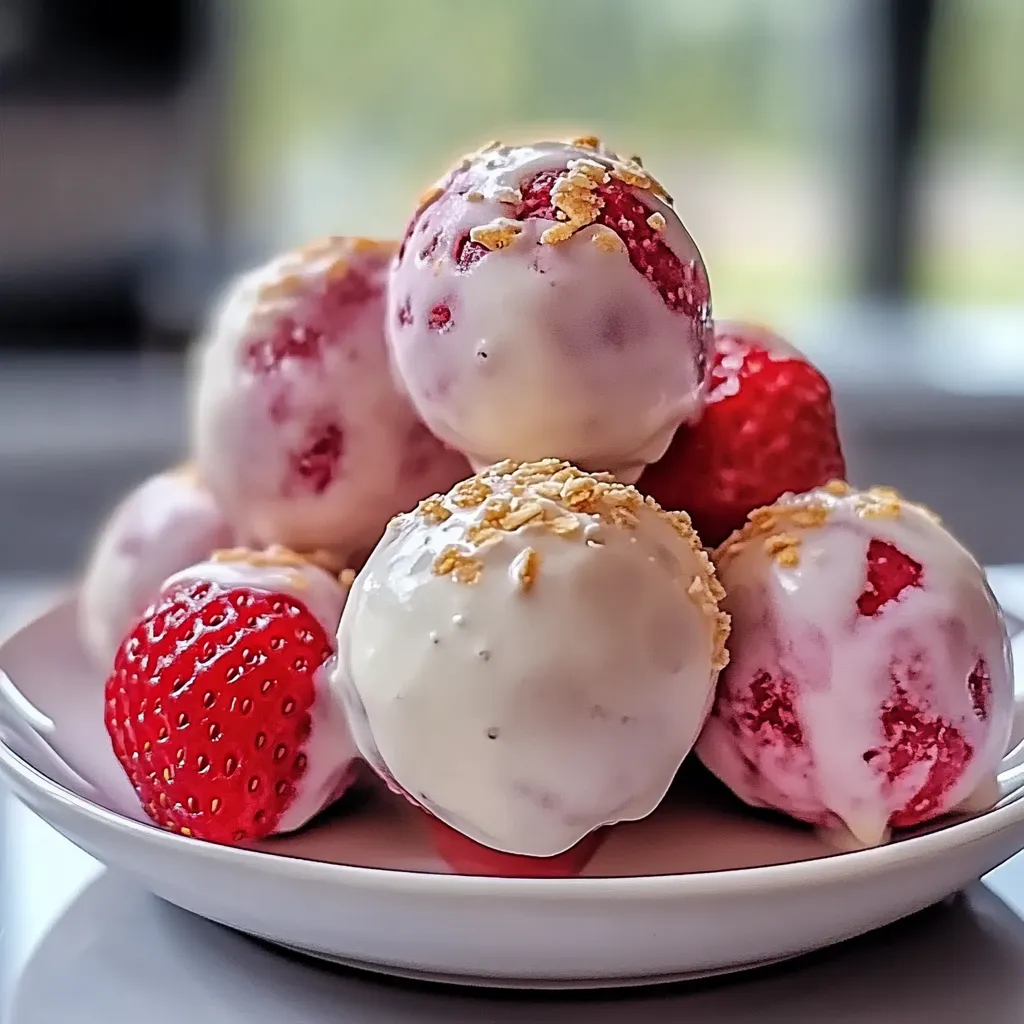
There’s something about springtime that just makes me feel alive! The sun shines a little brighter, the days are a bit longer, and the strawberries—oh, those beautiful, juicy strawberries—are finally back in season! One of my fondest memories is of my grandmother’s backyard, filled with laughter as we picked strawberries straight from the vine, staining our fingers red. It’s these delightful memories that inspire my cooking and fuel my passion for creating guilt-free treats. One of my favorite simple snacks that captures that fresh berry feeling is my Strawberry Cheesecake Protein Balls. They are a lovely, bite-sized treat that packs a nutritious punch while echoing the delightful flavors of a classic cheesecake!
Why You’ll Love This Recipe
- Easy and Quick: These protein balls come together in just a few minutes—perfect for busy days!
- Nourishing Ingredients: Packed with protein and healthy fats, they’re perfect for a pre or post-workout snack.
- Delicious Flavor: Each bite is bursting with the sweet and tangy taste of strawberry cheesecake, without the guilt!
- No Baking Required: These are no-bake wonders, meaning you can avoid the oven and keep your kitchen cool.
- Customizable: Easy to adapt with different flavors or add-ins to suit your cravings.
Ingredients
Before we get started, let’s gather our ingredients! You’ll find these mostly in your pantry or local grocery store.
- 1 cup rolled oats
- ½ cup almond butter (or any nut butter of choice)
- ½ cup protein powder (vanilla or unflavored works best)
- 1 cup fresh strawberries, hulled and finely chopped
- ¼ cup honey or maple syrup
- 1 teaspoon vanilla extract
- 1 teaspoon lemon juice (for that extra cheesecake zing!)
- Pinch of salt
- Optional: shredded coconut or crushed nuts for rolling
Tip: Using fresh strawberries really elevates the taste—frozen ones can work, but make sure they’re thawed and drained well.
Step-by-Step Instructions
Let’s put on our aprons and dive into this delicious adventure!
- Mix the Dry Ingredients: In a large mixing bowl, combine the rolled oats, protein powder, and a pinch of salt. Stir them together until well mixed.
- Add the Wet Ingredients: Next, add in the almond butter, honey (or maple syrup), vanilla extract, and lemon juice. Get in there with a spatula and mix until everything is well combined. The dough will be thick—don’t worry, that’s perfect!
- Stir in the Strawberries: Gently fold in your finely chopped strawberries. This is where the magic happens—those sweet little gems will create bursts of flavor in each bite!
- Chill the Mixture: Cover the bowl with plastic wrap or a lid and refrigerate for about 30 minutes. This helps the mixture firm up, making it easier to roll.
- Roll into Balls: Once chilled, remove the mixture from the fridge. With your hands, scoop out a tablespoon of the mixture, roll it into a ball, and place it on a baking sheet lined with parchment paper. Repeat until all the mixture is used!
- Coat (Optional): If desired, roll the protein balls in shredded coconut or crushed nuts for a little extra crunch and flavor.
- Enjoy or Store: You can enjoy these delicious bites right away or store them for later. They make a perfect grab-and-go snack!
Pro Tip: Use a small cookie scoop for uniformly-sized protein balls—makes everything look so professional!
Pro Tips & Variations
Don’t you just love a recipe that you can make your own? Here are some fun ways to jazz up these protein balls:
- Add Spices: A sprinkle of cinnamon or nutmeg can give your protein balls an extra layer of warmth.
- Nut Butter Swaps: Try swapping almond butter for peanut butter or sunflower seed butter to change up the flavor.
- Mix in Extras: Toss in some mini chocolate chips or chopped dark chocolate for that sweet tooth craving.
- For a Vegan Version: Use maple syrup and a plant-based protein powder.
Have fun experimenting! The kitchen is your playground.
Serving Suggestions
These Strawberry Cheesecake Protein Balls are super versatile! They’re perfect for:
- A delightful afternoon snack with a cup of tea or coffee.
- Packed in your gym bag or lunch box for an energizing bite.
- Shared on a platter during a gathering or picnic—watch your friends marvel at your nifty creation!
Visualize that: you set out these bright pink beauties, surrounded by fresh strawberries, and your guests are amazed by how good for you—yet delicious—they are. How fun is that?

Storage Tips
These little bites of joy can last a while if stored properly. Here’s how you can keep them fresh:
- Refrigerator: Store in an airtight container in the fridge for up to one week. They’ll firm up a bit, making them even better!
- Freezer: Freeze them in a single layer on a baking sheet, then transfer to a freezer bag or container for longer storage. They’ll last up to three months frozen. Just thaw for a few minutes before enjoying.
- Don’t Ditch the Flavor: Avoid moisture by ensuring your container is tightly sealed, keeping them scrumptiously soft and flavorful.
FAQs
Can I use frozen strawberries instead of fresh?
Yes, you definitely can! Just make sure they’re completely thawed and drained of any excess water to avoid the mixture becoming too soggy.
What type of protein powder should I use?
Vanilla or unflavored protein powder works best. If you want to experiment with other flavors, go for it! Just keep in mind that it might alter the final taste.
How do I know when the mixture is ready to roll into balls?
The mixture should be firm and hold its shape when clumped together. If it feels too sticky, refrigerate it for a little longer until it’s easier to handle.
Can I make these gluten-free?
Absolutely! Just ensure that the rolled oats you use are certified gluten-free. Many brands offer this option nowadays, so it’s easy to find!
How can I make these lower in sugar?
You can substitute the honey or maple syrup with a sugar-free alternative like stevia or erythritol. Just remember to adjust the sweetness to your taste!
Conclusion
And there you have it, friends! Our Strawberry Cheesecake Protein Balls are not just a snack—they’re a little piece of joy that blurs the line between being good for you and downright delicious. I can’t wait for you to try this recipe and hear how you made it your own. Pop back and comment with your variations, tips, or how much you loved them! Let’s spread the love for healthy snacking together!


Leave a Comment