

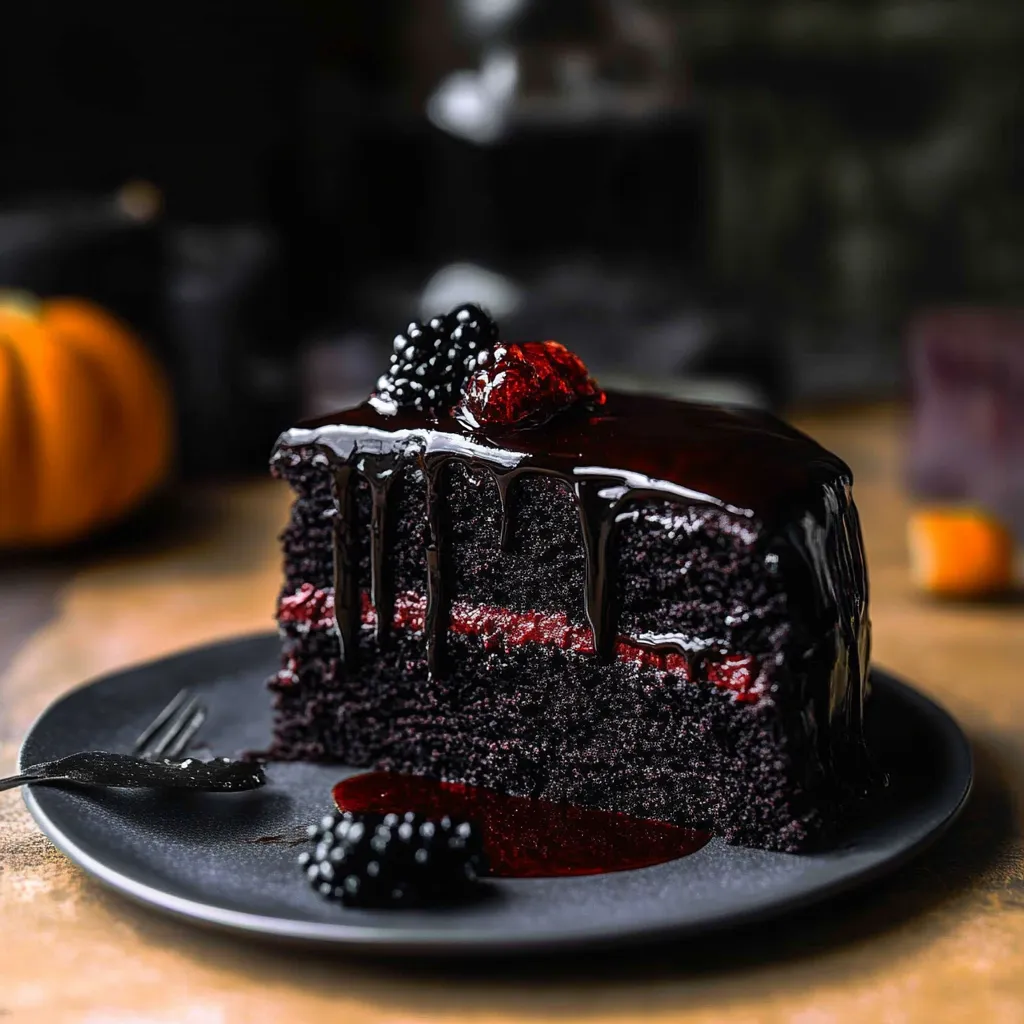
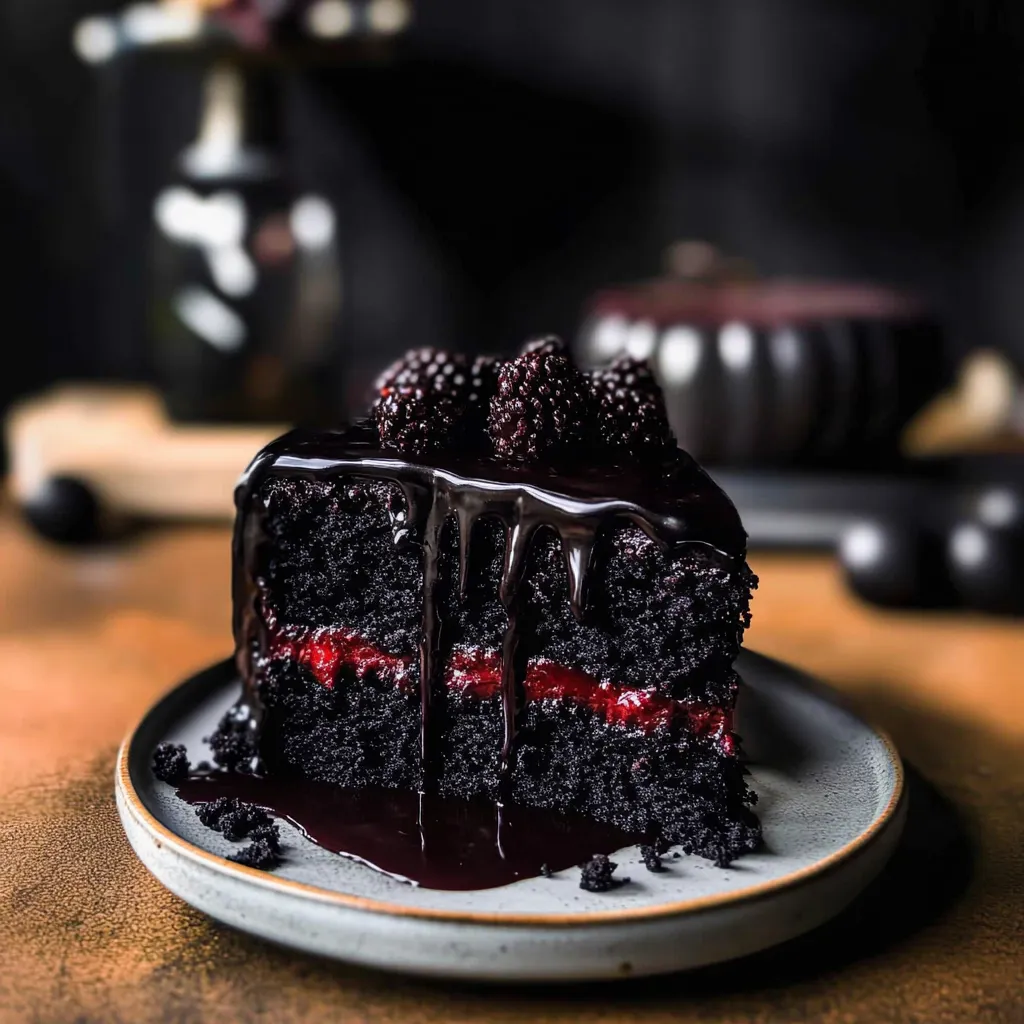
Ah, Halloween—the time of year when the air gets a little crisper, the trees take on shades of fiery oranges and deep browns, and the excitement of costumes and candy fills the streets. It’s also that magical season when we get to indulge in treats that are as festive as they are delicious. One of my absolute favorites is the SPOOKY BLACK VELVET HALLOWEEN CAKE. With its rich, velvety texture and eerie black hue, it’s sure to impress any ghosts and goblins at your gathering!
This cake has become a part of my Halloween traditions, often prepared with great anticipation as I remember the carefree laughter of friends and family gathered around a table, sharing spooky stories while devouring decadent slices of this cake. The combination of chocolate and a hint of vanilla wrapped in a soft cream cheese frosting is simply irresistible! So, roll up your sleeves, put on that apron, and let’s get started making this delightful Halloween treat together.
Why You’ll Love This Recipe
- Spooky and festive, perfect for Halloween parties.
- Decadently moist and rich, with a creamy frosting that’s hard to resist.
- Easy to make with simple ingredients you might already have at home.
- Impressive enough to be the centerpiece of any Halloween dessert table.
Ingredients
Let’s gather our ingredients; you’ll be surprised at how straightforward this recipe is! Here’s what you’ll need:
- 2 ½ cups all-purpose flour
- 1 ¼ cups granulated sugar
- ½ cup unsweetened cocoa powder (the darker, the better!)
- ½ teaspoon baking soda
- 1 ½ teaspoons baking powder
- 1 teaspoon salt
- 1 ½ cups buttermilk, at room temperature (you can make your own by mixing milk and vinegar!)
- 1 cup vegetable oil
- 3 large eggs
- 1 teaspoon vanilla extract
- 1 tablespoon of black gel food coloring (this is key for that spooky hue!)
Step-by-Step Instructions
Now that we have everything ready, let’s dive into the steps. Don’t worry; this is simpler than you might think!
- Preheat your oven: Set it to 350°F (175°C). While it’s heating up, you can take a moment to take in that warm, inviting smell of the oven ready to assist you in creating your autumnal delight!
- Prepare the cake pans: Grease two 9-inch round cake pans and line them with parchment paper. This helps prevent sticking. While you’re at it, you can daydream about how stunning your cake’s going to look when it’s done.
- Mix dry ingredients: In a large bowl, whisk together the flour, sugar, cocoa powder, baking soda, baking powder, and salt. The rich chocolate scent will kickstart your excitement!
- Combine wet ingredients: In another bowl, blend the buttermilk, vegetable oil, eggs, and vanilla extract until smooth. Add the black gel food coloring here, and watch your mixture transform into a beautiful dark shade! It’s like magic, isn’t it?
- Combine wet and dry mixtures: Gradually add the wet mixture to the dry ingredients, mixing just until combined. Remember, don’t overmix or your cake will turn out dense. We want a light and fluffy texture!
- Divide the batter: Pour the cake batter evenly into the prepared pans. This is when your inner artist can shine a little as you smooth down the tops of each cake.
- Bake: Place the cakes in the preheated oven and bake for about 30-35 minutes. They’re done when a toothpick inserted into the center comes out clean. The smell of chocolate wafting through your kitchen will surely drive your neighbors wild with envy!
- Cool: Once baked, let the cakes cool in the pans for about 10 minutes before transferring them to wire racks to cool completely. The anticipation of frosting these cakes is almost palpable!
Pro Tips & Variations
Want to take your SPOOKY BLACK VELVET HALLOWEEN CAKE to another level? Here are some fun twists:
- Frosting Fun: While cream cheese frosting is a classic choice, you can easily mix it up by adding a little orange zest for a citrusy twist or a splash of pumpkin spice.
- Decorate: Enhance your spooky theme by decorating with edible spider webs made from melted marshmallows or Halloween-themed candies.
- Gluten-Free Option: Swap the all-purpose flour for a good gluten-free blend and make the cake suitable for all your friends!
- Add a Filling: Consider adding a layer of raspberry jam or chocolate ganache between the layers for a surprise flavor burst.
Serving Suggestions
Now that your cake is beautifully baked and cooled, let’s talk serving! A fluffy, silky cream cheese frosting is, of course, essential. I love to spread a thick layer of frosting between the cake layers and then cover the entire cake for that decadent finish.
For a festive touch, sprinkle some black cocoa powder or edible glitter on top, and consider pairing it with a scoop of vanilla ice cream or a warm cup of coffee. Picture this: a cozy autumn evening, soft candlelight, and friends diving into slices of this indulgent cake while sharing ghost stories. Absolute bliss!
Storage Tips
So, what if you have leftovers? (Though I doubt it!) If you do, here’s how to store them:
- Refrigeration: Store any leftover cake in an airtight container in the fridge for up to 4-5 days. When you’re ready to enjoy more, just let it sit at room temperature for a few minutes for that fresh-out-of-the-oven taste.
- Freezing: This cake freezes beautifully! Just wrap individual slices in plastic wrap followed by aluminum foil, and they’ll stay fresh in the freezer for up to 3 months. Thaw in the fridge overnight before serving.
- Reheating: If you want to warm it up, simply pop a slice in the microwave for about 10-15 seconds. Pair it with a steaming cup of tea or coffee, and you’re good to go!
FAQs
Can I use regular food coloring instead of gel?
While gel food coloring gives a richer color without changing the cake’s moisture content, you can use liquid food coloring. Just note that you may need to use more, and it might affect the consistency slightly.
Can I make this cake ahead of time?
Absolutely! You can bake the cakes a day in advance. Just store them well in the fridge, and frost just before serving for the best texture.
What can I replace buttermilk with?
If you’re out of buttermilk, no worries! You can make a quick substitute by mixing 1 cup of milk with 1 tablespoon of white vinegar or lemon juice. Let it sit for about 5-10 minutes, and it’s ready to use!
How do I make the frosting less sweet?
If you’d like a less sweet cream cheese frosting, reduce the sugar and add a bit more cream cheese and some heavy cream. This will give your frosting a more balanced flavor while still being delicious!
Conclusion
And there you have it—your very own SPOOKY BLACK VELVET HALLOWEEN CAKE! I hope you find as much joy in making this cake as I do. There’s something special about sharing homemade treats, especially when they’re as festive as this one. Please let me know how yours turns out! I’d love to hear all about your experiences, your creative twist on the recipe, and if your friends were spooked by your beautiful creation. Happy Halloween baking!


Leave a Comment