
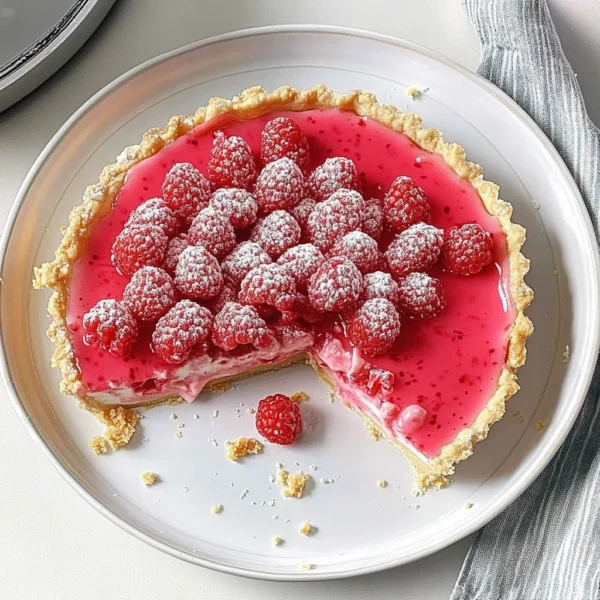
Raspberry Cream Pie
Introduction
There’s a little something magical about summer that brings back the sweetest memories, isn’t there? Growing up, my grandmother used to make the most delightful desserts that would light up any afternoon. One of my absolute favorites was her Raspberry Cream Pie, a luscious symphony of tart berries and creamy goodness. The vibrant pink filling nestled in a crumbly crust was not just a treat for the palate but also a feast for the eyes!
As I reminisce about those sunny days, I’m reminded of the joy that sharing a pie with friends and family can bring. Whether it’s for a festive gathering or just a simple weeknight dessert, this Raspberry Cream Pie always hits the spot. Trust me, once you’ve tasted that smooth, velvety filling paired with the pop of fresh raspberries, you’ll be smitten too!
Why You’ll Love This Recipe
- Effortlessly Elegant: It looks stunning and tastes divine, making it perfect for any occasion.
- Easy to Make: With simple ingredients and straightforward steps, it’s a pie even beginners can master.
- Fresh and Fruity: The burst of raspberry flavor is refreshing and satisfying.
- Creamy Delight: The luscious filling is a delightful textural contrast to the crumbly crust.
- Make Ahead: You can prepare it in advance, leaving you free to enjoy your guests.
Ingredients
Here’s what you’ll need to whip up your own Raspberry Cream Pie:
- For the crust:
- 1 ½ cups graham cracker crumbs
- ½ cup unsalted butter, melted
- ¼ cup granulated sugar
- For the filling:
- 2 cups fresh raspberries (plus extra for garnish)
- 1 cup heavy cream
- 1 cup powdered sugar
- 2 teaspoons vanilla extract
- 8 oz cream cheese, softened
- 1 tablespoon lemon juice
- 1 tablespoon cornstarch
Helpful Tip: Fresh raspberries will give you that bright, tangy flavor, but if you’re in a pinch, you can use frozen ones—just thaw and drain them well first!
Step-by-Step Instructions
Let’s get started on this delightful journey of pie-making!
- Prepare the Crust: Preheat your oven to 350°F (175°C). In a medium bowl, mix together the graham cracker crumbs, melted butter, and granulated sugar until well combined. It should resemble wet sand!
- Form the Crust: Press the mixture firmly into the bottom and up the sides of a 9-inch pie dish. Keep it nice and packed. Bake for 8-10 minutes until lightly golden. Allow it to cool completely.
- Blend the Filling: In a separate bowl, using a hand mixer, beat the softened cream cheese until smooth. Add the powdered sugar, vanilla extract, lemon juice, and cornstarch. Continue mixing until everything is fully incorporated and creamy.
- Whip the Cream: In another bowl, whip the heavy cream until stiff peaks form. You want it light and fluffy—like a cloud! Gently fold the whipped cream into the cream cheese mixture until there are no streaks left. This is where the magic happens!
- Add the Raspberries: Gently fold in the fresh raspberries. Be careful not to break them too much—some whole berries peeking through adds a lovely touch.
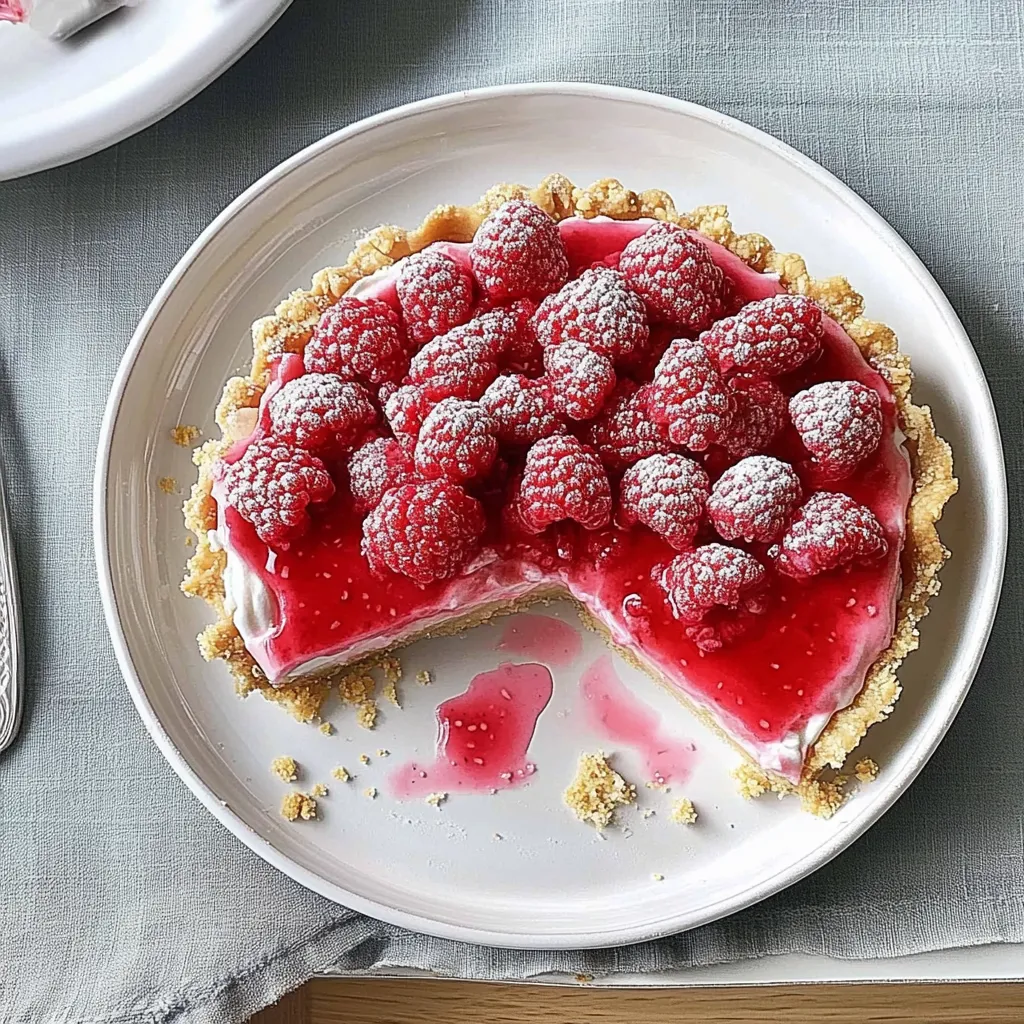
- Assemble the Pie: Spoon the creamy raspberry filling into the cooled crust. Smooth the top with a spatula for that lovely finish.
- Chill Out: Cover the pie with plastic wrap and refrigerate for at least 4 hours, or overnight if you can resist! This helps the filling set beautifully.
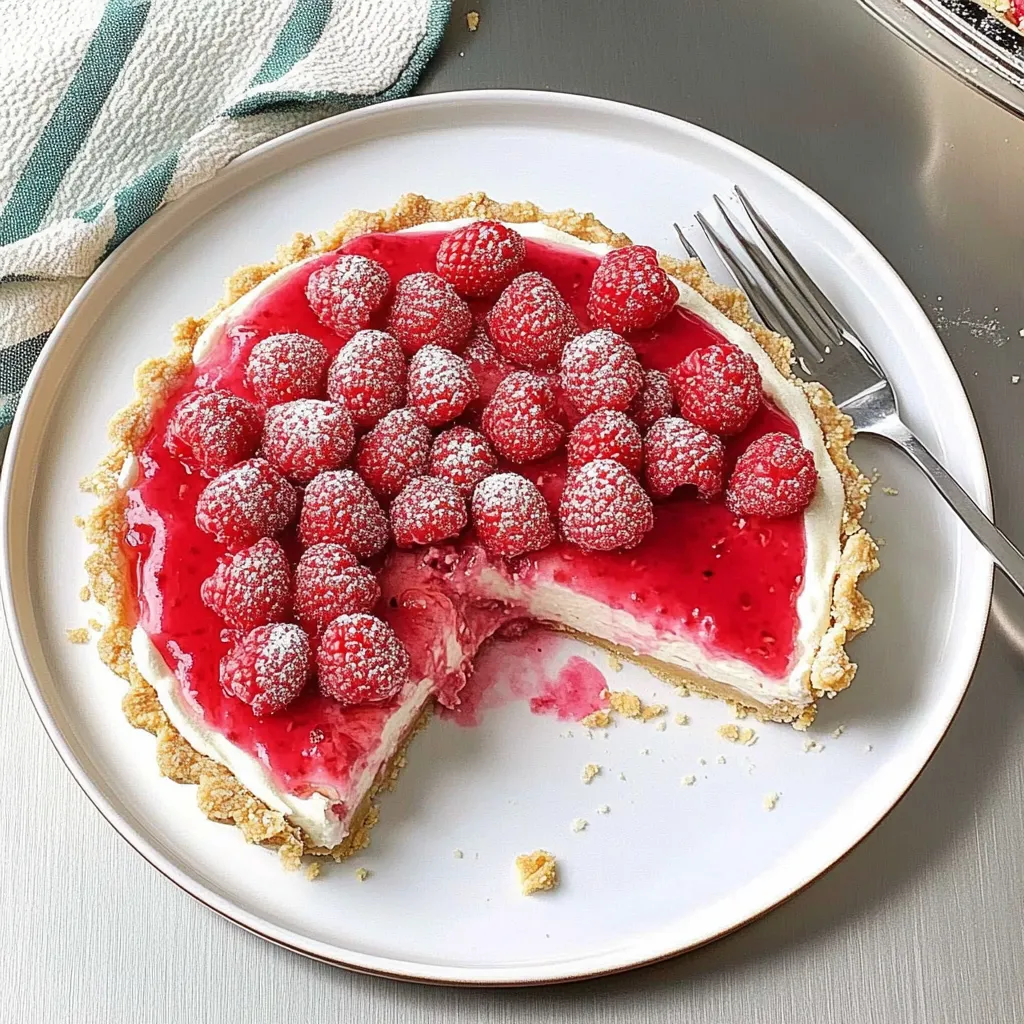
- Garnish and Serve: When you’re ready to serve, top with additional raspberries and perhaps a sprinkle of powdered sugar for a little extra flair!
Personal Tip: Keep a little extra whipped cream on hand for serving—there’s nothing like a dollop of freshly whipped cream on top of each slice!
Pro Tips & Variations
Now that you’ve got the basics down, let’s play around a bit!
- Berry Bliss: Swap out raspberries for strawberries or blueberries to mix things up. Each berry will give a unique twist to the flavor!
- Zesty Twist: Add some lime or orange zest into the filling for a citrusy brightness that complements the berries.
- Vegan Version: Use coconut cream instead of heavy cream and a vegan cream cheese alternative for a dairy-free delight.
- Nutty Crust: For a different crunchy texture, mix chopped nuts into your graham cracker crust.
Serving Suggestions
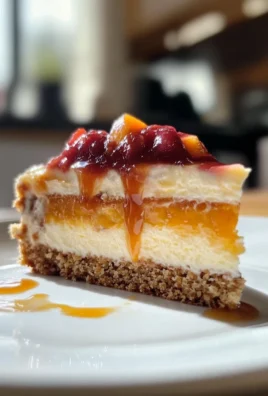
This Raspberry Cream Pie is perfect just on its own, but if you want to elevate your presentation, serve it with a cup of fragrant herbal tea or a scoop of vanilla ice cream. Just picture it: a slice of creamy pie on a whimsical plate, lips curling into a smile as you savor the delightful union of flavors and textures!
But wait! If you’re hosting a special occasion or a summertime barbecue, how about pairing each slice with fresh mint leaves? They add a lovely touch not just visually, but also in aroma and freshness.
Storage Tips
Got leftovers? Lucky you! This Raspberry Cream Pie can be stored in the refrigerator for up to 3 days. Just keep it covered to maintain its freshness. If you want to make it ahead of time, you can prepare the filling and the crust separately, storing them until you’re ready to assemble.
If you find yourself with more pie than you can eat, you can also freeze it! Wrap the pie tightly in plastic wrap and then in aluminum foil, and it will keep for about a month. When you’re ready to enjoy it again, let it thaw in the fridge overnight to preserve that creamy texture.
FAQs
Can I use frozen raspberries?
Absolutely! Just make sure to thaw and thoroughly drain them before adding to the filling, as excess moisture can make the pie soggy.
What should I do if my pie filling is too runny?
If your filling isn’t setting up as expected, try adding a tad more cornstarch next time, or ensure that you’re incorporating the whipped cream gently to maintain the structure.
Can I make this recipe gluten-free?
Yes! Just swap out the graham cracker crumbs for a gluten-free alternative. There are many available now that taste just as great!
How do I serve this if I’m making it ahead of time?
It’s best to chill it overnight to let the flavors meld together beautifully. Just remember to garnish it right before serving so that it looks fresh and inviting!
Conclusion
And there you have it—an exquisite Raspberry Cream Pie that’s sure to bring a smile to anyone who gets to indulge in it. I hope you give this recipe a try and create sweet memories of your own! If you do, I’d love to hear how yours turned out in the comments below. Happy baking, my friend!

Leave a Comment