
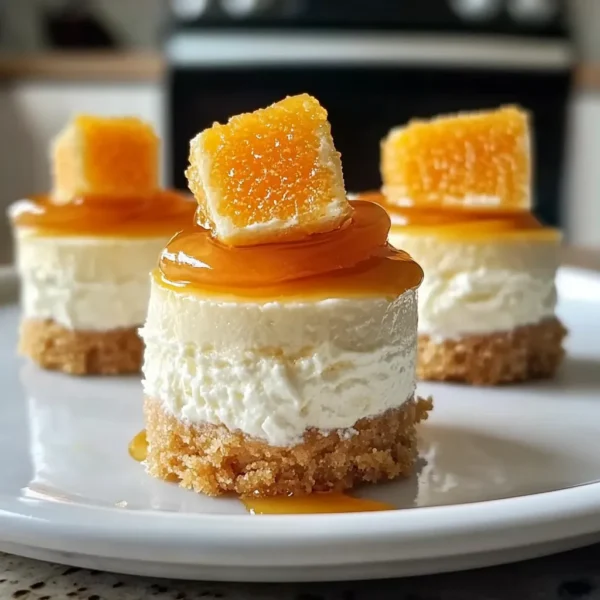
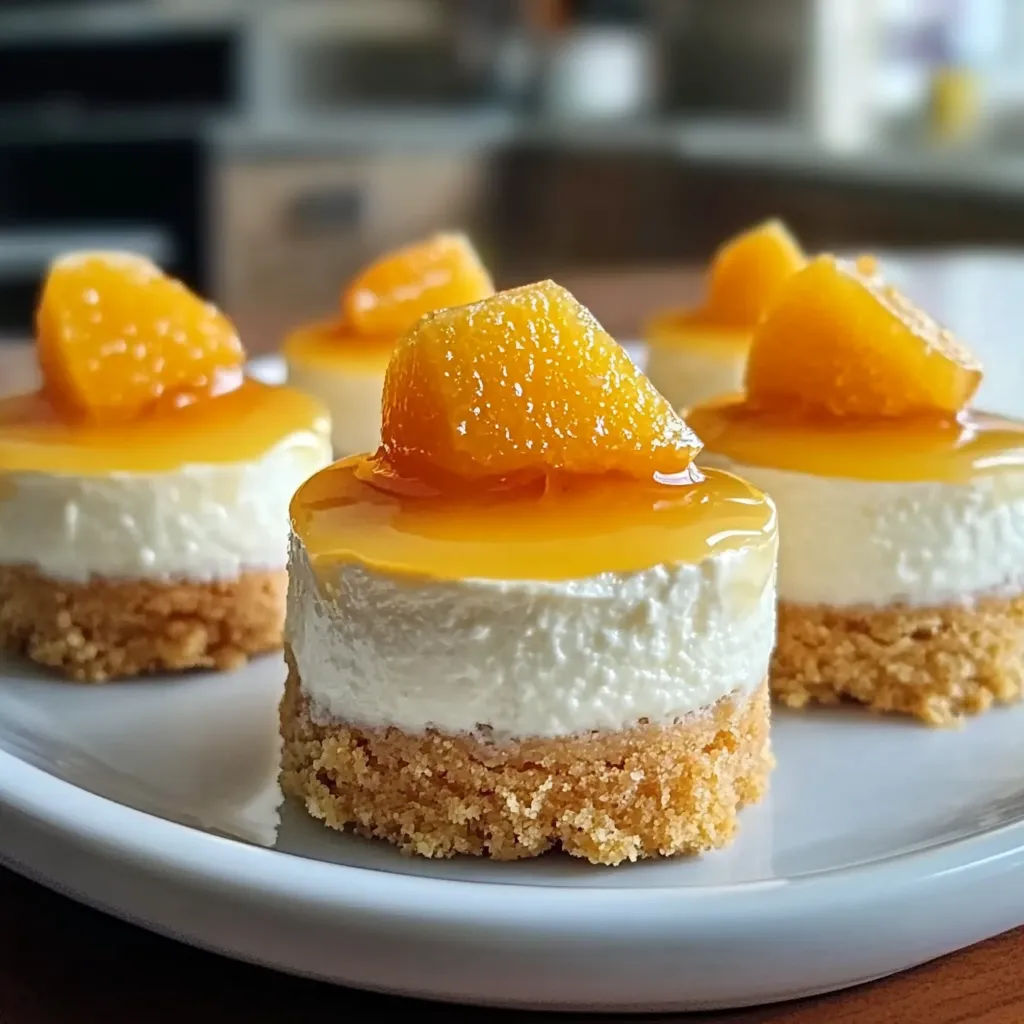
Picture this: it’s a sunny afternoon, the kind that whispers of lazy summer days and sweet nostalgia. I find myself in my kitchen, the air filled with the bright scent of oranges, catching my breath as I whip up a batch of Orange Creamsicle Mini Cheesecakes. This delightful treat isn’t just for satisfying a sweet tooth; it transports me back to those carefree days of enjoying orange popsicles after playing outside until dusk. The creamy texture and zesty orange flavor are like a hug from the inside, reminding me of simpler times.
Today, I want to share this recipe with you. It’s so simple, so refreshing, and perfect for any occasion — from family gatherings to quiet nights at home. Trust me, once you try making these mini cheesecakes, they’ll become a staple in your dessert repertoire. So, grab your apron, and let’s dive into the world of these delightful Orange Creamsicle Mini Cheesecakes!
Why You’ll Love This Recipe
- Easy to make — perfect for baking novices!
- Individual servings — great for parties or potlucks.
- Deliciously creamy with a refreshing citrus kick.
- Can be made ahead of time — just grab and enjoy!
- Versatile — customize with different toppings.
Ingredients
Here’s what you’ll need to create these luscious mini cheesecakes:
- For the crust:
- 1 cup crushed graham crackers (about 8 full sheets)
- 1/4 cup sugar
- 1/2 cup unsalted butter, melted
- For the filling:
- 16 oz cream cheese, softened at room temperature
- 1 cup powdered sugar
- 1/2 cup sour cream
- 1/4 cup fresh orange juice
- Zest of 1 large orange (about 1 tablespoon)
- 2 large eggs
- 1 teaspoon vanilla extract
Tip: Make sure your cream cheese is softened; it blends much better, giving you a silky filling!
Step-by-Step Instructions
Ready to get started? Let’s break this down into simple, enjoyable steps.
- Preheat your oven: Start by preheating your oven to 325°F (165°C). This will ensure it’s nice and hot by the time your mini cheesecakes are ready to bake.
- Make the crust: In a mixing bowl, combine the crushed graham crackers and sugar, mixing them well. Pour in the melted butter and stir until the mixture resembles damp sand.
- Prepare the pan: Line a 12-cup muffin tin with paper liners or spray it lightly with non-stick cooking spray. You’ll want them to easily release after baking.
- Form the crusts: Evenly distribute the crust mixture into the bottom of each muffin cup, about one tablespoon per cup. Press it down firmly using a flat-bottomed glass or your fingers. Set aside.
- Blend the filling: In a large bowl, beat the softened cream cheese with an electric mixer for about 2 minutes until it’s smooth and fluffy. Add the powdered sugar gradually, mixing until well combined.
- Add the rest: Mix in the sour cream, fresh orange juice, and zest, then add the eggs and vanilla extract. Remember to scrape down the sides to get everything mixed well, but don’t overmix as that could make your cheesecakes dense.
- Fill the cups: Spoon the filling onto each crust, filling them to just about the top. I love to use an ice cream scoop for even portions!
- Bake: Pop the muffin tin into your preheated oven and bake for about 18-20 minutes, or until the edges are set but the centers still have a tiny jiggle.
- Cool them down: Once done, remove them from the oven and let them cool in the pan for about 10 minutes. Then, carefully transfer the mini cheesecakes to a wire rack to cool completely, then refrigerate them for at least 2 hours (or overnight for that rich flavor!).
Pro Tips & Variations
Now that you’ve got the basics down, let’s sprinkle in some fun ideas:
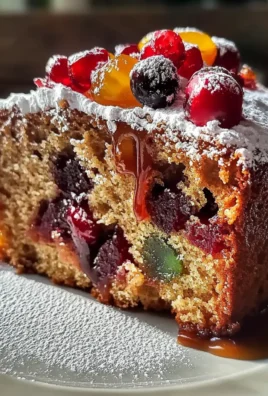
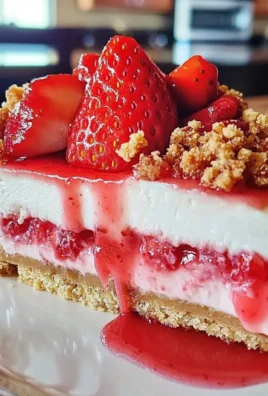
- Berry Burst: Top your mini cheesecakes with fresh berries for a vibrant twist. Strawberries, blueberries, or raspberries will give that pop of color!
- Coconut Creamsicle: Add shredded coconut to the crust for a tropical flair!
- Chocolate Drizzle: A little drizzle of chocolate sauce over the top pairs beautifully with the orange flavor.
- Diet-friendly options: Try using low-fat cream cheese and Greek yogurt in place of sour cream for a lighter version without sacrificing too much flavor!
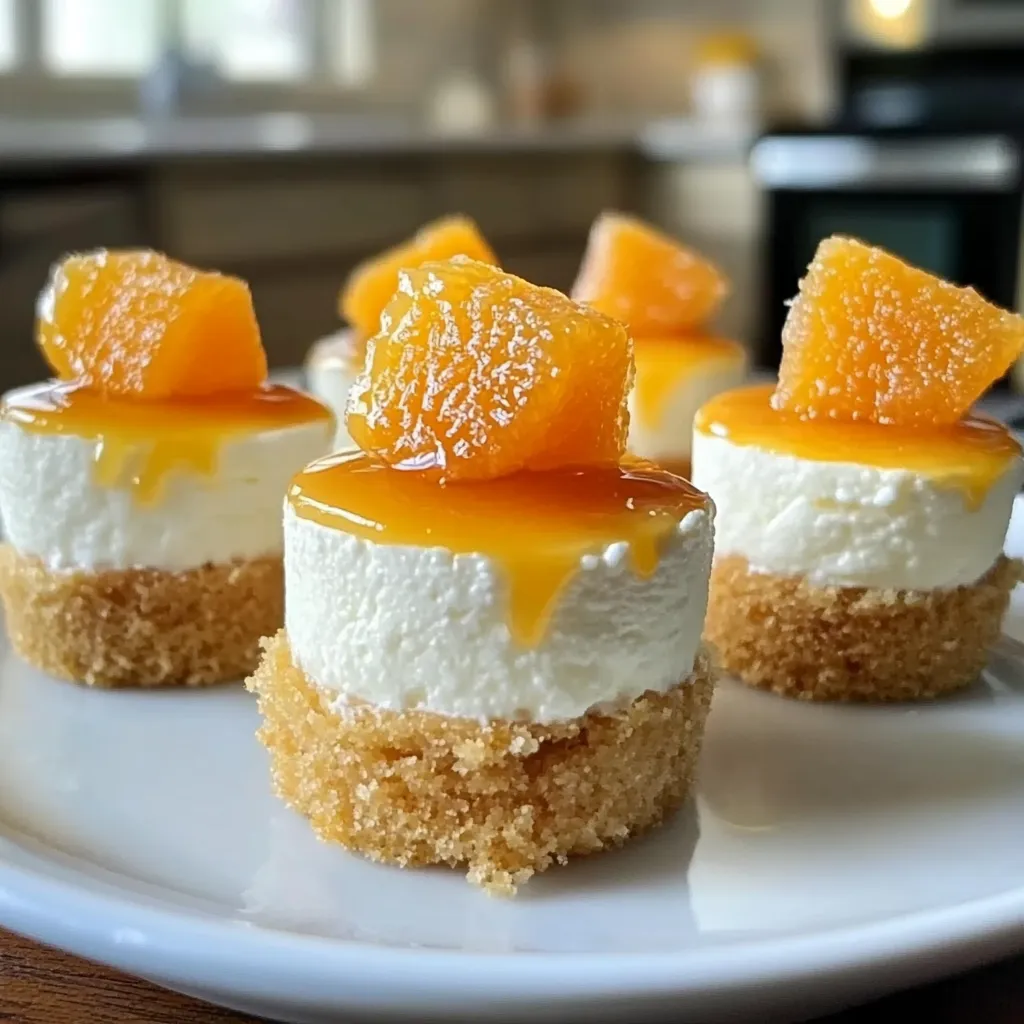
Serving Suggestions
These little delights are as versatile as they are delicious! I love serving them on a warm summer evening with a side of whipped cream and a sprinkle of extra orange zest for that pop of color. They also pair wonderfully with iced tea or a chilled glass of white wine. For gatherings, arrange them on a beautiful platter; they’re bound to be the star of the dessert table!
If you want a touch of elegance, consider garnishing each cheesecake with a mint leaf, or a slice of fresh orange. It’s all about creating a feast for the eyes as well as the palate!

Storage Tips
So, you’ve made a delicious batch, and now you’re wondering how to keep them fresh? No worries! Here’s a simple guide:
- Refrigeration: Store the mini cheesecakes in an airtight container in the refrigerator for up to a week. They actually get better with time as the flavors meld!
- Freezing: If you want to save some for later, freeze the mini cheesecakes (without the toppings) by placing them in a single layer in an airtight container. They can be frozen for up to 2 months. Just thaw them in the fridge overnight before serving!
- Reheating: These are best served cold or at room temperature. If you’d like to warm them slightly, pop them in a microwave for about 10-15 seconds — but be careful not to overdo it!
FAQs
Can I use different flavored juices instead of orange?
Absolutely! Lemon juice or even lime juice would create a tangy version. Just adjust to your taste, and be sure the acidity balances with sweetness.
How do I prevent cracks in the cheesecakes?
To minimize cracks, avoid overmixing and make sure to bake at a low temperature. Cooling them at room temperature before refrigerating will also help prevent cracking.
Can I make these mini cheesecakes gluten-free?
Yes! Just swap out the graham crackers for a gluten-free alternative. There are many brands offering gluten-free options, or you might even make your own with gluten-free cookies!
What’s the best way to zest an orange?
A microplane is your best friend here! It creates fine zest without getting into the bitter white pith. Just be sure to zest only the bright orange skin!
Conclusion
I hope you enjoy making these Orange Creamsicle Mini Cheesecakes as much as I do! They’re a perfect blend of nostalgia and fresh flavors, and I can’t wait to hear how yours turn out. If you try them, please drop a comment below and share your experience, your variations, or even your favorite toppings! Happy baking, my friend!

Leave a Comment