

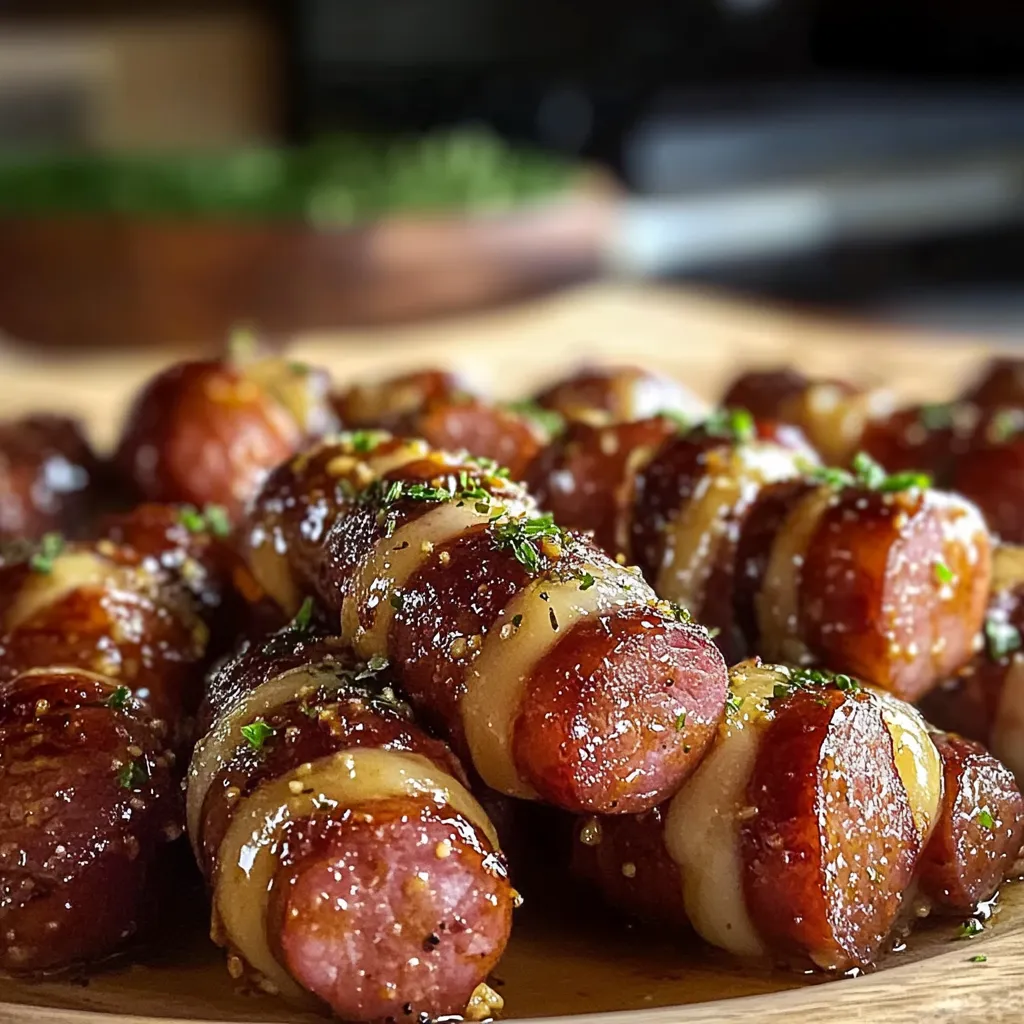
Mustard Hasselback Kielbasa Bites
Introduction
There’s something magical about the aromas wafting through the kitchen on a crisp autumn evening. As the leaves change color and a hint of chill fills the air, I find myself reminiscing about cozy family gatherings filled with warmth, laughter, and the delicious scents of homemade food. One dish that often graces our table during these gatherings is my beloved Mustard Hasselback Kielbasa Bites. It’s a dish that combines the hearty goodness of kielbasa with the tangy zip of mustard, all while offering that irresistible crispy exterior that you can’t help but crunch into.
These tasty bites are perfect for game nights, cozy dinners, or even as a unique appetizer when you have friends over. They’re simple to make, and the playful way they’re prepared seems to add a little extra fun into every bite. Grab a cup of herbal tea, pull up a chair, and let’s get started on this delightful culinary adventure together!
Why You’ll Love This Recipe
- Easy Weeknight Dinner: Ready in under 30 minutes!
- Budget-Friendly: Kielbasa is an affordable protein, perfect for stretching your dollar.
- Comforting Flavors: A glorious mix of savory, tangy, and slightly sweet that warms the heart.
- Customizable: You can switch up the mustard types or toppings to suit your taste!
- Impressive Presentation: The Hasselback style makes them look fancy while being super easy to do!
Ingredients
Gather up these simple ingredients:
- 1 pound kielbasa, sliced into 1-inch pieces
- 3 tablespoons Dijon mustard (or your favorite mustard)
- 2 tablespoons brown sugar (for a touch of sweetness)
- 2 tablespoons olive oil
- 1 teaspoon garlic powder (fresh garlic adds more punch!)
- 1 teaspoon onion powder
- Salt and pepper to taste
- Chopped fresh parsley for garnish (optional but adds a lovely freshness)
Step-by-Step Instructions
Now let’s bring these mouthwatering Mustard Hasselback Kielbasa Bites to life!
- Preheat the Oven: Preheat your oven to 400°F (200°C). This helps achieve that crispy finish we’re aiming for.
- Prepare the Kielbasa: Place your kielbasa pieces on a cutting board. Using a sharp knife, make evenly spaced cuts into each piece, being careful not to cut all the way through. This creates the Hasselback style and allows flavors to seep in!
- Mix the Sauce: In a small bowl, whisk together the Dijon mustard, brown sugar, olive oil, garlic powder, and onion powder until well combined. It should be a bit creamy and smell divine!
- Coat the Kielbasa: Drizzle or brush the mustard mixture over the sliced kielbasa, making sure to get it into the crevices for maximum flavor! Season with salt and pepper to taste.
- Bake: Arrange the kielbasa pieces on a parchment-lined baking sheet. Pop them into the preheated oven and bake for 20-25 minutes, or until they’re golden brown and slightly crispy on the edges.
- Garnish & Serve: Once they’re out of the oven, sprinkle with fresh parsley for a touch of color and serve hot with toothpicks or skewers. Enjoy that satisfying crunch!
Pro Tips & Variations
Feeling adventurous? Here are some fun twists and ideas to elevate your Mustard Hasselback Kielbasa Bites:
- Spice it Up: Add a sprinkle of chili flake or smoked paprika for an extra kick.
- Mustard Variety: Try using honey mustard for added sweetness or spicy brown mustard for an assertive twist.
- Cheesy Delight: For a cheesy version, add shredded cheese in between the slices for a delightful surprise when you bite in!
- Herbaceous Flair: Mix in some dried herbs like thyme or rosemary in the mustard mix for an aromatic touch.
- Healthier Swap: Use turkey kielbasa or plant-based options if you’re looking for a lighter version.
Serving Suggestions
The beauty of these Mustard Hasselback Kielbasa Bites is that they can be served in various ways. For a delightful spread, you could serve them on a rustic wooden board with a selection of dipping sauces, like honey mustard, spicy ketchup, or a zesty aioli. They also pair beautifully with:
- Crusty bread for scooping.
- A fresh garden salad to balance the savory bites.
- Crispy roasted potatoes for a comforting meal.
- A nice chilled beer or a sparkling apple cider to wash it down!
Picture this: a cozy evening, a few friends gathered around the table, laughter filling the air, and these delicious kielbasa bites taking center stage. It’s the perfect way to create memories over good food!
Storage Tips
Have leftovers? No problem! Here’s how to keep them fresh:
- Refrigerating: Store any leftover kielbasa bites in an airtight container in the fridge for up to 3 days.
- Freezing: You can freeze them for up to 3 months. Just make sure to wrap them tightly to avoid freezer burn.
- Reheating: To reheat, pop them back in the oven at 350°F (175°C) for about 10-15 minutes. This will keep them crispy! You can also microwave them for a quicker option, but they might lose a bit of that crunch.
FAQs
Can I use another type of sausage instead of kielbasa?
Absolutely! Feel free to swap it out for chicken sausage, turkey sausage, or even a plant-based sausage. Just adjust the baking time based on the sausage you choose, as some might cook faster than the kielbasa.
How do I know when the kielbasa is done baking?
Your kielbasa bites should be golden brown and slightly crispy on the edges when they’re done. The internal temperature should reach at least 165°F (74°C) if you’re using a meat thermometer to check.
What can I serve alongside these bites?
These kielbasa bites team up well with a variety of sides. Think tangy coleslaw, creamy potato salad, or even a simple green salad to keep it light! They can also make an excellent addition to a charcuterie board.
Can I make these ahead of time?
Yes! You can prepare the kielbasa and coat them with the mustard mixture up to a day in advance. Just cover them and keep them in the refrigerator until you’re ready to bake them. This way, you save time when your guests arrive!
Conclusion
I hope you enjoy making and sharing these delightful Mustard Hasselback Kielbasa Bites as much as I do. Remember, cooking is all about creativity and having fun in the kitchen, so don’t hesitate to experiment and make this recipe your own. I’d love to hear how yours turn out or any special touches you add! Drop a comment below or share your experiences. Let’s make meal times genuine and delicious together!


Leave a Comment