
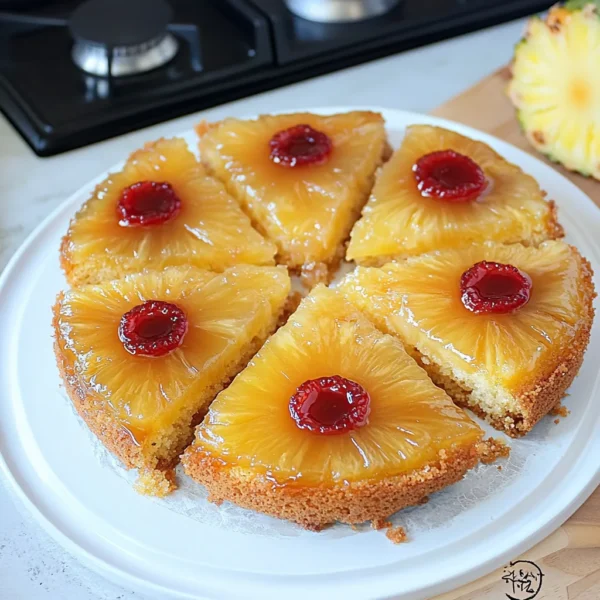
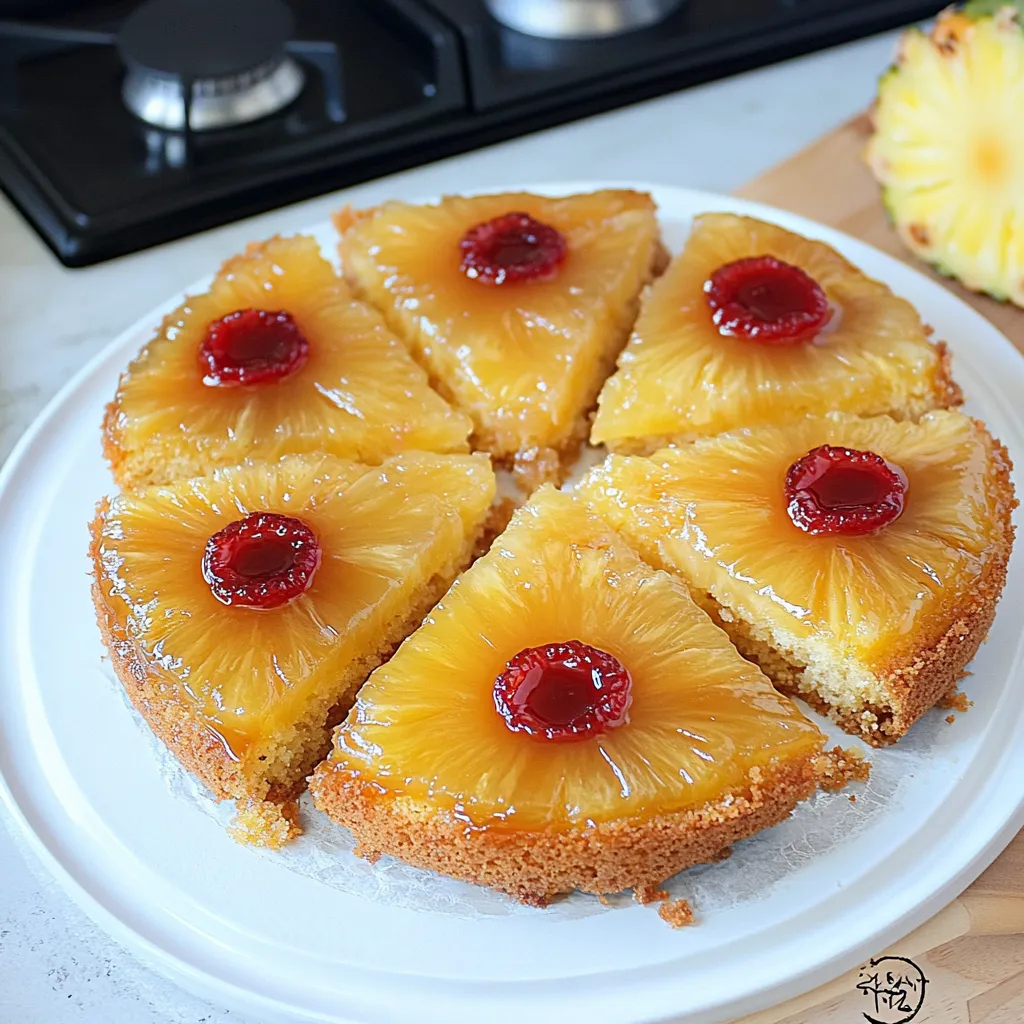
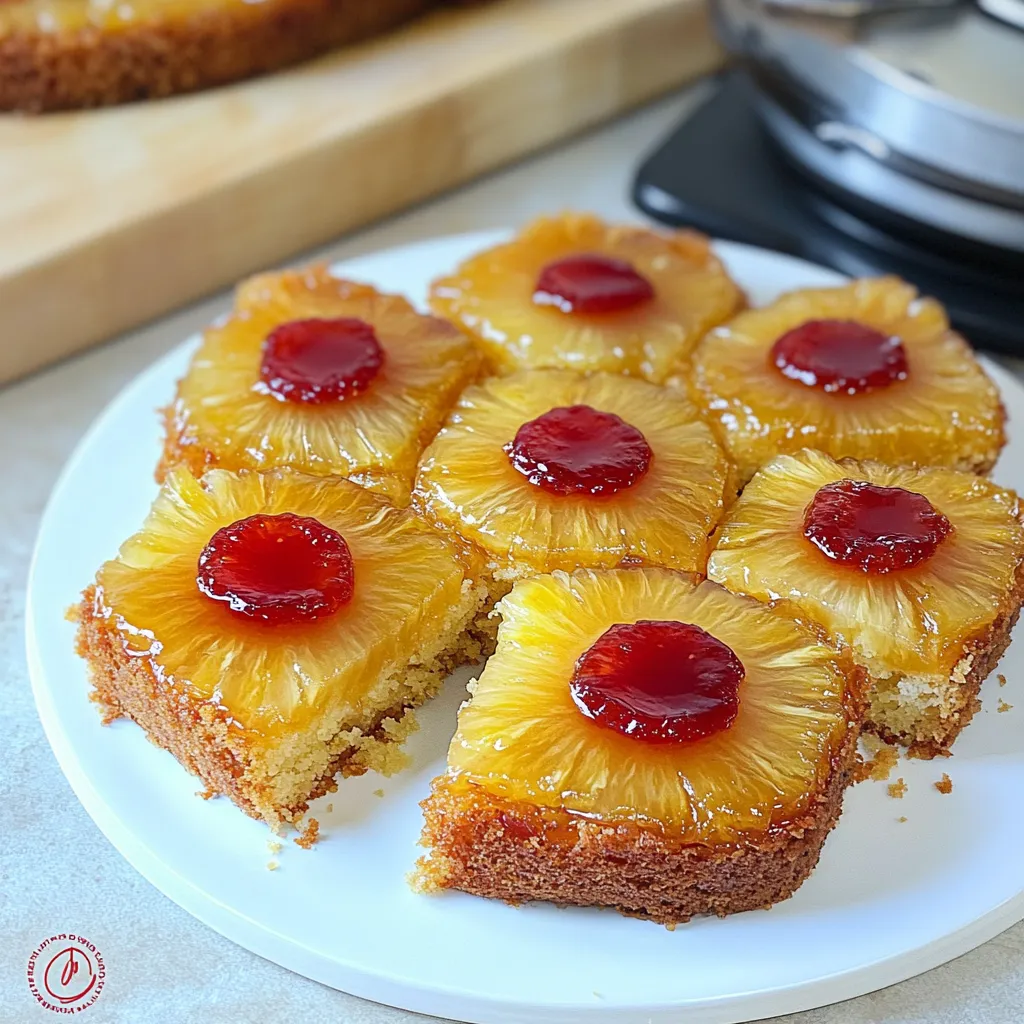
There’s something truly magical about baking—a warm kitchen filled with the comforting aroma of sweet treats can instantly brighten your day. I still remember the first time I tried a pineapple upside down cake; it was during a summer family gathering at Grandma’s house. The sun was shining, birds were chirping, and as we gathered around the picnic table, she unveiled this beautiful cake. The caramelized pineapples and cherries glistened like little jewels on top. It was love at first bite! Since then, this Easy Pineapple Upside Down Cake has become a staple in my home and a go-to recipe for gatherings, barbecues, or simply a cozy evening indoors. There’s just something so nostalgic and joyful about it, don’t you think?
Why You’ll Love This Recipe
- It’s super easy and perfect for any skill level—yes, even if you’re a kitchen newbie!
- Made with simple ingredients that won’t break the bank.
- Comforting, sweet flavors that evoke childhood memories.
- A stunning centerpiece for any dessert table, sure to impress your friends and family.
- You can whip it up quickly for unexpected guests, and it’s guaranteed to disappear fast!
Ingredients
For the cake:
- 1/2 cup unsalted butter (1 stick), melted
- 1 cup packed brown sugar
- 1 can (20 oz) crushed pineapple, drained (reserve the juice!)
- 1/2 cup maraschino cherries, drained (optional but oh-so-pretty!)
- 1 1/2 cups all-purpose flour
- 2 tsp baking powder
- 1/2 tsp salt
- 1 cup granulated sugar
- 2 large eggs
- 1 tsp vanilla extract
- 1/2 cup reserved pineapple juice (add water if necessary to make 1/2 cup)
Note: Fresh pineapple can be used if you’re feeling adventurous! Just make sure to slice it thinly.
Step-by-Step Instructions
- Preheat your oven: Set it to 350°F (175°C) and grease a 9-inch round cake pan. You want to get that oven nice and toasty for the impending deliciousness!
- Prepare the topping: In a small bowl, mix the melted butter and brown sugar until smooth. Pour this mixture into the bottom of your greased cake pan, spreading it out evenly. It’s going to create a lovely caramel layer!
- Add the pineapple: Layer the drained crushed pineapple over the brown sugar mixture. You can get creative here—add the maraschino cherries into the mix by placing them in the center of the pineapple or anywhere you’d like for that classic look.
- Make the batter: In a large mixing bowl, whisk together the flour, baking powder, and salt. In another bowl, beat the sugar and melted butter until fluffy, then add in the eggs one at a time, mixing well after each addition. Stir in the vanilla extract.
- Combine: Gradually add the dry ingredients to the wet ingredients, alternating with the reserved pineapple juice. Mix just until combined—overmixing can lead to a dense cake, and we want this to be light and fluffy!
- Pour and bake: Gently pour the batter over the pineapple and brown sugar layer in your pan. Use a spatula to spread it evenly over the top. Pop it into your preheated oven and bake for 30-35 minutes, or until a toothpick inserted into the center comes out clean.
- Cool and flip: Once baked, let the cake cool in the pan for about 10 minutes. Then, place a large plate on top of the cake and carefully flip it over. Slowly lift the pan off, revealing the gorgeous caramelized topping. Take a moment to admire your creation!
Pro Tips & Variations
Feeling adventurous? Here are some fun twists to transform your cake!
- Spicy Surprise: Add a pinch of cinnamon or nutmeg to the batter for a little warmth. Trust me, the flavors meld beautifully with the pineapple.
- Nutty Delight: Fold in some chopped pecans or walnuts for added texture and a delightful crunch.
- Fruity Fun: Feel free to play with different fruits! Try swapping out half of the pineapple for sliced peaches, apricots, or even apples.
- Gluten-free option: Use a gluten-free all-purpose flour blend for a lovely gluten-free version that everyone can enjoy!
Serving Suggestions
This cake is particularly lovely served warm, but it’s just as delicious at room temperature. I like to pair it with a dollop of whipped cream or a scoop of vanilla ice cream. The warmth of the cake melting that ice cream is pure magic—a heavenly moment in every bite! For a bit of elegance, serve it with a side of fresh fruit or a sprinkle of powdered sugar. Trust me; it’s basically a hug on a plate.
Storage Tips
To keep your leftover cake fresh:
- Refrigerate: Cover the cake with plastic wrap or foil and store it in the refrigerator for up to 3 days. Just warm it slightly in the microwave before serving for that freshly baked taste.
- Freeze: You can freeze slices of the cake by wrapping them tightly in plastic wrap followed by aluminum foil. This will keep it good for up to 2 months. Just thaw it in the fridge overnight before enjoying.
- Reheat: Reheat individual slices in the microwave for about 15-20 seconds. If you’re reheating the whole cake, pop it in the oven at 300°F (150°C) for about 10-15 minutes.
FAQs
Can I use fresh pineapple instead of canned?
Absolutely! Fresh pineapple adds a vibrant flavor, just make sure to slice it thinly for even cooking.
What can I substitute for butter?
You can use vegetable oil or coconut oil if you want a dairy-free option. Use the same amount as you would butter.
Is there a way to make this cake vegan?
Yes! Substitute the eggs with flax eggs (1 tablespoon ground flaxseed mixed with 2.5 tablespoons water for each egg) and use a plant-based butter substitute for the recipe.
How do I know if my cake is done baking?
A good rule of thumb is the toothpick test! Insert a toothpick into the center and it should come out clean or with just a few moist crumbs. If it’s too gooey, give it a few more minutes in the oven.
Can I make this cake ahead of time?
Definitely! You can bake it a day in advance. Just keep it covered at room temperature until you’re ready to serve. It might even taste better the next day as the flavors settle together.
Conclusion
I hope you enjoy whipping up this Easy Pineapple Upside Down Cake as much as I do! It’s a slice of nostalgia and joy all wrapped in one, perfect for sharing with friends and family. I’d love to hear how yours turned out, or any fun tweaks you made along the way. Leave a comment or snap a photo and tag me on social media. Happy baking, and remember: cake is made for sharing!

Leave a Comment