

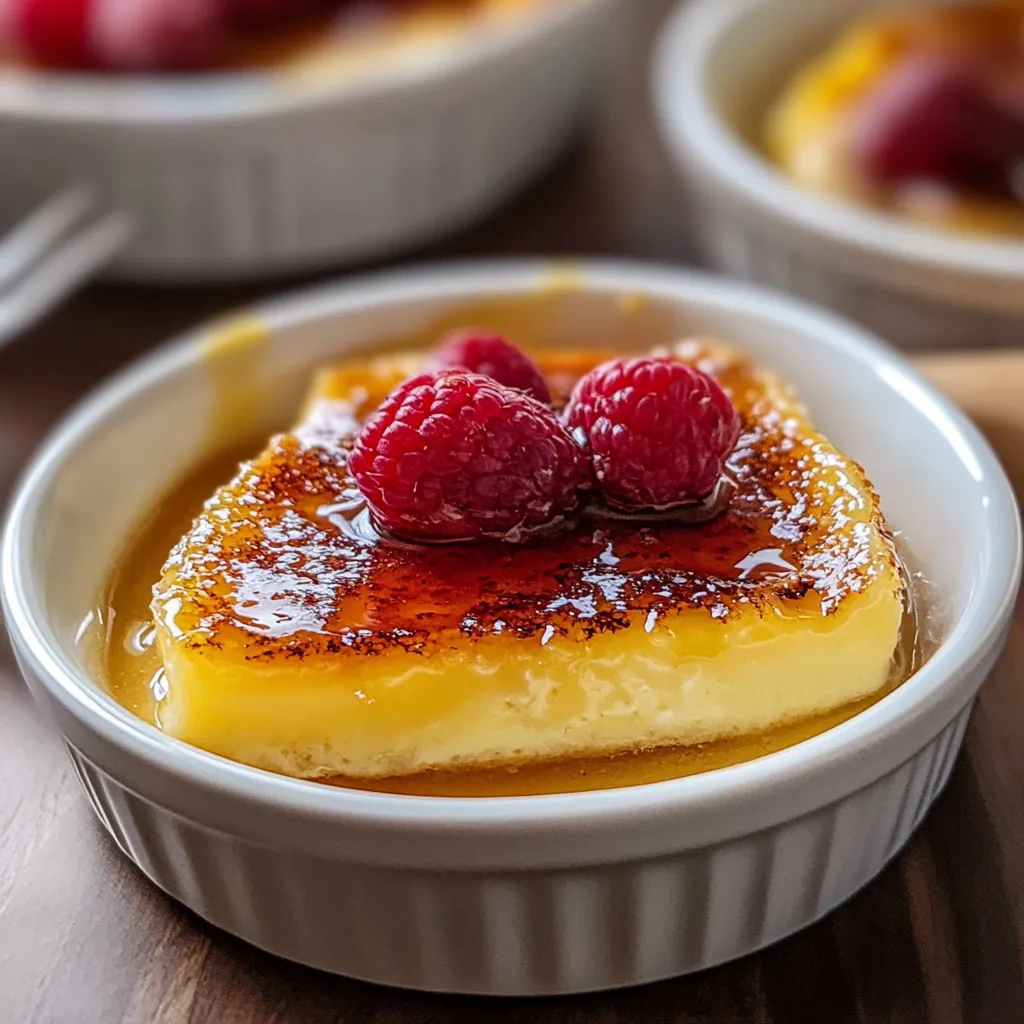
Hey there, friends! Today, I’m excited to share something incredibly indulgent yet surprisingly simple: my Easy Creme Brulee Recipe. Picture this: the first time I made creme brulee, I was nervously wandering around my kitchen, clutching the recipe as if it were a treasure map. But by the time I took that first spoonful, all my fears melted away like the sugar topping with the crack of my spoon. The creamy vanilla custard beneath the caramelized sugar felt like a warm hug on a chilly evening. It’s a dessert that makes you feel special, even on a regular weekday. Plus, it’s perfect for impressing guests without spending an entire day in the kitchen!
So, whether you’re looking to treat yourself, celebrate a special occasion, or simply want to impress your friends, this creme brulee recipe will take you there. Trust me, you’ll be basking in the glory of your culinary prowess in no time!
Why You’ll Love This Recipe
- Beginner-friendly: Perfect for novice cooks; if you can boil milk, you can make this!
- Elegant treat: A sophisticated dessert that looks and tastes gourmet.
- Customizable: Get creative with flavors beyond classic vanilla!
- Perfect for sharing: Wow your family and friends; they’ll think you’ve been baking forever!
Ingredients
Here’s what you’ll need to whip up this luscious treat:
- 2 cups heavy cream
- 4 large egg yolks
- ½ cup granulated sugar, plus extra for caramelizing
- 1 tablespoon vanilla extract or 1 vanilla bean, split and scraped
- Pinch of salt
Pro tip: Use fresh vanilla beans if you can find them! They’ll add an aromatic depth that supermarket vanilla just can’t beat.
Step-by-Step Instructions
Now, let’s get cooking! Follow these easy steps to create your own delightful creme brulee:
- Preheat your oven: Set your oven to 325°F (160°C). Go ahead and prep a baking dish for a water bath. A large roasting pan works perfectly!
- Heat the cream: In a saucepan over medium heat, combine the heavy cream, vanilla extract (or the scraped seeds from your vanilla bean), and a pinch of salt. Heat this gently until it just starts to simmer, then remove it from heat. Your kitchen should smell absolutely divine right about now!
- Whisk the yolks and sugar: In a medium bowl, whisk together the egg yolks and sugar until it’s smooth and lightly pale in color. This step is crucial; don’t skip it! The sugar gets the yolks ready to mingle with that rich cream.
- Combine the mixtures: Slowly pour the warm cream into the egg mixture, whisking constantly. This prevents the eggs from cooking too quickly. You want a lovely, silky mixture at the end!
- Strain the mixture: For an ultra-smooth custard, strain your mixture through a fine mesh sieve into a large measuring cup or bowl. It’s worth the extra step for that perfect texture!
- Fill the ramekins: Distribute the silky custard into your ramekins, filling them about three-quarters of the way full.
- Prepare for the water bath: Place your ramekins in the roasting pan and carefully pour hot water into the pan, surrounding the ramekins without getting any in them. This will help your custard cook evenly.
- Bake: Slide the pan into your preheated oven and bake for about 30-35 minutes, or until the edge is set but the center still has a slight jiggle. You want that lovely custard feel, not scrambled eggs!
- Chill: After baking, allow the ramekins to cool to room temperature for a bit before transferring them to the fridge. Chill for at least 2 hours, but overnight is best for incredible firmness and flavor.
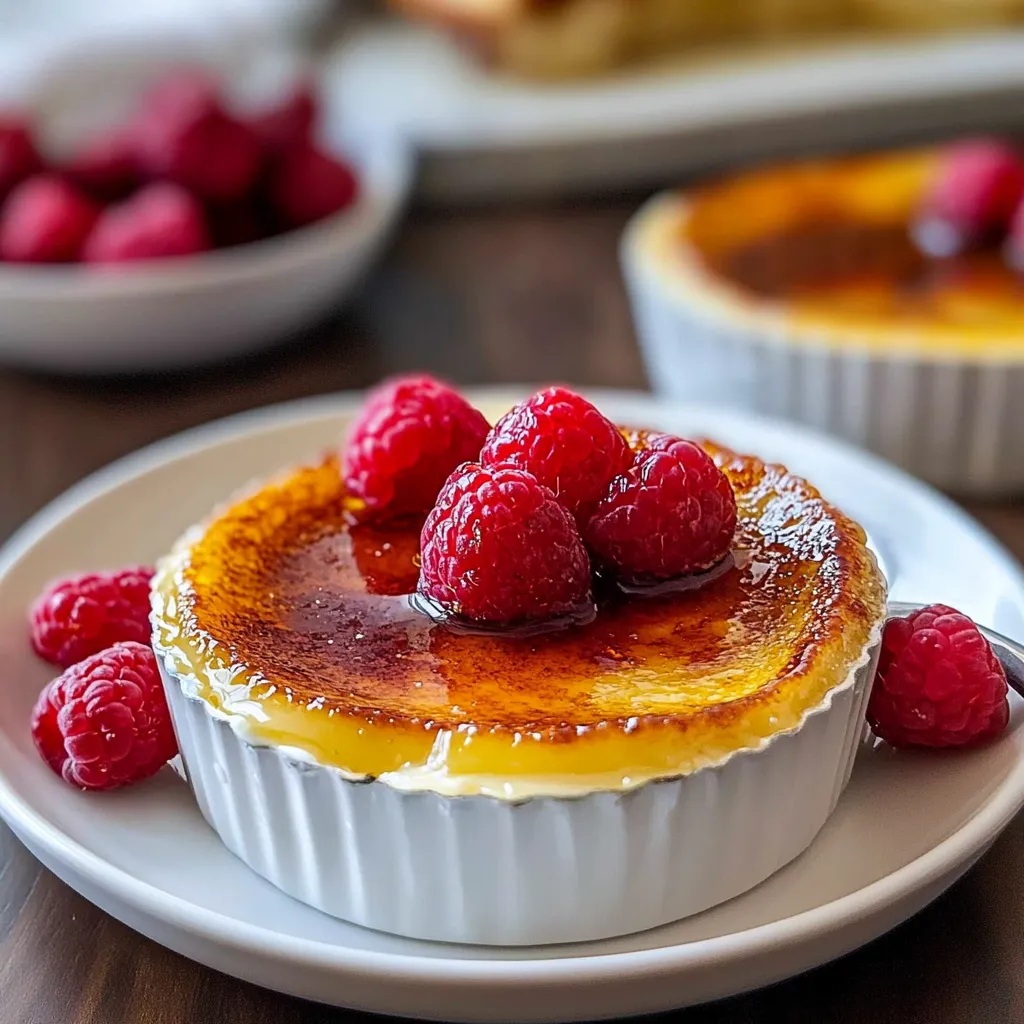
- Caramelize the sugar: Once you’re ready to serve, sprinkle a thin layer of granulated sugar on top of each custard. Using a kitchen torch, carefully caramelize the sugar until it’s a deep amber color, or place them under the broiler for a minute or two. Keep a close eye, as things can go from golden to burnt in a blink!
Watch out for the heat from the torch; it’s easy to get too close. And trust me, nobody wants burnt sugar!
Pro Tips & Variations
Feeling adventurous? Here are some fun twists to personalize your creme brulee:
- Citrus Zest: Add a teaspoon of orange or lemon zest for a bright, zesty kick!
- Spices: A pinch of cinnamon or nutmeg can warm up the flavors beautifully.
- Chocolate: Mix in some melted chocolate for a rich chocolate creme brulee. Delicious!
- Herbs: Try infusing your cream with lavender or mint for an aromatic experience.
Don’t be afraid to experiment! It’s all about making it personal and enjoying the process.
Serving Suggestions
When it’s time to serve, I love pairing my creme brulee with a fresh berry compote or simply some seasonal fruits, like sliced strawberries or raspberries. The tartness complements the rich custard so beautifully. It’s also delightful alongside a cup of coffee or tea, making for a cozy end to a meal.
Picture setting the table with flickering candles, a subtle dessert, and laughter drifting in the air. Nothing beats the joy of sharing food and creating memories together.
Storage Tips
If you have leftovers (which is rare when I serve this!), here’s how to keep your creme brulee fresh:
- Fridge: Cover the ramekins with plastic wrap and store them in the fridge for up to 3 days. Just wait to caramelize the sugar until you’re ready to serve.
- Freezing: While it’s not ideal to freeze creme brulee due to changes in texture, you can freeze the custard itself without the sugar topping. Just remember to cover well. Thaw in the fridge before serving!
- Reheating: If you’ve caramelized the sugar, it’s best enjoyed fresh. But if it’s just custard, feel free to serve it cold or gently reheat in a water bath.
FAQs
Can I use whole eggs instead of just egg yolks?
While you can technically use whole eggs, the texture will be different. The yolks give creme brulee its rich, creamy consistency, which is what you want! Stick with just yolks for that perfect custard.
What if I don’t have a kitchen torch?
No worries! You can place the ramekins under the broiler for 1-2 minutes to caramelize the sugar. Just keep an eye on them, as they can burn quickly!
How do I know when my creme brulee is done baking?
Check for a slight jiggle in the center of the ramekins. They should be set around the edges but still have that lovely wobble. It’ll firm up as it cools!
Can I make creme brulee in advance?
Absolutely! You can prepare the custard days in advance. Just don’t caramelize the sugar until you’re ready to serve to keep that satisfying crunch!
What’s the best way to clean the ramekins afterward?
Let them soak for a bit before washing, as the sugar can harden. A little warm water and mild soap should do the trick!
Conclusion
And there you have it, your very own Easy Creme Brulee Recipe! I hope you feel inspired to gather your ingredients, tackle this sweet challenge, and make something truly special. There’s nothing quite like the joy of treating yourself and your loved ones to a homemade dessert. I’d love to hear how your creme brulee turns out. Did you try any unique flavors? Please leave a comment below and share your experiences! Happy cooking!
Leave a Comment