
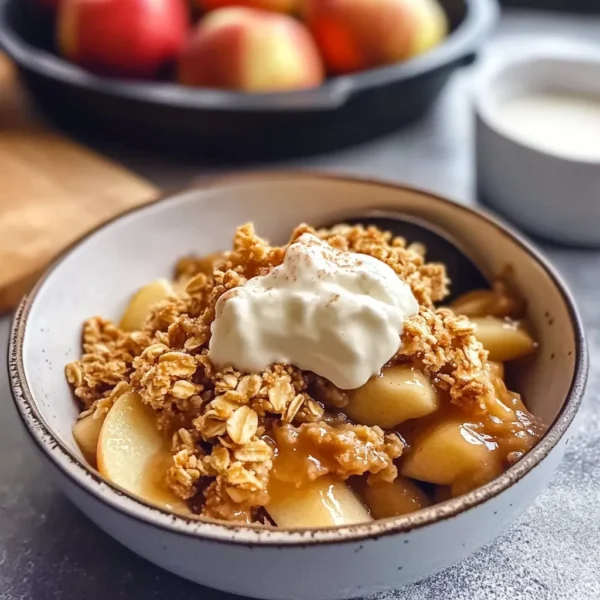
Easy Apple Crisp
Once the crisp autumn air rolls in and the leaves start painting the sidewalks in warm hues, I can’t help but reminisce about the Saturday afternoons spent at my grandmother’s cozy kitchen. Oh, the magic of that place! The aroma of cinnamon and baked apples filled the air as we waited impatiently around the stove. Nothing warmed my heart (or my belly) quite like her famous Easy Apple Crisp. This dish transcends being just a dessert; it’s a hug on a plate and a reminder of all the love baked right in. So today, let’s embrace those cozy vibes together as we whip up an Easy Apple Crisp that can be on your table in no time!
Why You’ll Love This Recipe
- Simple Ingredients: Just a handful of pantry items you probably already have at home.
- Quick Preparation: Ready in under an hour, perfect for a sweet last-minute treat.
- Comforting Flavors: The perfect balance of tart and sweet with a delightful crunch.
- Versatile: Customize it with your favorite spices or toppings!
Ingredients
Gather the following ingredients for a delightful Easy Apple Crisp:
- 6 cups peeled, sliced apples (I love Granny Smith for their tartness, but feel free to mix and match!)
- 1 teaspoon lemon juice (to brighten up those flavors)
- 1 cup old-fashioned rolled oats
- 1 cup all-purpose flour
- 1 cup packed brown sugar
- ½ cup softened butter (unsalted is best)
- 1 teaspoon ground cinnamon
- ½ teaspoon salt
Tip: Fresh apples will give you the best flavor and texture. Don’t be shy about using a mix of tart and sweet varieties; it adds depth to the flavor!

Step-by-Step Instructions
Let’s get to the fun part: making our Easy Apple Crisp!
- Preheat the Oven: Begin by preheating your oven to 350°F (175°C). A warm oven makes for a happy dessert!
- Prepare the Apples: In a large bowl, toss those lovely apple slices with lemon juice. This step keeps them vibrant and prevents browning.
- Sweeten the Deal: Add ½ cup of brown sugar and ½ teaspoon of cinnamon to the apple slices. Mix until all the apples are coated in that sweet, spicy goodness.
- Spread in Baking Dish: Transfer the apple mixture to a greased 9×13 baking dish, spreading it out evenly. Feel free to layer those apples high; they will cook down!
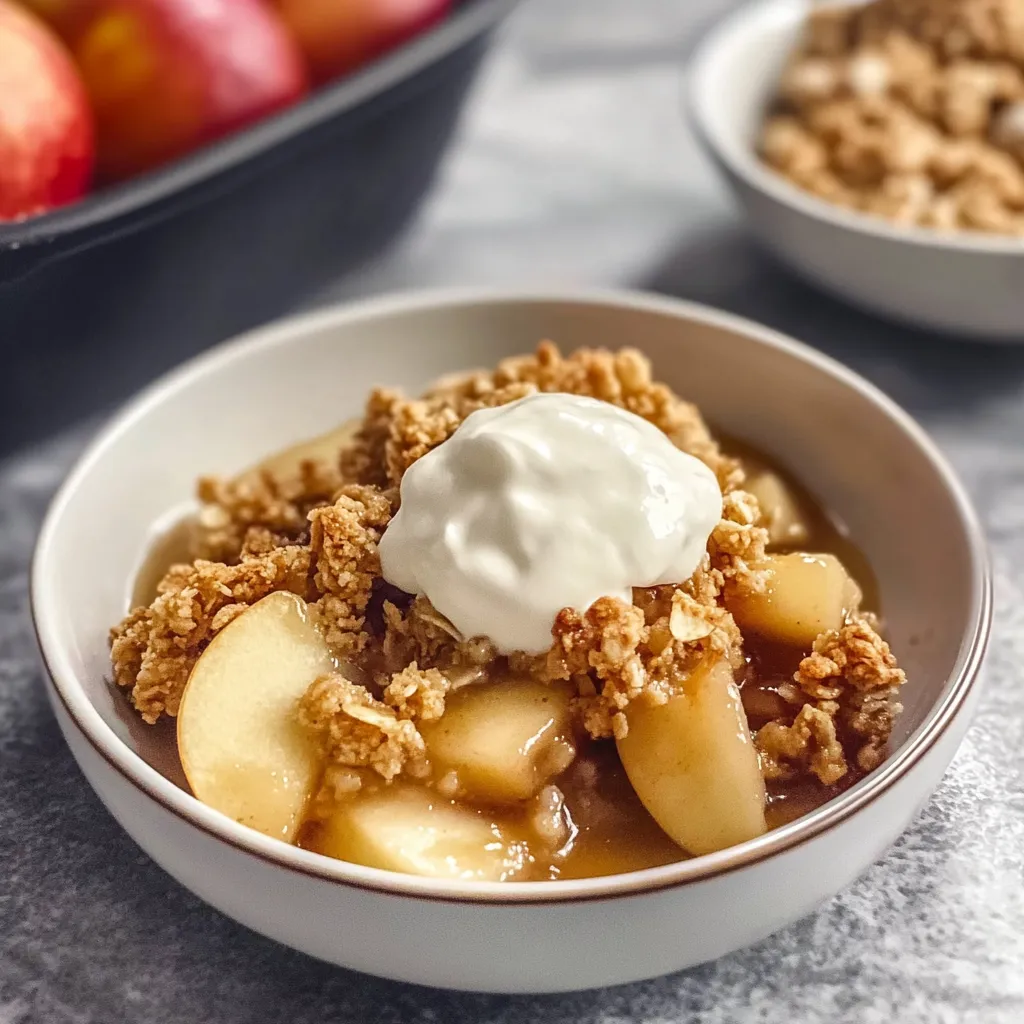
- Make the Topping: In another bowl, combine the oats, flour, remaining ½ cup of brown sugar, cinnamon, and salt. Add the softened butter and mix with your hands until crumbly. You want it to resemble coarse crumbs; the warmth from your hands will help melt the butter just enough to create that perfect topping.
- Assemble the Crisp: Evenly sprinkle the oat topping over the apples, covering them completely with a generous layer of crunchy goodness.
- Bake Away: Place your dish in the preheated oven and bake for 30-35 minutes, or until the apples are bubbling and the topping is golden brown. Your kitchen will smell like an autumn dream!
- Cool Before Serving: Allow the crisp to cool for about 10 minutes before digging in. This waiting time lets the juices settle just a bit.
Pro Tip: If you find the topping browning too quickly, cover it with aluminum foil for the last few minutes to prevent burning.
Pro Tips & Variations
The beauty of an Easy Apple Crisp is in its versatility! Here are a few fun variations to jazz things up:
- Spice it Up: Add a pinch of nutmeg or ginger for an extra layer of flavor.
- Nutty Goodness: Toss in some chopped pecans or walnuts into the topping for a crunchy twist.
- Substitute Flour: For a gluten-free version, use almond flour or a gluten-free baking blend.
- Fruit Medley: Get creative by adding in other fruits like berries or pears for a delightful twist on the classic.
Serving Suggestions
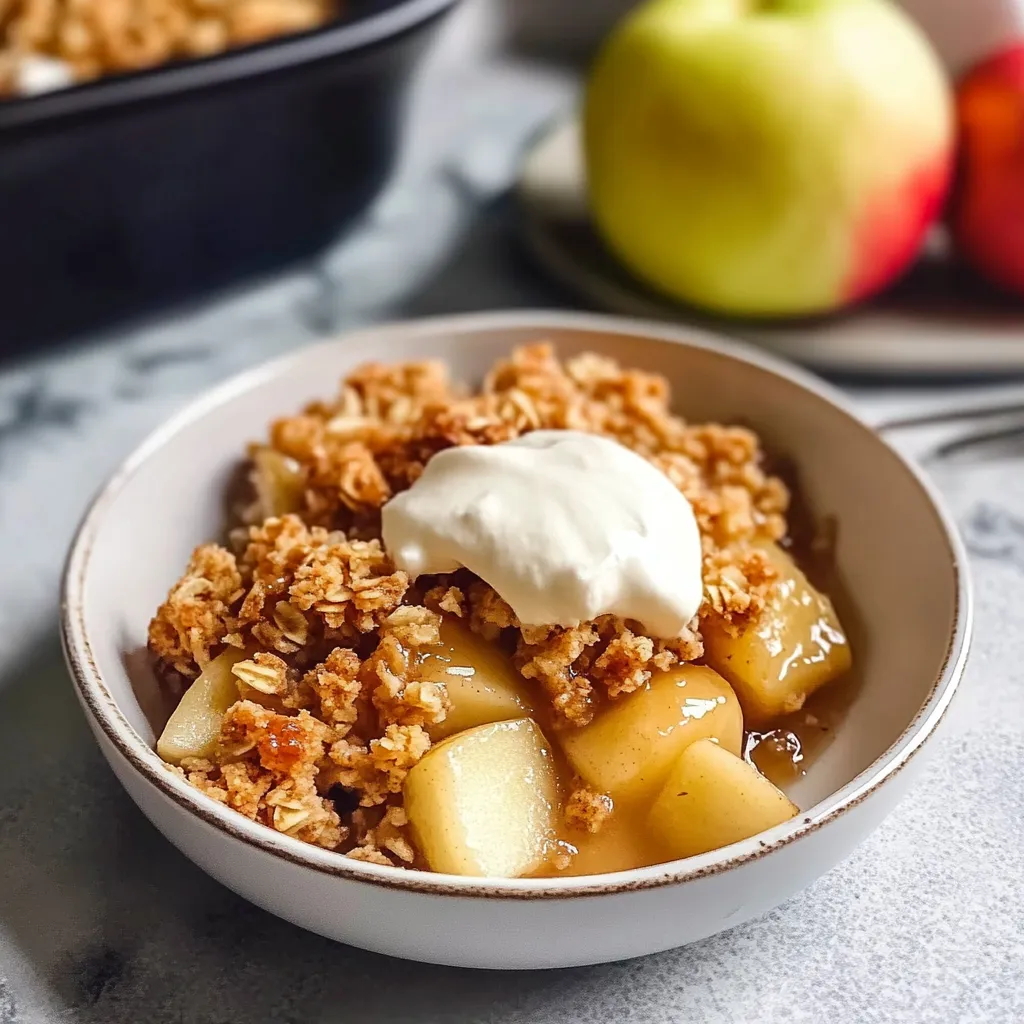
Ahh, the best part—how to serve this scrumptious treat! I adore serving my Easy Apple Crisp warm, with a generous scoop of vanilla ice cream melting on top. The contrast of the warm, gooey apples with the cold ice cream is pure bliss! For a bit of extra flair, drizzle some caramel sauce over it all and watch your friends swoon!
If you’re feeling fancy, a dollop of whipped cream or a sprinkle of chopped candied pecans creates a beautiful presentation. Pair this delicious apple crisp with a cup of coffee or a warm mug of cider for the ultimate cozy experience.
Storage Tips
Now that you’re likely not going to gobble it all up in one go (though I wouldn’t blame you if you did!), here’s how to store your Easy Apple Crisp:
- Refrigerating: Keep any leftovers in an airtight container in the fridge for up to 3-4 days. Just reheat in the microwave for a few seconds before serving.
- Freezing: You can freeze this crisp before baking! Assemble it in a baking dish, cover tightly with foil, and freeze for up to 3 months. When you’re ready to enjoy, bake it straight from the freezer—just add about 10 minutes to the baking time.
- Reheating: For leftovers, pop them in a preheated oven at 350°F for about 15-20 minutes until warmed through. This will help keep that lovely crisp texture!
FAQs
Can I use different fruits in the crisp?
Absolutely! Pears, peaches, or even berries work wonderfully. Just make sure to adjust the sugar based on the sweetness of the fruit you choose!
Is it okay to make this ahead of time?
Yes, you can prepare it a day in advance and store it in the fridge unbaked. Just pop it into the oven when you’re ready to enjoy it!
What’s the best way to peel apples?
A good, sharp peeler works wonders! If you’re looking for speed, you can even use a paring knife to slice the skin off. Just be careful and keep your fingers away from the blade!
Can I use quick oats instead of rolled oats?
While you can use quick oats, they won’t give the same texture as rolled oats; they may become mushy. Rolled oats provide that delightful chewiness!
Conclusion
And there you have it—your guide to creating a heartwarming Easy Apple Crisp that’s sure to fill your kitchen with sweetness and cozy charm. I’d love to hear about your own stories and experiences with this recipe! Did you find any unique twists to make it your own? Or perhaps you devoured it all in one go? Leave a comment below, and let’s reminisce over the joy that comes from simple, delicious food! Happy baking, my friends!

Leave a Comment