

There’s something magical about the holiday season, isn’t there? It’s that time of year when the world seems to slow down just a beat, and everything is swathed in twinkling lights, warm spices, and the buzz of love and laughter. One of my fondest memories involves hanging out in my grandmother’s kitchen, where sweet treats and laughter filled the air. She baked with such joy, always experimenting with flavors that danced on your palate, as I waited for delicious desserts to come out of the oven.
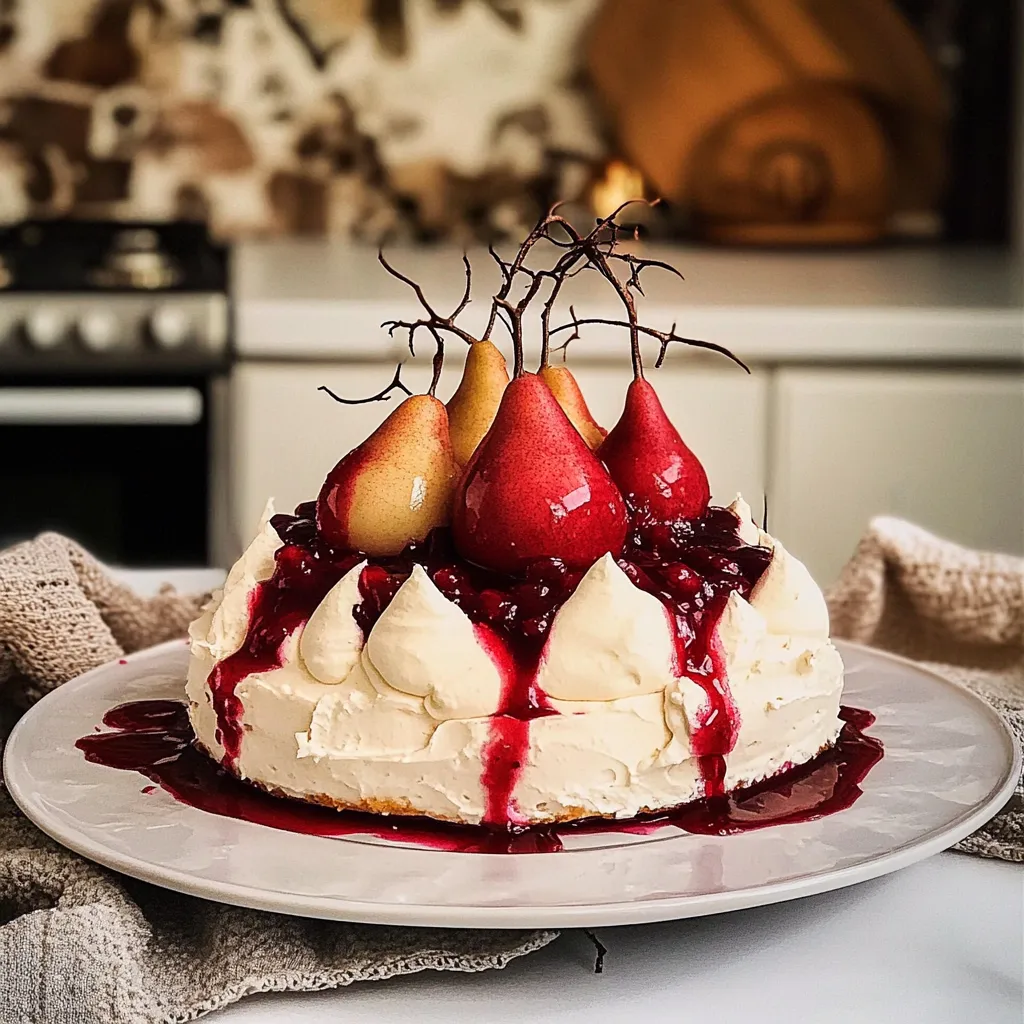
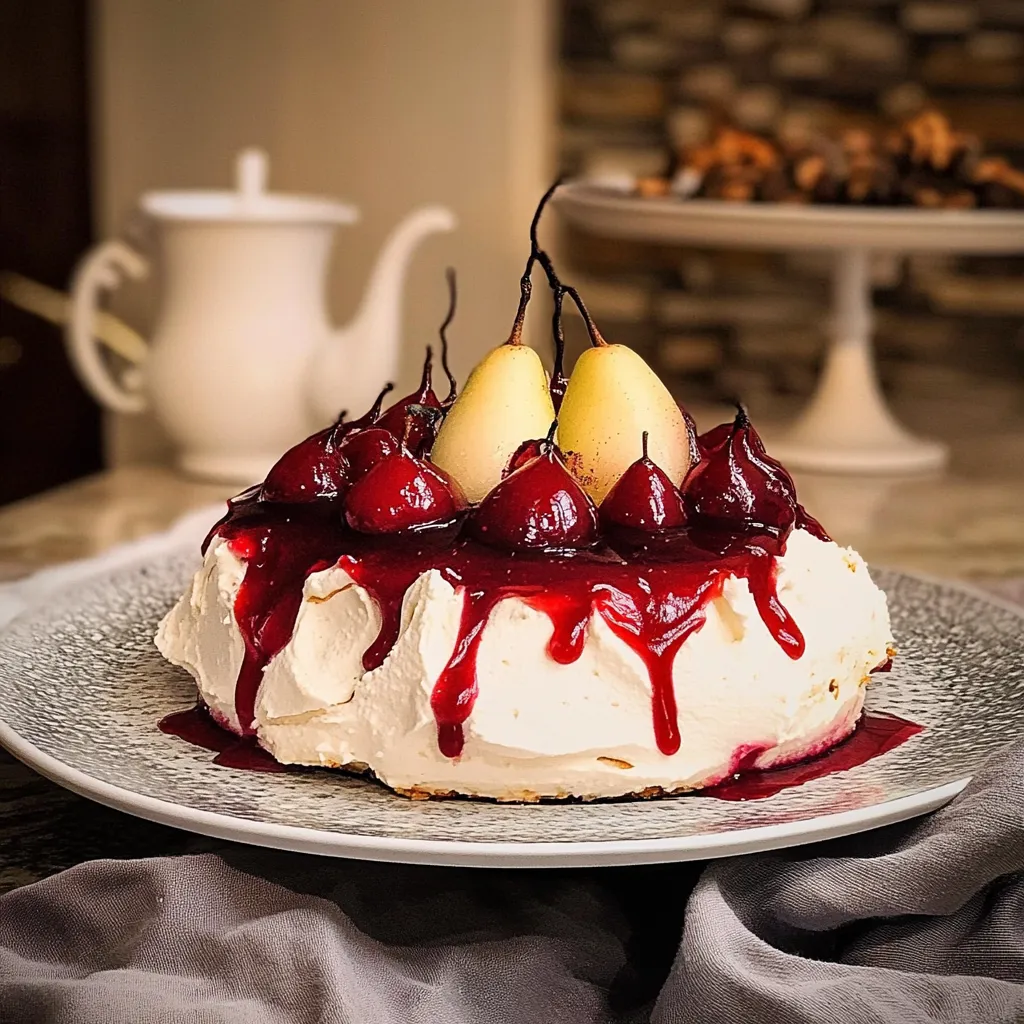
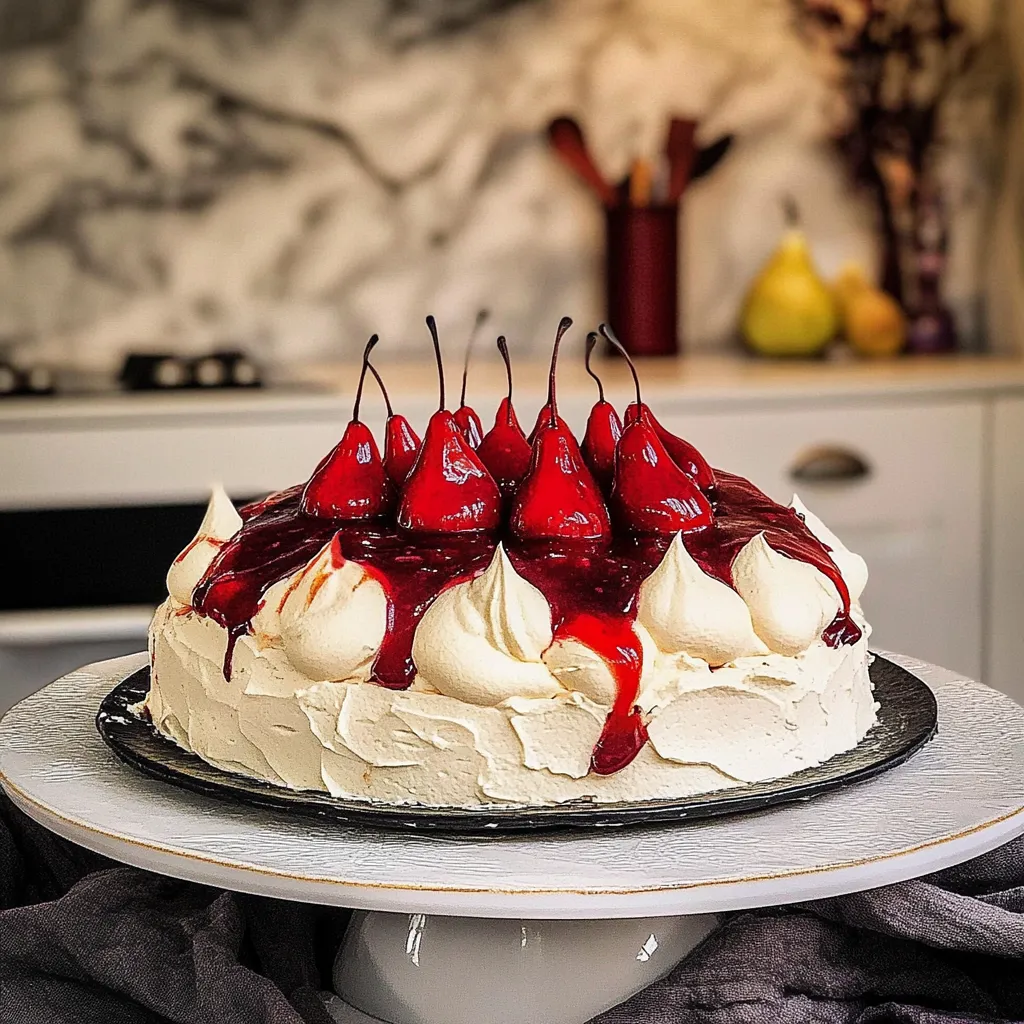
This brings us to an exquisite creation I have recently fallen head over heels for: the Cranberry Mulled Pear Pavlova. It’s a delightful twist on a classic pavlova that whispers of warmth, celebration, and a hint of nostalgia. Imagine crisp, delicate meringue topped with velvety whipped cream, luscious poached pears, and a festive cranberry sauce that packs a flavorful punch. It’s not just a dessert; it’s an experience to savor with loved ones.
Why You’ll Love This Recipe
- Showstopper Dessert: Impress your guests with an elegant, eye-catching dish.
- Festive Flavors: Combines the cozy taste of mulled spices and tart cranberries—perfect for the holidays!
- Make Ahead: Many components can be made in advance, making your prep time a breeze.
- Gluten-Free: A delightful dessert for guests with gluten sensitivities.
Ingredients
Here’s everything you’ll need to create this stunning dessert. Don’t forget to check your pantry for these treasures before you head out to the store!
For the Pavlova:
- 4 large egg whites
- 1 cup granulated sugar
- 1 teaspoon vanilla extract
- 1 teaspoon white vinegar
- 1 tablespoon cornstarch
For the Poached Pears:
- 2 ripe pears, peeled, left whole
- 2 cups red wine (a fruity varietal works best)
- 1/2 cup granulated sugar
- 1 stick cinnamon
- 3-4 whole cloves
- 1-2 star anise (optional)
- 1 teaspoon vanilla extract
For the Cranberry Sauce:
- 2 cups fresh cranberries (can use frozen if needed)
- 1 cup granulated sugar
- 1 cup water
- 1 teaspoon cinnamon
- 1 tablespoon lemon juice
For the Whipped Cream:
- 1 cup heavy whipping cream
- 2 tablespoons powdered sugar
- 1 teaspoon vanilla extract
Note: Fresh pears are ideal, but if you only have canned pears, make sure to drain them well and adjust cooking time!
Step-by-Step Instructions
Let’s roll up our sleeves and start creating your very own Cranberry Mulled Pear Pavlova. Deep breaths; it’s going to be fabulous!
Step 1: Prepare the Pavlova Base
- Preheat your oven to 250°F (120°C). Line a large baking sheet with parchment paper.
- In a clean, dry bowl, beat the egg whites using an electric mixer on medium until soft peaks form. This is where the magic starts to happen, so be patient!
- Gradually add the sugar, one tablespoon at a time, beating on high speed until the mixture is glossy and stiff peaks form (think of a shiny cloud!).
- Gently fold in the vanilla extract, vinegar, and cornstarch. Be careful here; don’t overmix! A gentle hand will keep that lovely light texture.
- Shape the meringue into a round disk on the prepared baking sheet, creating a small well in the center to hold the toppings. If you want to be fancy, you can create swirls and peaks for added character!
- Bake for about 1 1/2 hours or until the meringue is crisp on the outside but still soft inside. Once ready, turn off the oven and let it cool completely inside (this helps prevent cracking).
Step 2: Poach the Pears
- In a medium saucepan, combine the red wine, sugar, cinnamon, cloves, star anise, and vanilla extract. Bring this cozy concoction to a simmer over medium heat.
- Once simmering, gently lower the peeled pears into the mixture. Cover and allow them to poach for about 20-30 minutes, turning occasionally, until fork-tender. The aroma will be absolutely divine!
- Once done, remove the pears, set them aside to cool, and let the poaching liquid simmer for a few more minutes until it thickens slightly as a syrup. Strain the spices out if you prefer a smooth sauce!
Step 3: Make the Cranberry Sauce
- In a pot, combine the cranberries, sugar, water, cinnamon, and lemon juice. Bring this delightful mix to a boil.
- Reduce heat and simmer for about 10-15 minutes until the cranberries burst and the sauce thickens. You’ll have an irresistible tartness to balance the sweetness of the pavlova!
- Let cool completely before using.
Step 4: Whip the Cream
- In a mixing bowl, beat together the heavy cream, powdered sugar, and vanilla extract until soft peaks form. This step makes your pavlova indulgently creamy!
- Be cautious not to overwhip; you want it soft and luscious!
Step 5: Assemble the Pavlova
- Once the meringue is cooled, spoon the whipped cream into the center of the pavlova.
- Slice the poached pears and arrange them beautifully over the cream.
- Drizzle the thickened poaching syrup over the top and add generous spoonfuls of your cranberry sauce. Just look at all those vibrant colors!
- Enjoy the praises from your guests as they marvel at this stunning dessert!
Pro Tips & Variations
Now that you’re well on your way to creating your own delightful Cranberry Mulled Pear Pavlova, let’s talk about some fun twists and pro tips.
- Spice it Up: Don’t hesitate to throw in some cardamom or nutmeg with the poaching spices for a warming touch.
- Nutty Crunch: Toasted nuts, like pistachios or hazelnuts, sprinkled on top can add a beautiful crunch.
- Dairy-Free Option: You can substitute coconut cream for the whipped cream for a tropical twist.
- Flavor Variations: Experiment with different fruits—try peaches or apples to switch it up!
- Meringue Tricks: If your meringue cracks, simply cover it with cream and toppings. No one will be the wiser!
Serving Suggestions
For serving, I love presenting this stunning pavlova on a decorative rustic platter, giving it the centerpiece status it deserves. Pair it with your favorite tea or a cozy mulled wine to keep the warmth flowing. Family and friends will love digging in, discovering layers of cream and where they have ended up with the exciting tartness of cranberries. A scoop of homemade vanilla ice cream on the side would complement it too!
Storage Tips
This dessert is best enjoyed fresh, but if you need to store it, here are some handy tips:
- Refrigerate: Keep the assembled pavlova in the fridge for up to a day, but it’s best served the same day you make it.
- Freeze: You can freeze the baked meringue (without toppings) for about a month. Just wrap it well to avoid freezer burn!
- Reheat: If using frozen meringue, allow it to thaw in the fridge overnight before decorating. Avoid reheating in the oven to maintain its texture.
FAQs
Can I use a different type of fruit for the pavlova topping?
Absolutely! While poached pears and cranberry sauce are delightful, feel free to experiment with your favorite fruits like berries, citrus, or even tropical fruits.
How do I know when the meringue is done baking?
The meringue should be dry and crisp on the outside with a slight yield when pressed. A good test is to gently tap it; if it sounds hollow, you’re right on track!
What if my meringue cracks during baking?
Don’t fret! Just cover the cracks with whipped cream and fruit. It will still taste just as delicious!
Can I make the components ahead of time?
Yes! You can make the poached pears, cranberry sauce, and meringue ahead of time. Assemble everything together on the day you want to serve it for the best results!
Is this dessert gluten-free?
Yes, pavlova is naturally gluten-free since it’s made with egg whites and sugar. Just check your other ingredient labels to ensure they’re gluten-free as well.
Conclusion
I hope you feel inspired to try your hand at this delicious Cranberry Mulled Pear Pavlova recipe! Get ready for a dessert that not only tastes incredible but also creates beautiful moments at your holiday table. I’d love to hear how yours turns out, so be sure to comment below or tag me on social media with your delicious creations. Happy baking and cherishing each delightful bite!
Leave a Comment