
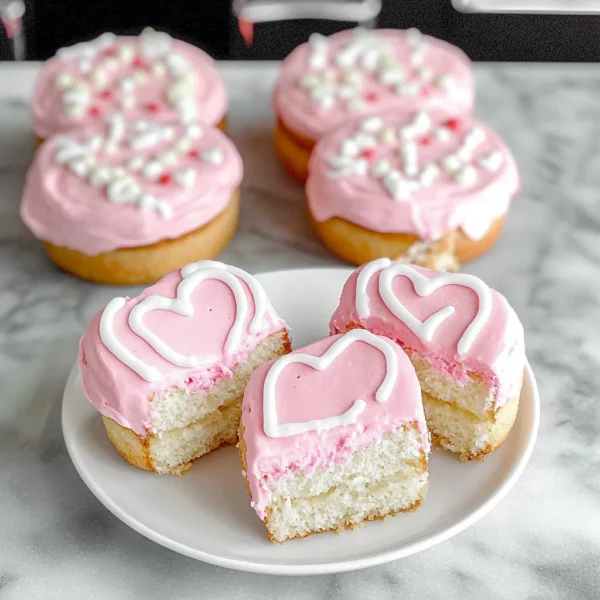
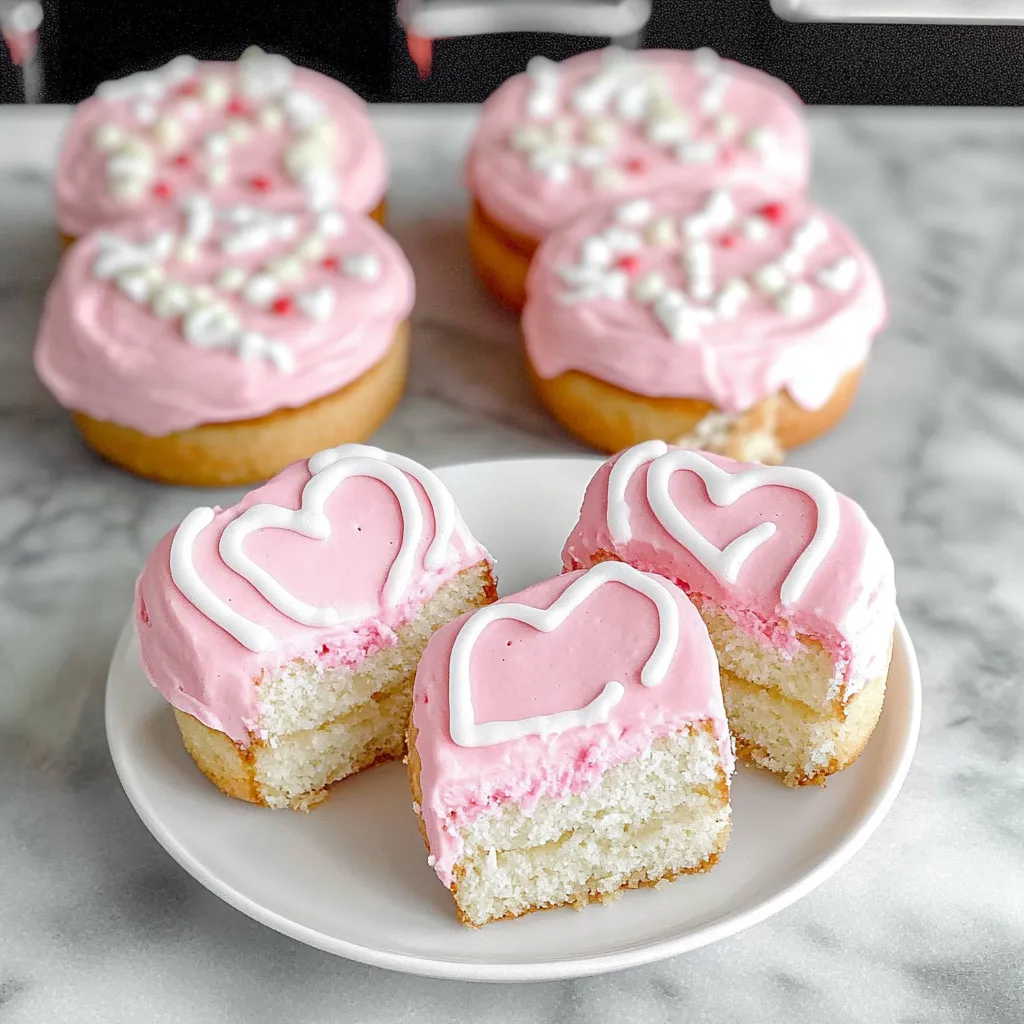
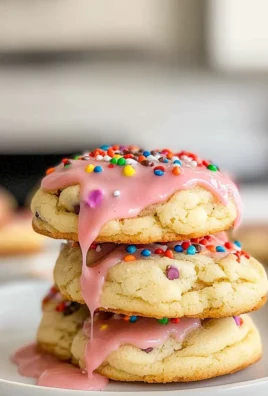
Oh, the joy of those sweet, tender Valentine Cakes from Little Debbie! They were a staple of my childhood, a delightful treat that made every February 14th feel like a special occasion. I vividly remember sprinting down the grocery aisle with my mom, my heart racing with excitement as I grabbed that iconic pink box, eager to dive into those fluffy, cream-filled cakes. There was something magical about the combination of soft cake, velvety frosting, and that little touch of nostalgia. Making these Copycat Little Debbie Valentine Cakes in my own kitchen is like wrapping myself in a warm hug of childhood memories. It’s a fun project to get your hands messy, and the aroma that fills your kitchen is just heavenly!
This recipe is perfect for sharing with loved ones or even treating yourself—I promise you won’t be disappointed. So, let’s gather our ingredients and whip up some Love in the form of cakes!
Why You’ll Love This Recipe
- Kid-friendly and fun to make—bonus points for family bonding!
- Soft, fluffy texture that’s oh-so-satisfying with each bite.
- Impressive presentation that’s perfect for gifting or special occasions.
- Customizable colors and flavors make it unique for every celebration.
- Holds up well—great for picnics, parties, or just a sweet treat at home!
Ingredients
Here’s what you’ll need to create your own batch of sweetness:
- For the cake:
- 2 cups all-purpose flour
- 1 ½ cups granulated sugar
- 1 cup buttermilk (room temperature is best)
- ½ cup unsalted butter (melted and cooled)
- 3 large eggs (room temperature)
- 1 tablespoon baking powder
- ½ teaspoon baking soda
- ½ teaspoon salt
- 1 teaspoon vanilla extract
- 1 teaspoon almond extract (this adds a lovely floral note!)
- For the frosting:
- 1 cup unsalted butter (softened)
- 4 cups powdered sugar
- 2 tablespoons heavy cream (or milk for a lighter frosting)
- 1 teaspoon vanilla extract
- Pink food coloring (to make it extra festive!)
- For the filling:
- 1 cup marshmallow fluff (the secret to that gooey center!)
Step-by-Step Instructions
Let’s dig into making these delightful cakes! Trust me, the end result is totally worth the effort.
- Preheat your oven: Preheat your oven to 350°F (175°C). Lightly grease two 9-inch round cake pans, and consider lining them with parchment paper for easy removal.
- Mix the dry ingredients: In a large mixing bowl, whisk together the flour, sugar, baking powder, baking soda, and salt until well combined. This helps ensure your cakes rise evenly—nobody likes a lumpy cake!
- Blend the wet ingredients: In another bowl, beat the eggs, then mix in the buttermilk, melted butter, vanilla, and almond extract. Remember, room temperature ingredients create a smoother batter and better texture!
- Combine wet and dry: Gradually pour your wet mixture into the dry ingredients. Gently fold them together with a spatula until just combined—watch out! Overmixing can lead to dense cakes. A few lumps are just fine!
- Divide and bake: Pour the batter into the prepared cake pans, spreading it evenly. Bake in the preheated oven for 25-30 minutes, or until a toothpick inserted in the center comes out clean. Your kitchen will smell heavenly during this time!
- Cool it down: Allow the cakes to cool in the pans for about 10 minutes before transferring them to a wire rack to cool completely.
- Make the frosting: In a large bowl, beat the softened butter until creamy. Gradually add the powdered sugar, mixing on low until combined. Pour in the heavy cream and vanilla, then add a few drops of pink food coloring (until you achieve your desired shade). Mix until fluffy and fun!
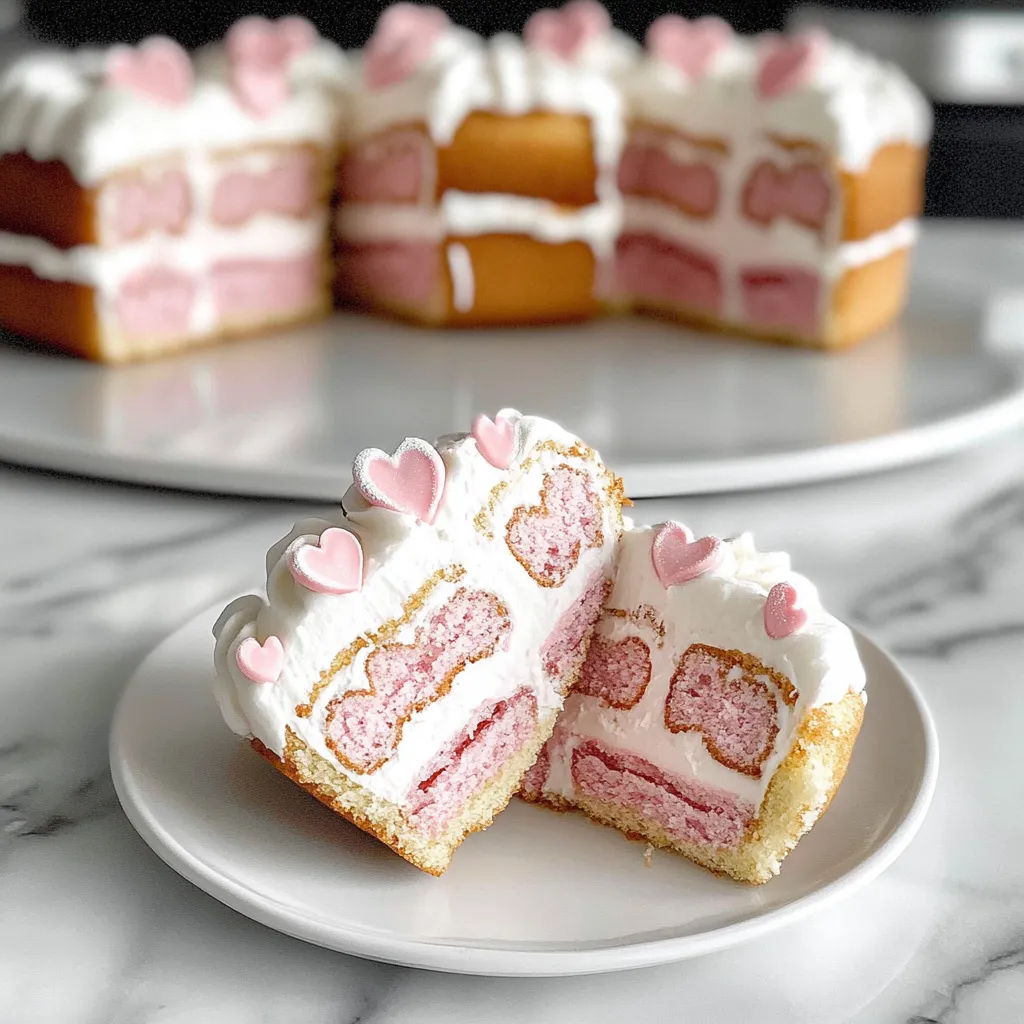
- Assemble the cakes: Once the cakes are completely cool, slice each cake in half horizontally (you’ll end up with four layers). Take one layer, spread a thin layer of marshmallow fluff, then top with frosting. Repeat with the next two layers, leaving the top layer unfrosted for a beautiful finish.
- Frost the outside: Frost the top and sides of the cake with your remaining buttercream, ensuring it’s nice and smooth. You could even add sprinkles for that extra pizazz!
- Chill: Let the assembled cake chill in the fridge for about 30 minutes before slicing. This helps the layers set and the frosting firm up a little, making it easier to cut! And trust me, it will be worth the wait.
Pro Tips & Variations
Now that you have the basics down, here are some fun tweaks to make your cakes even more delightful:
- Flavor bombs: Swap out almond extract for lemon zest or orange zest for a citrusy twist.
- Colorful fun! Use different food coloring to create a rainbow effect, or make it seasonal with red and green for Christmas.
- Health-ified: For a lighter option, substitute unsweetened applesauce for half of the butter. It will still be moist and delicious!
- Add a crunch: Fold in some mini chocolate chips or finely chopped nuts for a delightful textural contrast.
Serving Suggestions
These little beauties deserve to be showcased! Slice them into heart-shaped pieces to really nail that Valentine’s vibe. Serve them with a warm cup of coffee or even a glass of milk for the ultimate comfort combo. For a little extra sweetness, consider pairing them with fresh strawberries on the side. Just imagine those juicy berries mingling with the soft cake and creamy frosting—pure bliss!
Storage Tips
Got leftovers? No worries; you can keep these treats fresh! Store any leftover cake in an airtight container in the fridge for up to a week. If you want to save it longer, slice the cake into portions and freeze them in a tightly sealed container or wrap individually in plastic wrap before freezing. To reheat, simply let them come back to room temperature, or pop them in the microwave for a few seconds (watch carefully!). This should help retain that delicious flavor and texture!
FAQs
Can I use different cake pans?
Absolutely! If you prefer to make mini cakes or cupcakes, you can adjust the baking time. Keep an eye on them and start checking for doneness a few minutes earlier than the recipe suggests.
Can I make these cakes ahead of time?
You can definitely bake the cakes in advance and refrigerate them for a few days, or freeze them if you want to prep even further ahead. Just remember to wrap them well!
Is there a way to make these gluten-free?
Sure! Simply swap the all-purpose flour for a 1:1 gluten-free flour blend. Just ensure your baking powder is gluten-free, too. It should work out beautifully!
How do I prevent the cake from sticking to the pan?
Greasing and lightly flouring the cake pans are key! You can also cut parchment paper circles for the bottom of the pans for extra assurance.
What can I do with leftover frosting?
Oh, the possibilities are endless! Use it to frost cookies, or just dollop it onto cupcakes. Or, you know, enjoy the rest straight from the bowl because, let’s be honest, it’s hard to resist!
Conclusion
I hope you enjoy making these Copycat Little Debbie Valentine Cakes as much as I do! They’re sweet, fluffy, and guaranteed to spread some love. If you try the recipe, I’d love to hear about your experience—feel free to comment below, share any fun twists you added, or tell me how they turned out. Happy baking, friends! May your hearts and kitchens be filled with joy!
Leave a Comment