

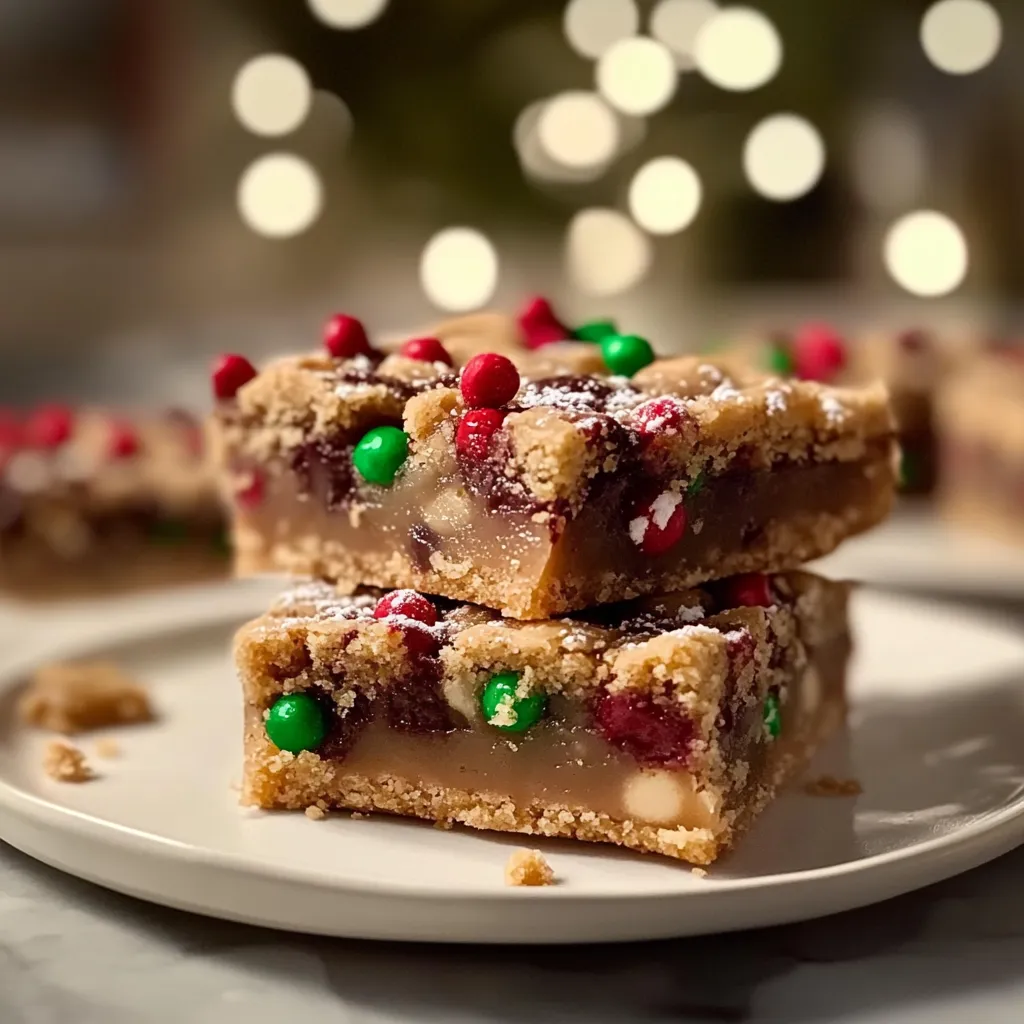
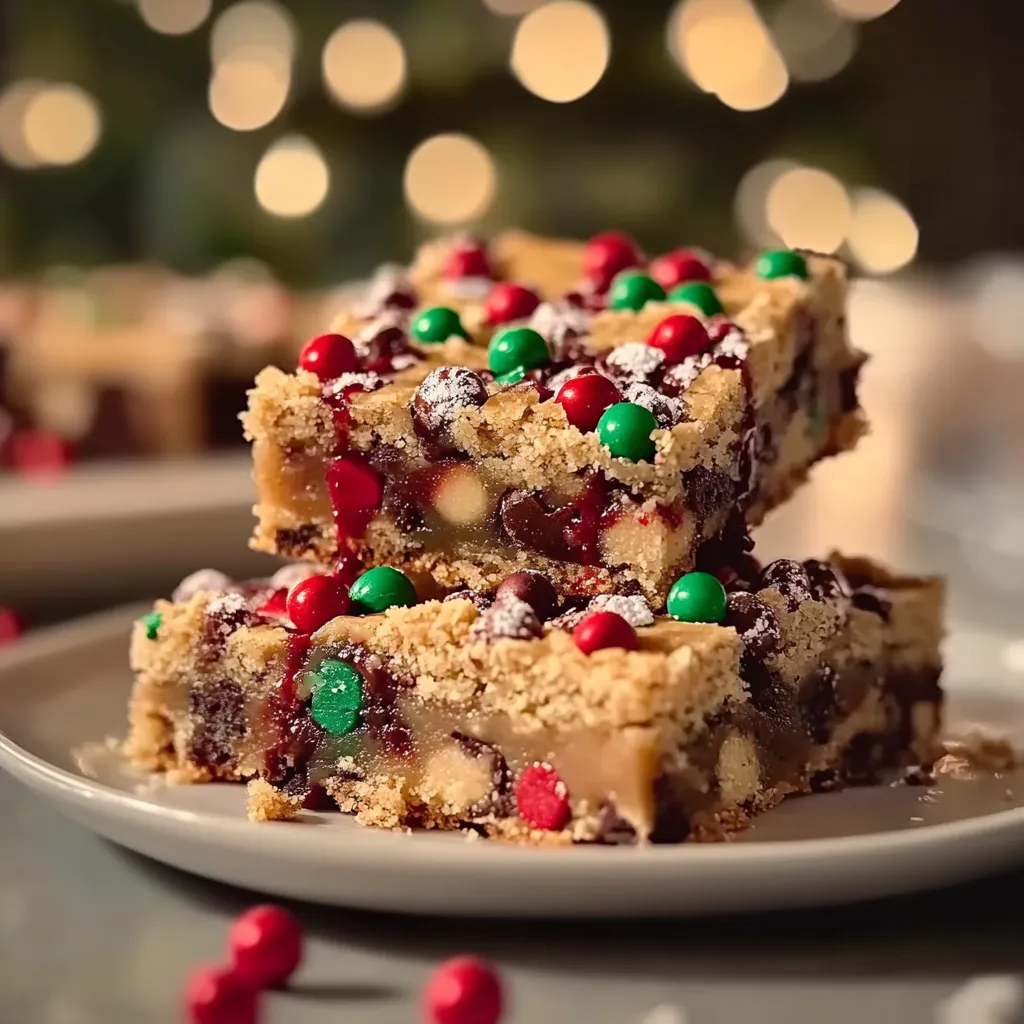
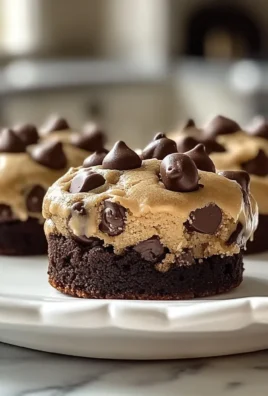
There’s something magical about the holiday season that makes baking feel like the ultimate comfort activity, don’t you think? The kitchen fills with the scents of spices and sweetness, and the joy of preparing something special to share brings everyone together. I fondly remember drifting into the kitchen as a kid, mesmerized by the twinkling lights of the Christmas tree and the smell of cookies wafting through the air. My mom would whip up a batch of her famous Christmas cookies, the kind that would disappear faster than you could say “ho ho ho.” Today, I’m excited to share a festive twist on those classic flavors: Christmas Cookie Bars! These bars are chewy, delightful, and packed with holiday cheer, perfect for gifting or enjoying with a hot cup of cocoa on a chilly evening. Let’s dive into this delicious recipe, shall we?
Why You’ll Love This Recipe
- Simple & Quick: These cookie bars come together in a breeze, perfect for last-minute baking.
- One Bowl Wonder: Less cleanup means more time for holiday fun!
- Customizable: Add your favorite mix-ins or toppings to make them your own.
- Shareable Treat: Square up these bars for easy gifting or contribute to a holiday cookie exchange.
- Decadent Flavor: A soft, chewy base loaded with festive flavors that will have your taste buds singing!
Ingredients
- 2 ½ cups all-purpose flour
- 1 teaspoon baking soda
- 1 teaspoon salt
- 1 cup unsalted butter, softened (not melted – soft butter is key for chewiness)
- 1 cup brown sugar, packed
- ½ cup granulated sugar
- 2 large eggs
- 2 teaspoons vanilla extract
- 1 teaspoon almond extract (adds a lovely holiday touch)
- 2 cups mixed holiday candies (think M&M’s or chopped chocolate)
- ½ cup dried cranberries (for that festive tartness)
- Powdered sugar for dusting (optional)
Notes:
- Using fresh ingredients yields the best flavor – check those expiration dates on your baking supplies!
- Feel free to swap out dried cranberries for chopped nuts or shredded coconut if that fits your holiday vibe.
Step-by-Step Instructions
- Preheat the oven: Set your oven to 350°F (175°C). Grease a 9×13-inch baking pan or line it with parchment paper for easy removal.
- Mix the dry ingredients: In a medium bowl, whisk together the flour, baking soda, and salt. This helps ensure your leavening agent is evenly distributed.
- Cream the butter and sugars: In another large mixing bowl, cream together the softened butter, brown sugar, and granulated sugar until light and fluffy. This usually takes about 3-4 minutes. Pro tip: Don’t rush this step; it’s crucial for the right texture!
- Add the eggs and extracts: Beat in the eggs, one at a time, ensuring well combined. Then add the vanilla and almond extracts – your kitchen will smell amazing!
- Combine the mixtures: Gradually add the dry ingredients to the wet mixture, stirring gently until just combined. Watch out for overmixing; we want these cookie bars to stay soft and chewy!
- Add the fun stuff: Fold in your mixed holiday candies and dried cranberries. You can save a handful of candies to sprinkle on top for a festive touch!
- Spread the batter: Pour the mixture into the prepared baking pan and spread it evenly. It’s okay if it looks a bit thick; that’s what makes them chewy and delicious.
- Bake to perfection: Pop that sucker in the oven and bake for about 25-30 minutes until the edges are golden, and a toothpick comes out clean. The center might look a little undercooked, but don’t worry; it’ll firm up as it cools.
- Cool and cut: Let your cookie bars cool in the pan for at least 15 minutes, then lift them out using the parchment paper. Cut into squares (or rectangles if you’re feeling wild!) and dust with powdered sugar if you fancy.
Pro Tips & Variations
Want to make these Christmas Cookie Bars even more special? Here are some fun variations to tingle your taste buds:
- Spice It Up: Add a teaspoon of cinnamon or nutmeg for that cozy, holiday flavor.
- Butter Swaps: Replace half the butter with apple sauce for a healthier twist.
- Mix-In Madness: Experiment with different candies like white chocolate chips, butterscotch, or even toffee bits for a delicious surprise.
- Holiday Frosting: After cooling, top these bars with a simple buttercream frosting to take them over the top.
- Nutty Goodness: Add a cup of chopped walnuts or pecans for that added crunch.
Serving Suggestions
These cookie bars are perfect on their own, but why not elevate the experience? Imagine serving them warm with a scoop of vanilla ice cream on top, melting delectably into the cookie layers below. For an extra twist, drizzle a little caramel or chocolate sauce. Pair them with hot cocoa spiced with peppermint or a nice cup of chai tea to bring out the warmth of the season. And if you’re feeling festive, don’t forget to sprinkle some crushed candy canes on top for a delightful crunch and burst of flavor! Beautifully arranged on a platter, they make a stunning centerpiece for any holiday gathering.
Storage Tips
Not planning to devour the entire batch in one go? No judgment here! These Christmas Cookie Bars store beautifully:
- Room Temperature: Store in an airtight container at room temperature for up to one week. You might want to add a piece of wax paper between layers to prevent them from sticking together.
- Refrigeration: If you prefer them chilled, you can refrigerate them for up to two weeks – wrap them tightly so they don’t dry out.
- Freezing: Need to make these ahead? Wrap them well in plastic wrap and then in foil to freeze for up to three months. Thaw overnight in the fridge and let them come to room temperature before enjoying.
- Reheating: If they lose their chewy texture, pop them in the microwave for about 10 seconds for a warm, gooey bite.
FAQs
Can I use all brown sugar instead of granulated sugar?
Absolutely! Using all brown sugar will make your bars even more chewy and add a deeper flavor. Just keep in mind that they may be a touch denser.
Can I add nuts to the recipe?
Yes, adding nuts like walnuts or pecans is a fantastic idea! They’ll add a lovely crunch and pair well with the sweetness of the cookie bars.
Can I make these gluten-free?
Definitely! Substitute the all-purpose flour with a gluten-free 1:1 flour blend. Just make sure to check all other ingredients for gluten-free labels.
How do I know when they are done baking?
Keep an eye on the edges; they should be set and slightly golden, while the center may look a little underbaked. A toothpick should come out mostly clean with a few moist crumbs.
Can I make these in advance for a party?
Yes, these are perfect for making ahead! They store really well and taste delightful even after a few days. Just be sure to wrap them well!
Conclusion
And there you have it, my friends! A delicious recipe for Christmas Cookie Bars that will not only fill your home with the smells of the season but also warm your heart with every bite. I can’t wait for you all to try this out and share them with your loved ones. If you do make these festive treats, drop a comment below to let me know how they turned out or any fun twists you added. Happy baking and warm wishes for a joyful holiday season!
Leave a Comment