

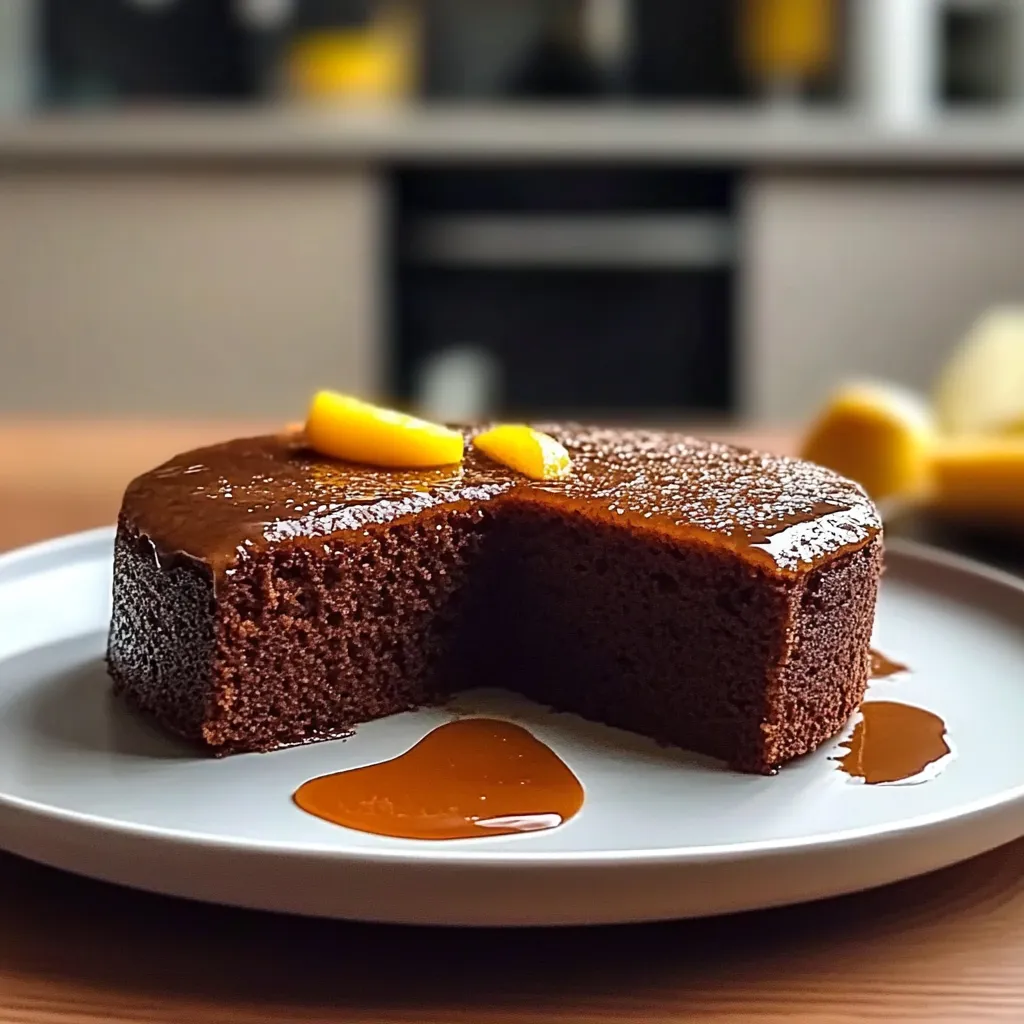
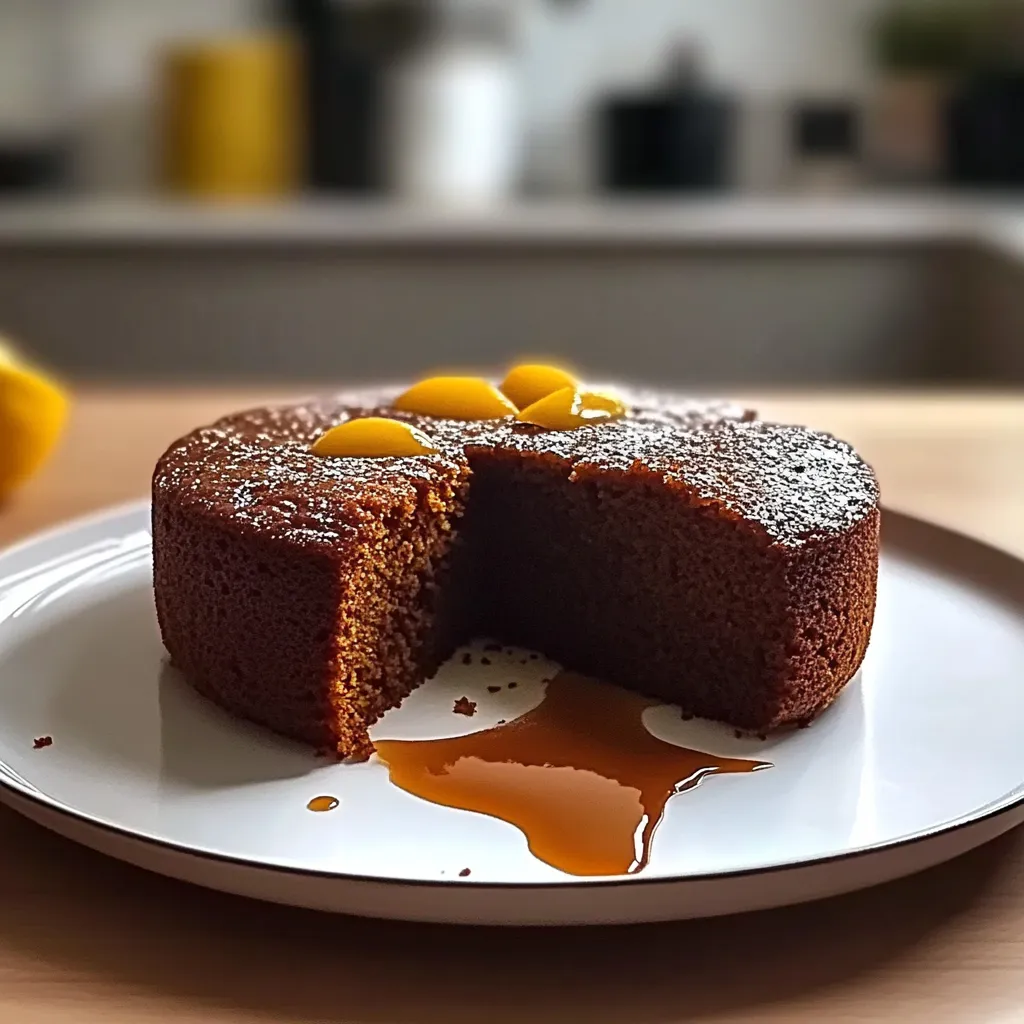
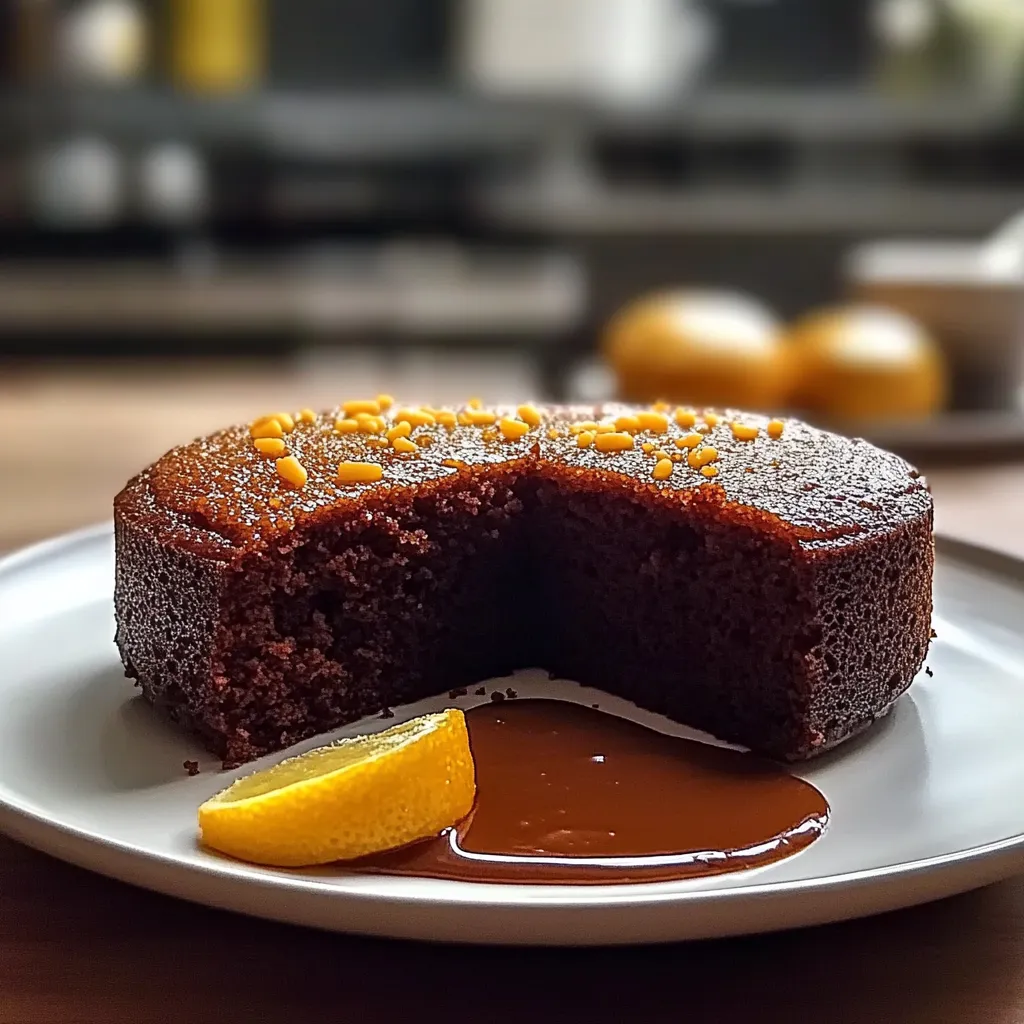
Ah, the cozy aroma of a cake baking in the oven! It takes me back to those Friday afternoons spent at my grandmother’s house, where the simple act of mixing flour and sugar felt like magic. There was always something special about those afternoons when we’d whip up something delightful to share over family dinner. One of my absolute favorites from those sweet memories is the Chocolate Semolina Cake. This cake isn’t just a dessert; it’s a hug in a slice!
If you’ve never tried a semolina cake before, let me tell you—this is not your average cake. Moist and chocolaty, it has a delightful texture that surprises you with every bite. The semolina gives it this lovely bite, while the chocolate brings it all together. So grab your apron, and let’s dive into making this love-filled Chocolate Semolina Cake together!
Why You’ll Love This Recipe
- Simple and quick: Whip it up in under an hour!
- Budget-friendly: Uses pantry staples you already have.
- Perfectly moist: The semolina keeps the cake soft without being overly dense.
- Rich and indulgent: Decadent chocolate flavor that hits the spot.
- Versatile: Perfect for breakfast, dessert, or a sweet snack any time of day!
Ingredients
Here’s what you will need to create this delightful Chocolate Semolina Cake:
- 1 cup semolina
- 1 cup all-purpose flour
- 1 cup granulated sugar (you can use less if you prefer it less sweet)
- ½ cup unsweetened cocoa powder (go for the good stuff for richer flavor!)
- 1 tablespoon baking powder
- ½ teaspoon salt
- 1 cup whole milk (or almond milk for a dairy-free alternative)
- ½ cup vegetable oil (for a lighter taste, opt for canola oil)
- 3 large eggs
- 1 teaspoon vanilla extract
- ½ cup chocolate chips (optional, but recommended!)
Tip: Always sift your dry ingredients together to prevent lumps!
Step-by-Step Instructions
Let’s get down to the magic of baking!
- Preheat your oven: Set your oven to 350°F (175°C). Grease and line a 9-inch round cake pan with parchment paper for easy removal.
- Mix your dry ingredients: In a large bowl, combine semolina, all-purpose flour, sugar, cocoa powder, baking powder, and salt. Give it a whisk to combine everything well.
- Prepare your wet ingredients: In another bowl, whisk together the milk, oil, eggs, and vanilla extract until smooth.
- Combine: Pour the wet ingredients into the dry mix. Gently fold it in using a spatula until just combined. Be careful not to overmix! This is a vital step to keeping your cake light and fluffy.
- Add chocolate chips: If you’re using chocolate chips, fold them into the batter now. This will add little pockets of melty goodness throughout the cake.
- Bake: Pour the batter into your prepared cake pan. Bake in the preheated oven for 30-35 minutes until a toothpick inserted in the center comes out clean. Oh, the smell as it bakes is simply divine!
- Cool: Let the cake cool in the pan for about 10 minutes. Then, carefully turn it out onto a wire rack to cool completely. Patience is key here—let it cool before slicing!
Remember: Don’t rush the cooling process! Slicing too soon will lead to crumbly madness.
Pro Tips & Variations
Now that you’ve mastered the basics, how about adding a twist? Here are some fun variations:
- Spice it up: Add a pinch of cinnamon or nutmeg to the dry ingredients for a warm flavor profile.
- Nutty goodness: Toss in some chopped walnuts or almonds for a delightful crunch.
- Frosting fun: Top it with a rich chocolate ganache or a simple dusting of powdered sugar for elegance.
- Fruit infusion: Add a layer of fresh berries between the cake layers for a refreshing moment.
So get creative and make it your own! Kitchen adventures are about experimenting and having fun.
Serving Suggestions
Now that your Chocolate Semolina Cake is ready, let’s talk about how to serve this delectable treat:
- Warm and cozy: Enjoy your slice while it’s still warm, paired with a steaming cup of coffee or tea. The combination is simply heavenly!
- With a scoop of ice cream: Picture this: a slice of cake, topped with a scoop of vanilla or mint chocolate chip ice cream. Yum!
- Fancy dessert: Serve it with a dollop of whipped cream and a sprinkle of cocoa powder for that extra flair when entertaining.
This cake is perfect for all occasions, from a simple family dessert to a special celebration. It just adds that warm, inviting vibe wherever it goes!
Storage Tips
Want to enjoy your cake beyond just one day? Here’s how to keep it fresh:
- Room temperature: Store leftover cake in an airtight container at room temperature for up to 3 days. It won’t last long, though, because it’ll be irresistible!
- Refrigerate: If you live in a warmer climate or prefer it cold, keep it in the fridge for up to a week. Just remember to let it come to room temperature before diving in!
- Freeze: You can freeze slices of the cake for up to 3 months. Wrap each slice tightly in plastic wrap, then foil, before placing them in a freezer bag. Thaw overnight in the fridge before enjoying.
FAQs
Can I make this cake gluten-free?
Absolutely! You can substitute the all-purpose flour with a gluten-free flour blend. Just make sure to check that your semolina is gluten-free as well!
Can I use another type of milk?
Yes! Feel free to use any type of milk—almond, soy, oat, or even coconut milk. Just know that coconut will give it a lovely tropical hint!
What if I don’t have semolina? Can I use just flour?
If you’re out of semolina, you can use additional all-purpose flour. However, you’ll miss out on that unique semolina texture.
How do I know when the cake is done?
The best way to check is by inserting a toothpick into the center. If it comes out clean or with a few moist crumbs, it’s ready!
Can I make this cake in advance for a special occasion?
Definitely! Make it a day or two in advance, and store it properly. Just be sure to keep it covered to maintain moisture!
Conclusion
So there you have it—your very own Chocolate Semolina Cake recipe! I hope you enjoy making this as much as I do and that it brings a sense of warmth and joy to your kitchen. I’d love to hear how yours turns out! Feel free to share your thoughts or any variations you tried in the comments below. Happy baking, my friends!


Leave a Comment