
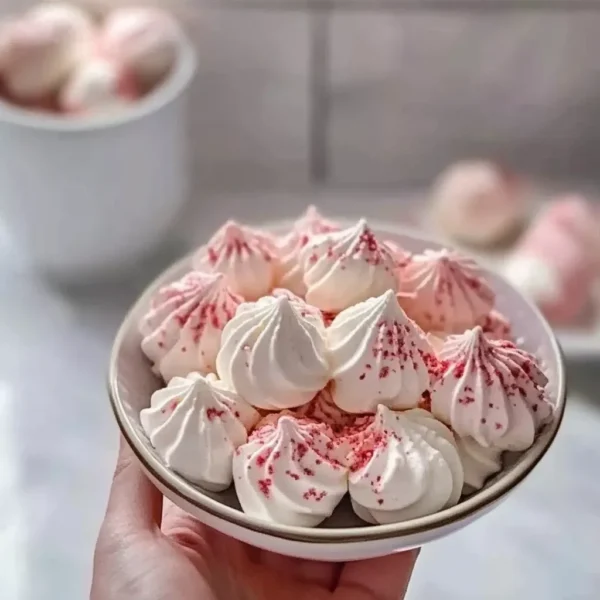
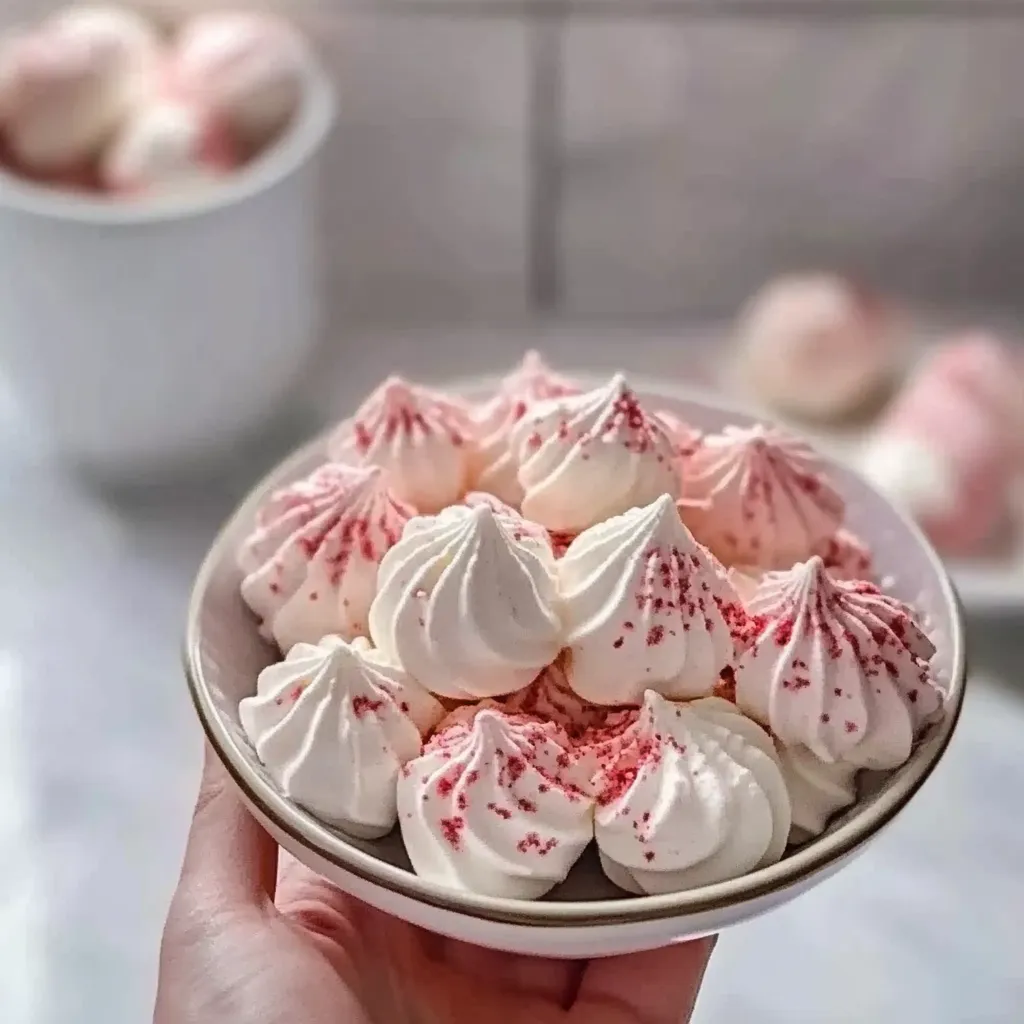
Picture this: a sunny afternoon with the scent of blooming flowers wafting through the open window, and soft music playing in the background. I’m in my cozy kitchen, preparing one of my all-time favorite sweet treats—Chocolate Dipped Meringues. There’s something magical about these light, airy confections that takes me back to my childhood kitchen. I can remember standing on a stool, watching my mom whip up meringue for special occasions, the way it transformed from simple egg whites into glossy peaks of sweetness. From that moment, I knew I wanted to experience the joy of making them myself.
Now, every time I whip up a batch of Chocolate Dipped Meringues, it’s like a warm hug for my taste buds. They’re perfect for a coffee break, a light dessert after dinner, or just to satisfy that sweet tooth without the guilt. Plus, they look oh-so-charming when served, like little clouds awaiting a drizzle of chocolatey magic. Let’s dive into this delightful recipe that you’ll want to share with everyone (or keep all to yourself—no judgment here!).
Why You’ll Love This Recipe
- Simple and straightforward—perfect for both beginners and seasoned bakers!
- Uses minimal ingredients that you probably already have on hand.
- Light and airy texture that melts in your mouth.
- The chocolate dip adds a touch of indulgence—who can resist chocolate?
- Great for sharing at gatherings, or enjoy them as a personal treat.
Ingredients
Here’s what you’ll need to bring your Chocolate Dipped Meringues to life:
- 4 large egg whites (room temperature, for best results)
- 1 cup granulated sugar (you can substitute with superfine sugar for a smoother texture)
- 1 teaspoon vanilla extract (fresh is always better than imitation)
- 1/4 teaspoon cream of tartar (helps stabilize the meringue)
- 1 cup semi-sweet chocolate chips (dark chocolate also works wonderfully)
- 1 tablespoon coconut oil (optional, for a glossy chocolate finish)
Step-by-Step Instructions
-
Preheat your oven. Start by preheating your oven to 200°F (93°C). This low temperature will dry out the meringues without browning them. Line two baking sheets with parchment paper.
-
Whip those egg whites! In a clean, dry bowl, begin to whip the egg whites on medium speed. Once they start to form soft peaks—think clouds forming in a clear blue sky—add the cream of tartar. This will help stabilize your meringue.
-
Add sugar gradually. Increase the speed to high and slowly add the granulated sugar, one tablespoon at a time. Keep whipping until you achieve stiff, glossy peaks that can hold their shape. This usually takes about 5-7 minutes.
-
Flavor it up! Gently fold in the vanilla extract using a spatula. Be careful not to deflate your beautiful meringue mix; we want to keep that airy, light texture!
-
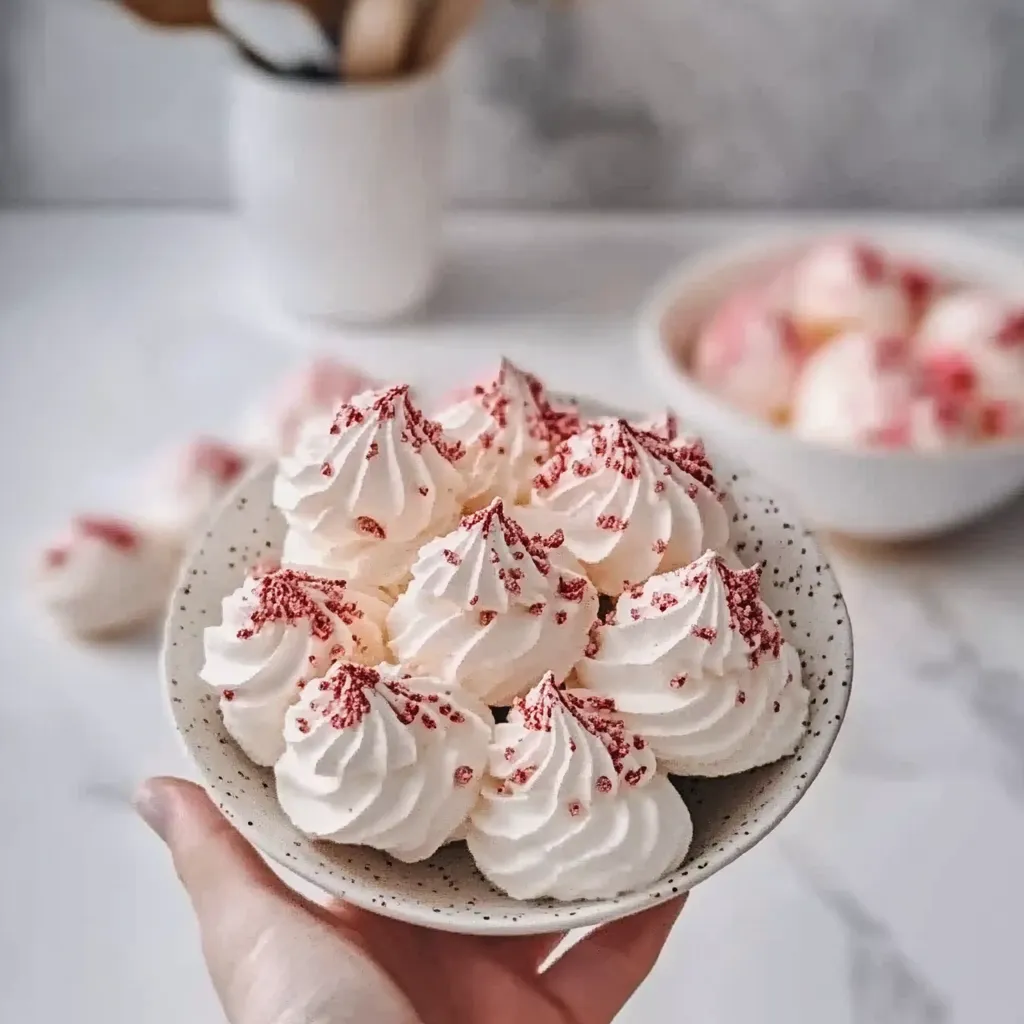
Pipe them out. Transfer your meringue mixture into a piping bag fitted with a star or round tip. Pipe small mounds onto the prepared baking sheets, leaving some space between them, as they will puff up slightly while baking.
-
Bake, bake, bake! Place the baking sheets in the oven and bake for 1.5 to 2 hours, until the meringues are firm and can easily lift off the parchment. Turn off the oven and leave the meringues inside to cool completely. This step helps them dry out and become even more delicate.
-
Melt the chocolate. While you’re waiting for the meringues to cool, melt the chocolate chips and coconut oil together in a microwave-safe bowl. Heat in 30-second intervals, stirring in between until smooth and fully melted.
-
Dip & decorate! Once the meringues have cooled, dip the bottoms into the melted chocolate, letting the excess drip off before placing them chocolate-side up on a wire rack. You can also drizzle some extra melted chocolate on top for a fancy touch if you’re feeling adventurous!
-
Let them set. Allow the chocolate to set at room temperature or in the refrigerator for a quicker result. Once hardened, your Chocolate Dipped Meringues are ready to be devoured!
Pro Tips & Variations
Let’s get a little creative! Here are some fun ideas to take your Chocolate Dipped Meringues to the next level:
- Flavor Bombs: Try adding different extracts like almond or mint for a unique twist! You can also fold in a bit of finely grated lemon or orange zest for a refreshing touch.
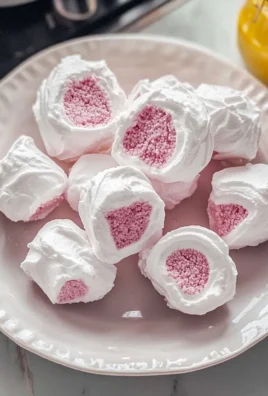
- Add toppings: Before the chocolate sets, sprinkle with crushed nuts, sea salt, or sprinkles to keep things fun and festive.
- Make it colorful: If you’re up for it, add a few drops of food coloring to the meringue while mixing to create a marbled effect.
- Diet swaps: For a healthier alternative, swap out granulated sugar with a sugar substitute that measures like sugar (just check your brand’s guidelines).
Serving Suggestions
So, how should you serve these delightful meringues? Here are some cozy ideas:
- With coffee or tea: There’s nothing quite like enjoying a lightweight meringue paired with a nice cup of coffee or tea. The combination makes for a delightful afternoon pick-me-up.
- As a dessert centerpiece: Arrange these lovely treats on a decorative plate and place them at the center of your dining table. You’ll have guests oohing and aahing in no time!
- Add to a dessert platter: Mix these meringues with fresh berries and whipped cream for a light parfait-style dessert.
- Gift them: Consider packaging some in a cute box with a ribbon for a lovely homemade gift! Who wouldn’t love getting such a sweet surprise?
Storage Tips
Okay, so you’ve made your meringues—now what? Here’s how to store them without losing any of that deliciousness:
- At room temperature: Keep your meringues in an airtight container, separated by sheets of parchment paper to avoid sticking. They’ll stay fresh for about 1-2 weeks.
- In the fridge: Although refrigeration can change their texture slightly, you can store them in a sealed container for about a week if needed.
- Freezing: Want to save some for later? Place them in a single layer in a freezer-safe container, separating layers with parchment paper, and freeze for up to 2 months. Just be sure to thaw in the fridge before enjoying!
FAQs
Can I use electric beaters instead of a stand mixer?
Absolutely! Electric beaters work just as well for making meringue. Just make sure that your bowl is clean and dry, as any grease can prevent the egg whites from whipping up nicely.
What should I do if my meringue isn’t holding stiff peaks?
If your meringue isn’t holding stiff peaks, it might be due to under-whipping. Keep whipping until you achieve that glossy, stiff texture. Also, make sure there are no traces of yolk in your egg whites, as even a tiny bit can affect their ability to whip.
Can I make chocolate dipped meringues without chocolate?
Of course! You can enjoy the meringues plain or dust them with powdered sugar for a simple yet delightful treat. You might also try a fruit glaze or a drizzle of caramel for an exciting alternative!
How do I troubleshoot a weepy meringue?
Weepy meringue can happen due to a few reasons—most commonly, excess moisture or sugar not being properly dissolved. Make sure to whip your egg whites until they’re very stiff, and ensure you bake them at a low enough temperature to dry them out thoroughly.
Can I make these meringues in advanced?
Yes! You can make meringues a few days ahead of time, and store them in an airtight container. Just be mindful of humidity, as meringues can absorb moisture and lose their crunch!
Conclusion
I hope this Chocolate Dipped Meringues recipe brings as much joy to your kitchen as it does to mine. They truly are a delightful treat that combines simplicity with elegance. I’d love to hear how your meringues turn out! Feel free to drop a comment below or share your own twists on the recipe. Happy baking, my friend, and may your meringue adventures be sweet and scrumptious!

Leave a Comment