
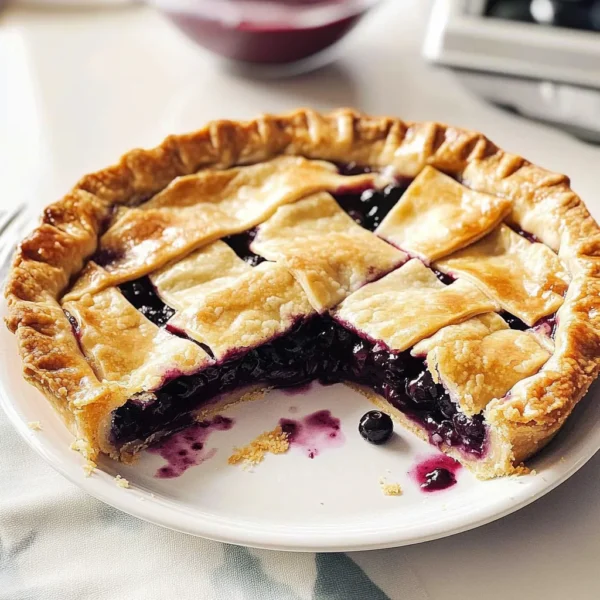
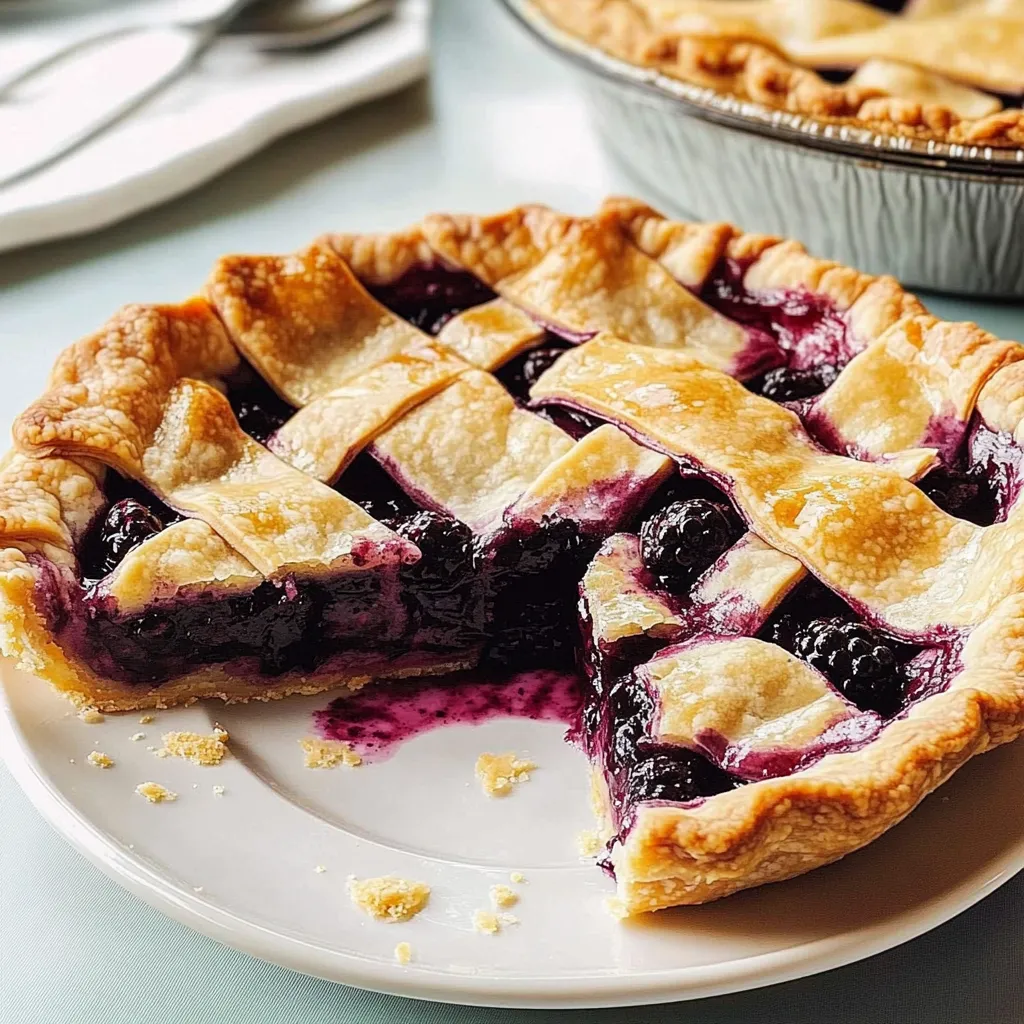
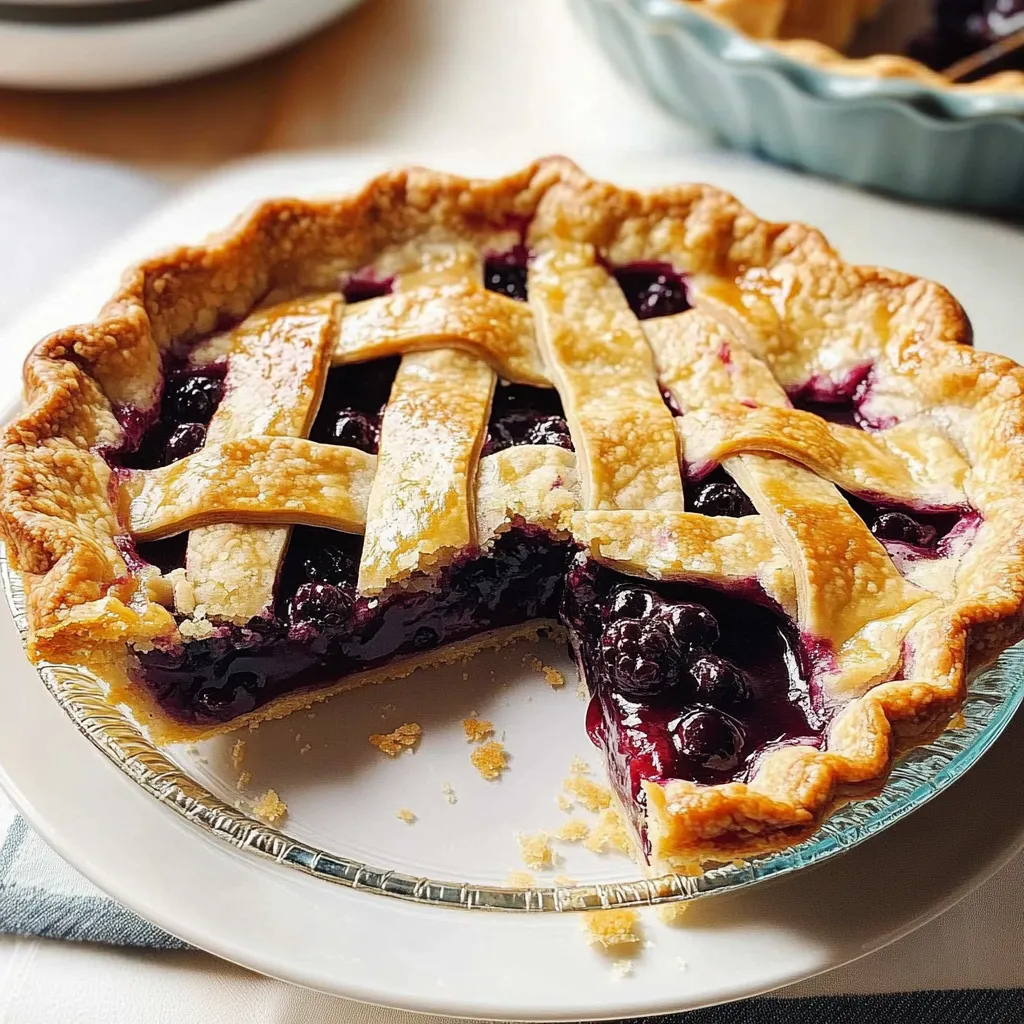
Blackberry Pie
Oh, where do I even begin with this delightful Blackberry Pie? Every time I take a bite, it seems to transport me back to summer days as a kid, running barefoot through my grandmother’s backyard, where wild blackberries practically begged to be picked. The air was fragrant with the sweet, tangy aroma of ripe fruit, and I can still hear the gentle rustle of leaves as I raced after my little brother, both of us with stained fingers and big smiles. That’s the magic of a homemade blackberry pie: it captures the essence of summer in each luscious slice, and I’m thrilled to share my version with you!
This Blackberry Pie is more than just a dessert; it’s a celebration of simple, wholesome ingredients coming together to create something truly special. Wouldn’t you agree there’s nothing quite like the feeling of pulling a beautiful, golden pie out of the oven? The aroma alone is enough to make your heart sing! So roll up your sleeves; let’s make some blackberry pie magic together!
Why You’ll Love This Recipe
- Easy to Make: This pie comes together with minimal fuss—perfect for a Saturday afternoon or a weeknight treat!
- Fresh Flavor: Using fresh blackberries yields a burst of juicy flavor that frozen berries just can’t match.
- Comforting and Cozy: Every slice is like a hug from grandma, bringing warmth to any gathering or quiet night in.
- Versatile: Great on its own, or serve with vanilla ice cream for an extra indulgent experience!
Ingredients
Here’s what you’ll need to whip up this blackberry pie masterpiece:
- 2 cups fresh blackberries (washed and drained)
- 1 cup granulated sugar (adjust based on berry sweetness)
- 2 tablespoons all-purpose flour (for thickening)
- 1 tablespoon lemon juice (brightens the flavor)
- 1 teaspoon vanilla extract (adds depth)
- 1 teaspoon cinnamon (optional, but it gives a warm essence)
- 1 tablespoon unsalted butter (for dotting on top)
- 1 package refrigerated pie crusts (or make your own if you’re feeling adventurous!)
Tips: Fresh blackberries are the star here—they’re juicy and bright. Make sure to avoid mushy or overly soft berries. Also, a little lemon juice really helps to enhance the fruit’s natural sweetness!
Step-by-Step Instructions
- Preheat the Oven: Preheat your oven to 425°F (220°C). This will ensure that your pie crust has that lovely golden color when it’s done!
- Prepare the Filling: In a mixing bowl, gently toss together the blackberries, sugar, flour, lemon juice, vanilla extract, and cinnamon (if using). The sugar will draw out the juices from the blackberries, creating a sweet, syrupy filling.
- Roll Out the Crust: Unroll your pie crust and lay one round in a 9-inch pie pan. If you’re using homemade crust, roll it out about 1/8-inch thick. Press it gently into the pan, making sure it covers the sides.
- Fill the Pie: Pour the blackberry filling into the crust, spreading it evenly. Dot the top of the filling with small pats of butter for added richness.
- Add the Top Crust: Place the second pie crust on top of the filling. You can either cut slits for a lattice top or simply cover the pie entirely. If you seal it all the way around, don’t forget to cut holes so the steam can escape!
- Crimp the Edges: Crimp the edges of the pie crust together, making it look pretty and sealing in all that deliciousness!
- Brush with Egg Wash: For a beautiful finish, brush the top crust with an egg wash (1 egg beaten with 1 tablespoon of water) before putting it into the oven.
- Bake: Place your pie in the preheated oven and bake for about 35 to 40 minutes, or until the crust is golden brown and the filling is bubbling.
- Cool Down: Let the pie cool for at least an hour before slicing. This gives the filling time to set up a bit. Trust me; warm blackberry pie tastes the best with a scoop of vanilla ice cream!
Tip: Keep an eye on that crust as it bakes! If the edges start browning too quickly, you can cover them with a little bit of aluminum foil to prevent burning.
Pro Tips & Variations
Now that we have the classic blackberry pie down, let’s sprinkle in some fun variations! Here are a few ways to mix things up:
- Mix in Other Berries: Feel free to toss in some blueberries or raspberries for a berry medley pie! Just keep the ratio of fruit the same.
- Add a Splash of Booze: For an adult twist, add a tablespoon of blackberry liqueur or rum over the fruit filling before sealing up the pie.
- Spice it Up: Try adding a pinch of nutmeg or cardamom to the filling for a cozy spice that blends beautifully with the blackberries.
- Gluten-Free Option: Substitute the regular pie crust with a gluten-free option, and ensure your flour is also gluten-free for the filling!
Whatever you choose, have fun with it, and let your taste buds lead the way!
Serving Suggestions
Ah, the best part: serving it up! I love to enjoy this blackberry pie warm, with a generous scoop of creamy vanilla ice cream melting on top. Just imagine the ice cream oozing into the warm filling—it’s pure bliss! For a laid-back brunch, serve it alongside freshly brewed coffee or tea. You can also top it with whipped cream and a sprinkle of fresh mint for an elegant touch during a gathering.
Storage Tips
Now, if you find yourself with leftover pie (which is a rarity in my home!), don’t worry! Here’s how to keep that deliciousness around:
- In the Fridge: Cover the pie with plastic wrap or store it in an airtight container. It should stay fresh in the fridge for about 3 to 4 days.
- Freezing: You can freeze the unbaked pie! Just wrap it well in plastic wrap and foil before freezing. When you’re ready to bake, just pop it straight from the freezer into the oven (add a few extra minutes to the baking time).
- Reheating: To reheat, slice a piece and microwave it for about 30 seconds, or warm it in the oven at 350°F (175°C) for about 10-15 minutes until heated through.
FAQs
Can I use frozen blackberries instead of fresh ones?
Of course! Frozen blackberries can work in a pinch, but they do tend to be a bit softer once thawed, which can change the texture of your pie slightly. Make sure to drain any excess liquid before using them in the filling.
How do I know when the pie is done baking?
Your pie is ready when the crust is a beautiful golden brown and you see the filling bubbling through the slits or lattice top. It’s always a good idea to keep an eye on it during the last few minutes of baking!
Can I make the pie crust from scratch?
Absolutely! Making your own pie crust is a fun and rewarding process. I recommend using a simple recipe with flour, butter, salt, and ice water. Just remember to keep everything chilled for a flakier texture!
How can I prevent a soggy bottom crust?
To avoid a soggy bottom, you can pre-bake the crust for 10-15 minutes before adding the filling. Also, make sure to let the pie cool completely before serving; this allows the filling to set up better!
Can I use other fruits in this recipe?
Definitely! This recipe is super versatile. Feel free to experiment with other fruits like peaches, cherries, or even apples. Just make adjustments in sugar based on the fruit’s sweetness.
Conclusion
I hope you enjoy making and sharing this Blackberry Pie as much as I do. It’s a special treat that brings back warm memories of family and sun-soaked summers. I would love to hear how yours turns out—what little tweaks did you make? Please leave a comment below and let’s chat! Happy baking!
Leave a Comment